This guide will show you how to install and configure an FTP(s) or SFTP server on a Ubuntu machine.
Prerequisites
- Operating System of (s)FTP server : Ubuntu 22.04
Step 01: Installation
01. Update the system package resources
From our partners:
$ sudo apt update02. Install the SFTP package
$ sudo apt install vsftpd -y03. Verify that Very Secure FTP (VSFTP) has been installed by checking the version.
$ vsftpd -version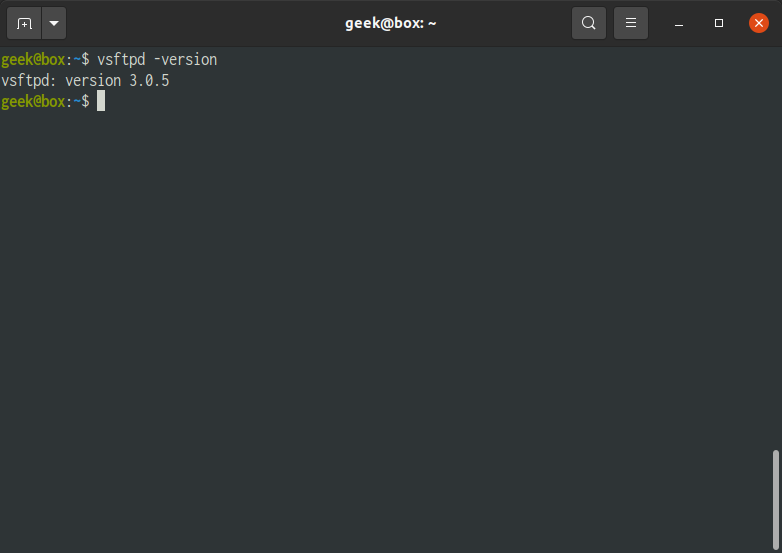
04. Install Firewalld
$ sudo apt install firewalld05. Start the service if it is stopped.
$ sudo systemctl start vsftpd06. Set the service to automatically start on boot
$ sudo systemctl enable vsftpd
07. Create the firewall rules to allow FTP traffic on Port 20, 21 and 22..
$ sudo ufw allow 20/tcp
$ sudo ufw allow 21/tcp
$ sudo ufw allow 22/tcp
Check the firewall status. It should be “inactive”
$ sudo ufw status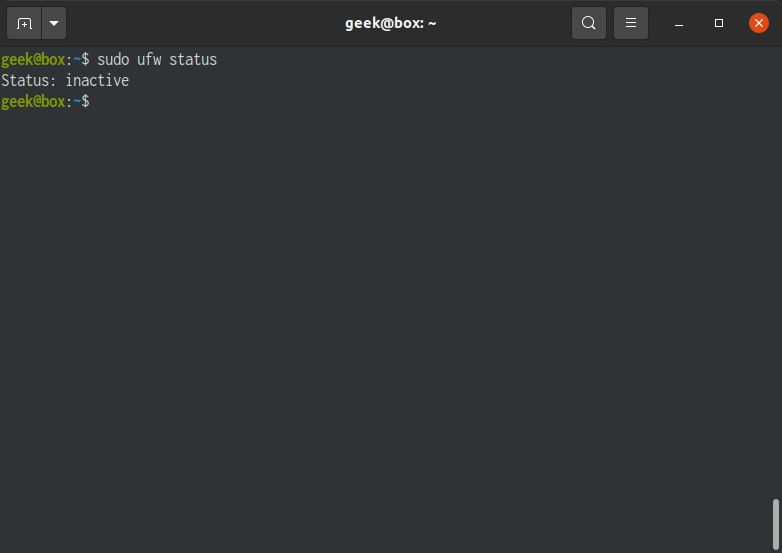
08. Enable the firewall service. Accept the changes by confirming with “y”.
$ sudo ufw enable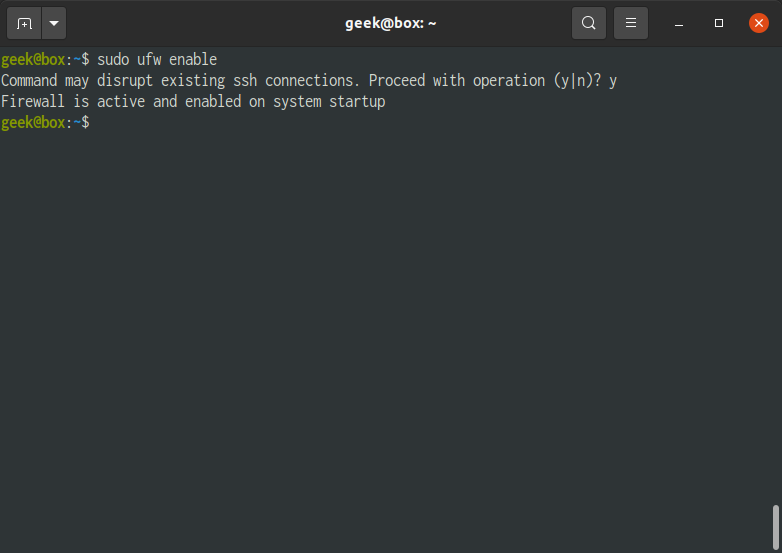
Check again that the firewall is active.
$ sudo ufw status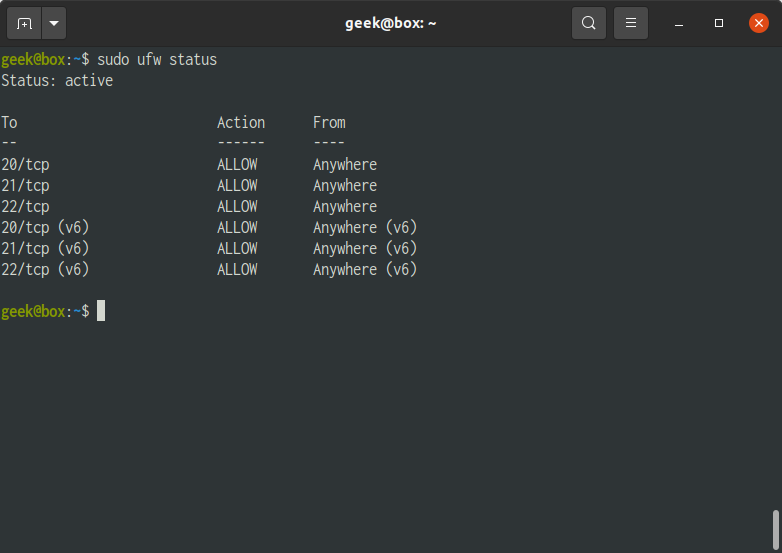
Step 02: Configuration
01. Backup the original version of the VSFTP configuration
$ sudo cp /etc/vsftpd.conf /etc/vsftpd.conf.original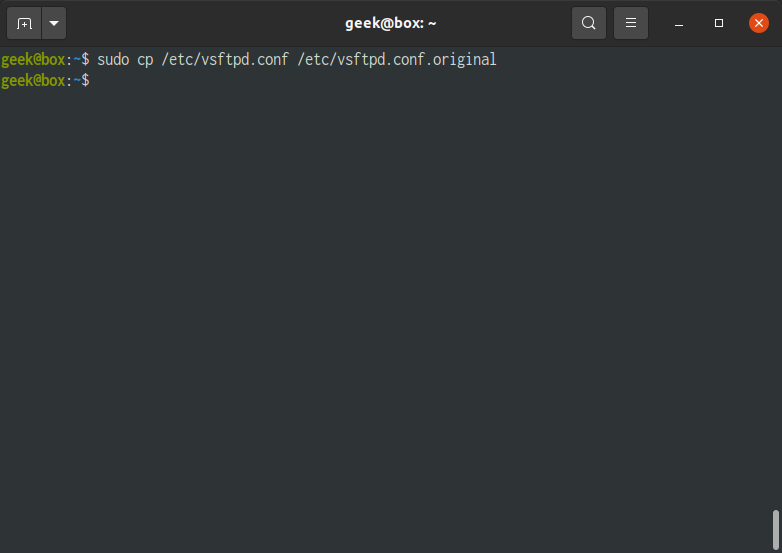
02. Edit the configuration file
$ sudo nano /etc/vsftpd.conf03. For FTP access for registered users. Applicable for registered Users with Password or SSH (or SFTP).
| anonymous_enable | NO When enabled non-registered users will be able to access the FTP service. Set the value as “NO” to not allow anonymous access. |
| local_enable | YES Default value: YES. Set value as “YES”. |
| write_enable | Value: YES Uncomment this setting. Set value as “YES” |
| chroot_local_user | Value: YES Uncomment this setting. This limits the FTP users to their own directory. Set value as “YES” |
| chroot_list_file | Value: /etc/vsftpd.chroot_list Uncomment this setting and set the value as “/etc/vsftpd/chroot_list”. |
Add the following configurations at the bottom.
...
userlist_file=/etc/vsftpd.user_list
userlist_deny=NO
04. Restart the service to apply the changes
$ sudo systemctl restart vsftpd05. Check the status of the service to see if there are errors.
$ sudo systemctl status vsftpd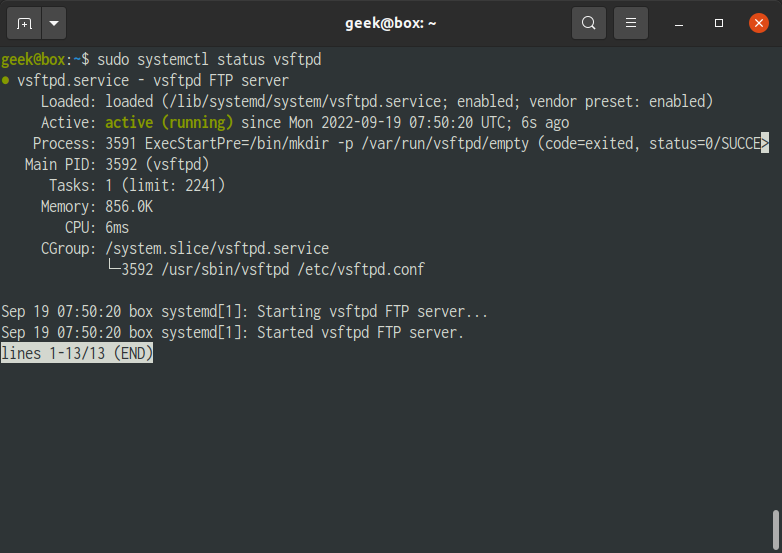
Step 03: Configuration – SSL / FTPS
To secure the FTP with SSL/TLS certificate use the following steps. Note that if SSL is configured, only SFTP or registered users with SSH keys configured will be allowed.
Also note that you can also provide or install your own/bought SSL certificate. In this example we will be creating a self-signed certificate.
01. Create the directory to place the SSL file if it does not exist. By default this exists.
$ sudo mkdir /etc/ssl/private/02. Create a new certificate or ignore this and install/copy your own certificate. You will be asked for details on the SSL, this is also a standard process if you bought an SSL certificate.
Prepare the following details before executing the next command.
- Country Name (2 letter code)
- State or Province Name (full name)
- Locality Name (e.g. City)
- Organization Name (eg, company)
- Organizational Unit Name (eg, section)
- Common Name (e.g. server FQDN or YOUR name)
- Email Address
$ sudo openssl req -x509 -nodes -keyout /etc/ssl/private/vsftpd-selfsigned.pem -out /etc/ssl/private/vsftpd-selfsigned.pem -days 365 -newkey rsa:2048Explanation for the parameters used
- req – is a command for X.509 Certificate Signing Request (CSR) management.
- x509 – means X.509 certificate data management.
- days – validity for the certificate, number of days before it expires
- newkey – flag saying this is a new key
- rsa:2048 – RSA key processor, will generate a 2048 bit private key
- keyout – sets the key storage file
- out – sets the certificate storage file
03. Open the VSFTP configuration for editing
$ sudo nano /etc/vsftpd.conf04. Add the following at the end of the file
# SSL configuration (TLS v1.2)
ssl_enable=YES

#ssl_tlsv1_2=YES
ssl_sslv2=NO
ssl_sslv3=NO

# configure the location of the SSL certificate and key file
rsa_cert_file=/etc/ssl/private/vsftpd-selfsigned.pem
rsa_private_key_file=/etc/ssl/private/vsftpd-selfsigned.pem

# prevent anonymous users from using SSL
allow_anon_ssl=NO

# force all non-anonymous logins to use SSL for data transfer
force_local_data_ssl=YES

# force all non-anonymous logins to use SSL to send passwords
force_local_logins_ssl=YES

# Select the SSL ciphers VSFTPD will permit for encrypted SSL connections with the ssl_ciphers option.
ssl_ciphers=HIGH

# turn off SSL reuse
require_ssl_reuse=NO
pasv_min_port=40001
pasv_max_port=40100
05. Restart the service to apply the changes
$ sudo systemctl restart vsftpd06. Check the status of the service to see if there are errors.
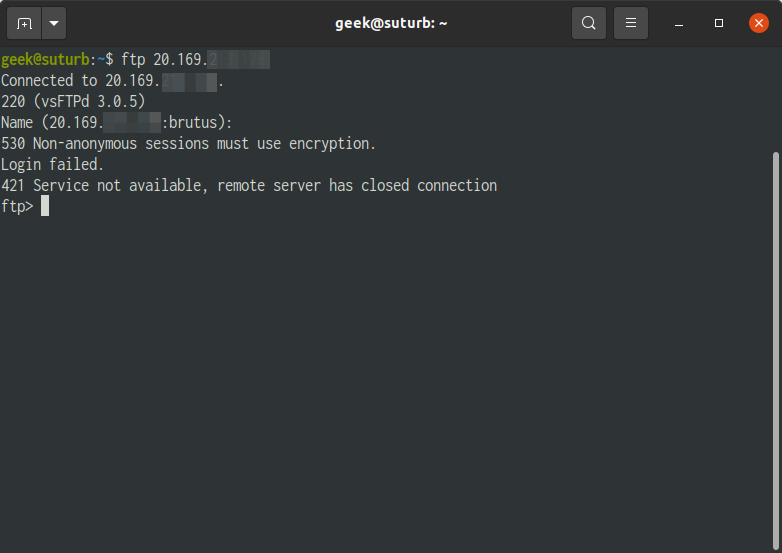
$ sudo systemctl status vsftpdIf you try to access the FTP server when using a client that does not use encryption. You will get the following message. Solution for this is to use an account with SFTP (User with SSH key) or FileZilla.
If there is a connection timeout, make sure that the server allows access on Port 21. Port 21 is the default FTP port.
Step 04: Adding an FTP User
01. Create a new FTP user. In this example we will be using sysad.
Note that using SSH requires the SSH service running.
// FORMAT
$ sudo adduser {{username}} --disabled-password

// EXAMPLE
$ sudo adduser sysad --disabled-password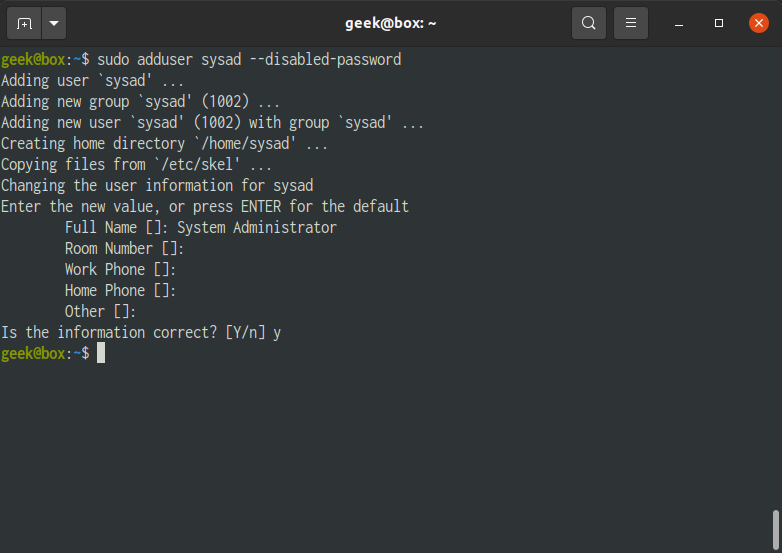
Switch to the new user
// FORMAT
$ sudo su - {{username}}

// EXAMPLE
$ sudo su - sysad
Create SSH directory and update the permissions
$ cd ~$ mkdir .ssh$ chmod 700 .ssh$ nano .ssh/authorized_keys02. Set the content of the file with the public key of the user. It should contain something like. You can generate new key using online tools like.
ssh-rsa ...... 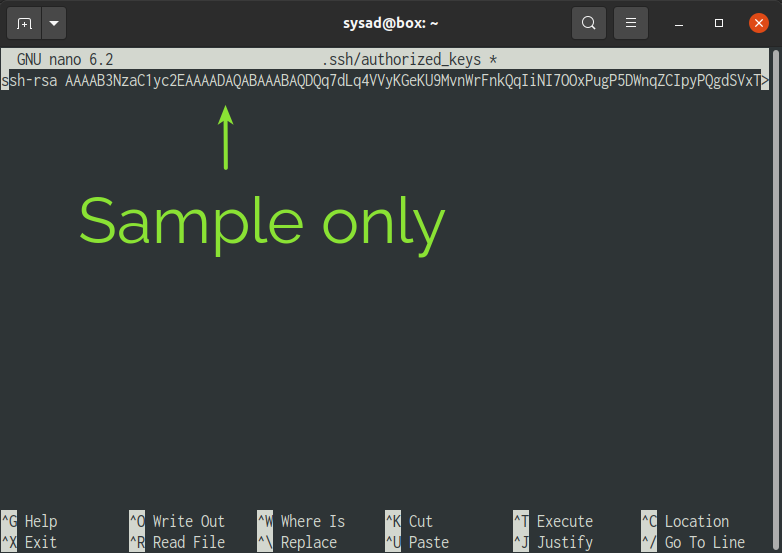
Ctrl+O then Enter to save the changes. Then exit using Ctrl + X.
03. Update the permission of the authorised key
$ chmod 600 .ssh/authorized_keys04. Exit from the user session.
$ exit05. Restart the SSH service
$ sudo service sshd restart06. Add a new user to the list FTP users.
# FORMAT
$ echo {{username}} | sudo tee –a /etc/vsftpd.user_list

# EXAMPLE
$ echo sysad | sudo tee –a /etc/vsftpd.user_list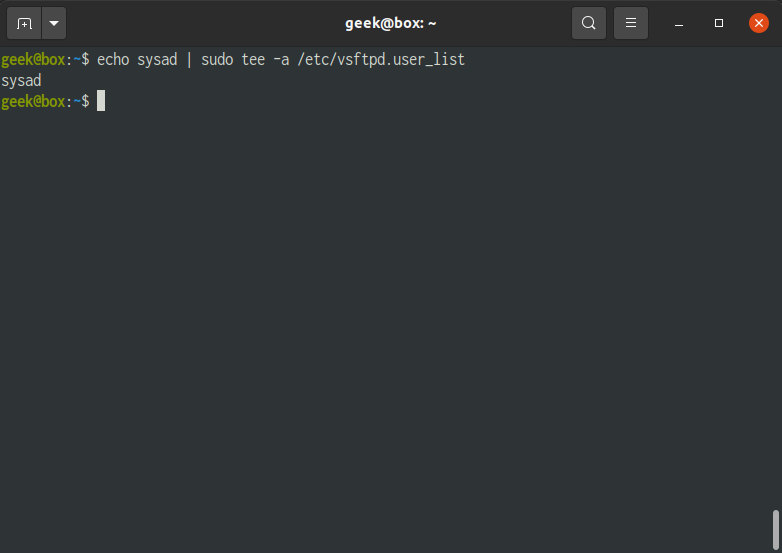
07. Create the directory for the new user, and update the permissions. The following is only a sample structure for the user. Depending on the directory structure is designed the steps may be different. It will also disable accessing of the user directories from other users.
// FORMAT
$ sudo mkdir –p /home/{{username}}/ftp/upload
$ sudo chmod 550 /home/{{username}}/ftp
$ sudo chmod 750 /home/{{username}}/ftp/upload
$ sudo chown –R {{username}}: /home/{{username}}/ftp

// EXAMPLE
$ sudo mkdir -p /home/sysad/ftp/upload
$ sudo chmod 550 /home/sysad/ftp
$ sudo chmod 750 /home/sysad/ftp/upload
$ sudo chown -R sysad: /home/sysad/ftp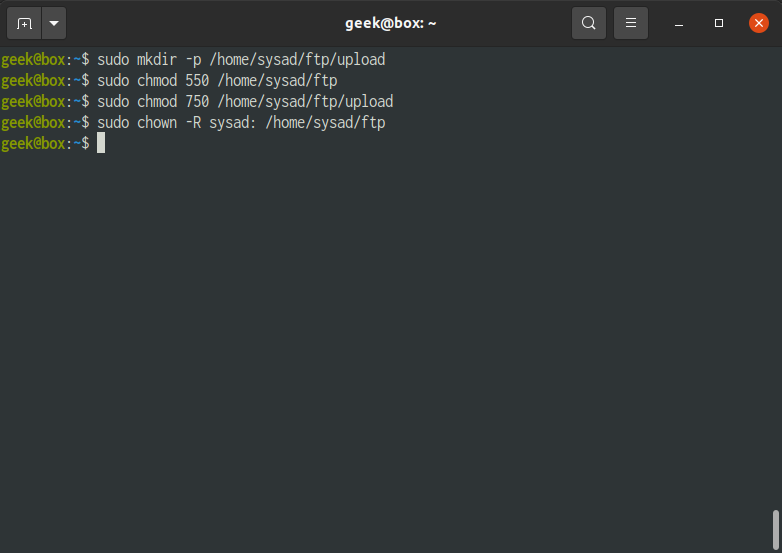
08. Create or update the chroot user list. These are the users who are “jailed”, meaning they can only access their own folders.
$ sudo nano /etc/vsftpd.chroot_listAdd the user to the file
// FORMAT
{{username}}

// EXAMPLE
sysad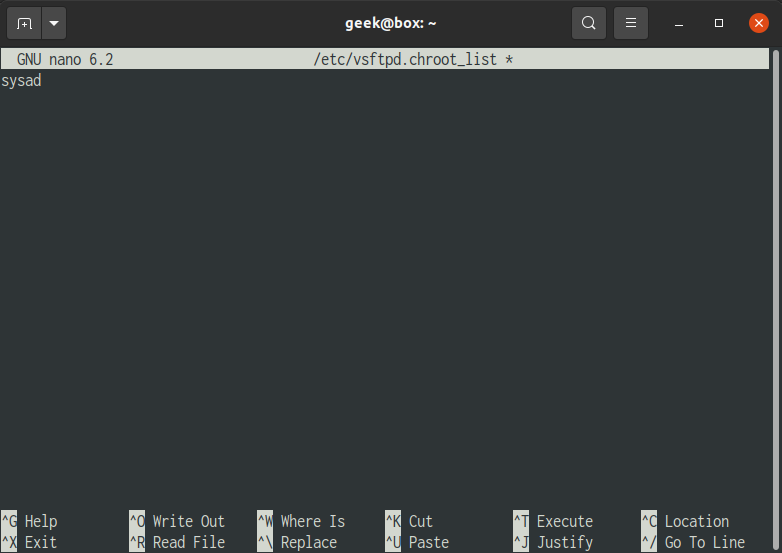
Save the changes and exit from the nano editor.
09. Restart the service to apply the changes
$ sudo systemctl restart vsftpdStep 05: Accessing the FTP Server
Registered User with SSH key
01. Add the Private key to the SSH session. This is the key generated on Step 04 #3.
// FORMAT
$ ssh-add {{private-ssh-key}}

// EXAMPLE
$ ssh-add sysad_key.private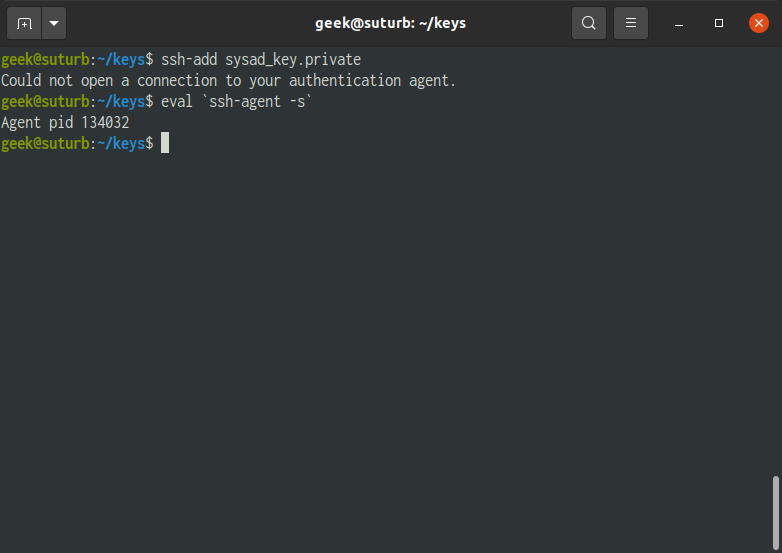
If there is an error saying “Could not open a connection to your authentication agent.” and you know that SSH is installed, the SSH agent needs to be started/restarted.
$ eval `ssh-agent -s`
Then try again with the ssh-add command.
02. Login via SFTP. Accept the fingerprint confirmation the first time this command is executed.
// FORMAT
$ sftp {{username}}@{{hostname-or-ip-address}}

// EXAMPLE
$ sftp [email protected]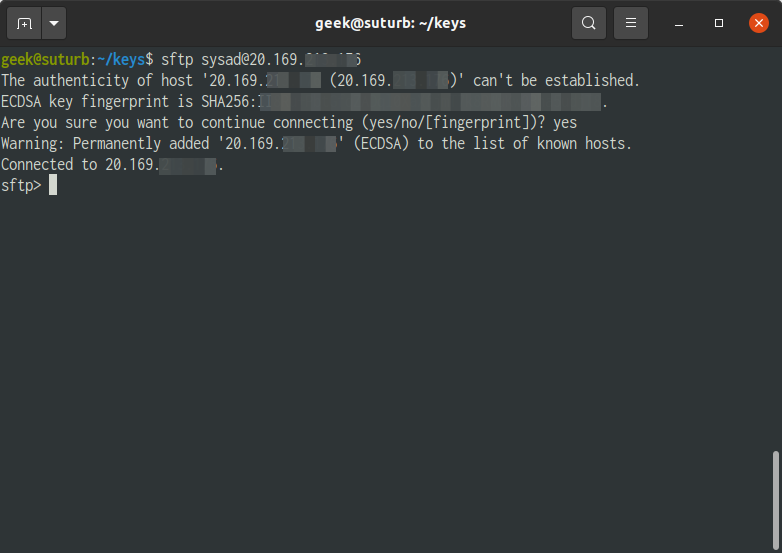
03. To list the files and folders of the current working directory.
$ ls -l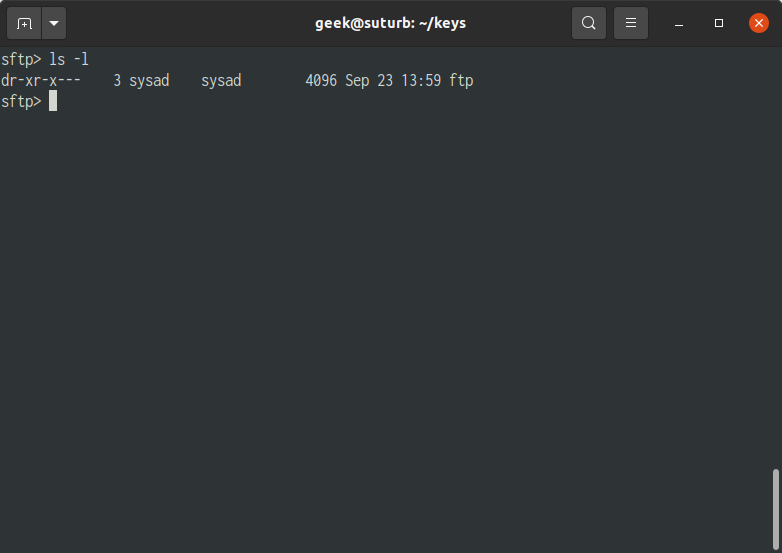
Removing an FTP User
01. Access the server and execute the following command to remove the user. Add an “-r” before the username to remove the user files.
# FORMAT
$ sudo userdel {{username}}

# EXAMPLE
$ sudo userdel sysad
Remove also the user file.
# FORMAT
$ sudo userdel {{username}} -r

# EXAMPLE
$ sudo userdel sysad -r
For enquiries, product placements, sponsorships, and collaborations, connect with us at [email protected]. We'd love to hear from you!
Our humans need coffee too! Your support is highly appreciated, thank you!