Step 1
The first step is to create a new project, we’ll use an existing project called “test-ctd” and enable Google Cloud APIs like Cloud Build API, Artifact Registry API. If you have billing enabled and or are in your free trial mode you’ll be able to enable the necessary APIs.
From our partners:

Enable APIs In Google Cloud Project
Step 2
The second step is to prepare the source files. We’ll open the Cloud Shell, where we’ll be able to create a directory called “quickstart-docker” with the commands in the image below
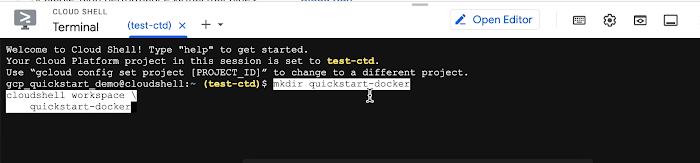
Create Quickstart Directory
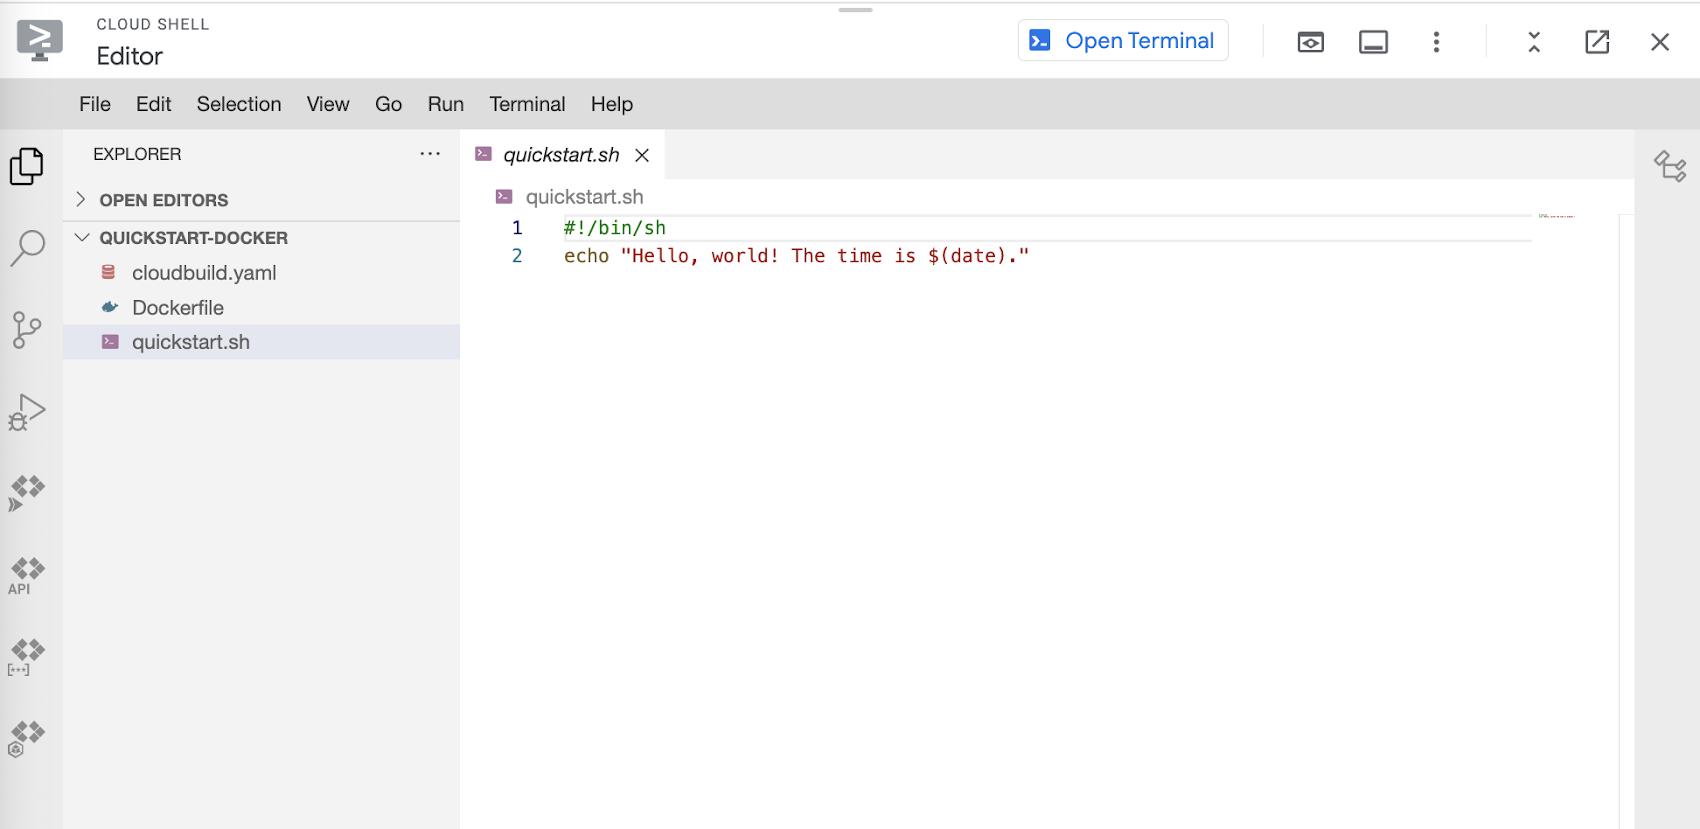
Creating Quickstart.sh File
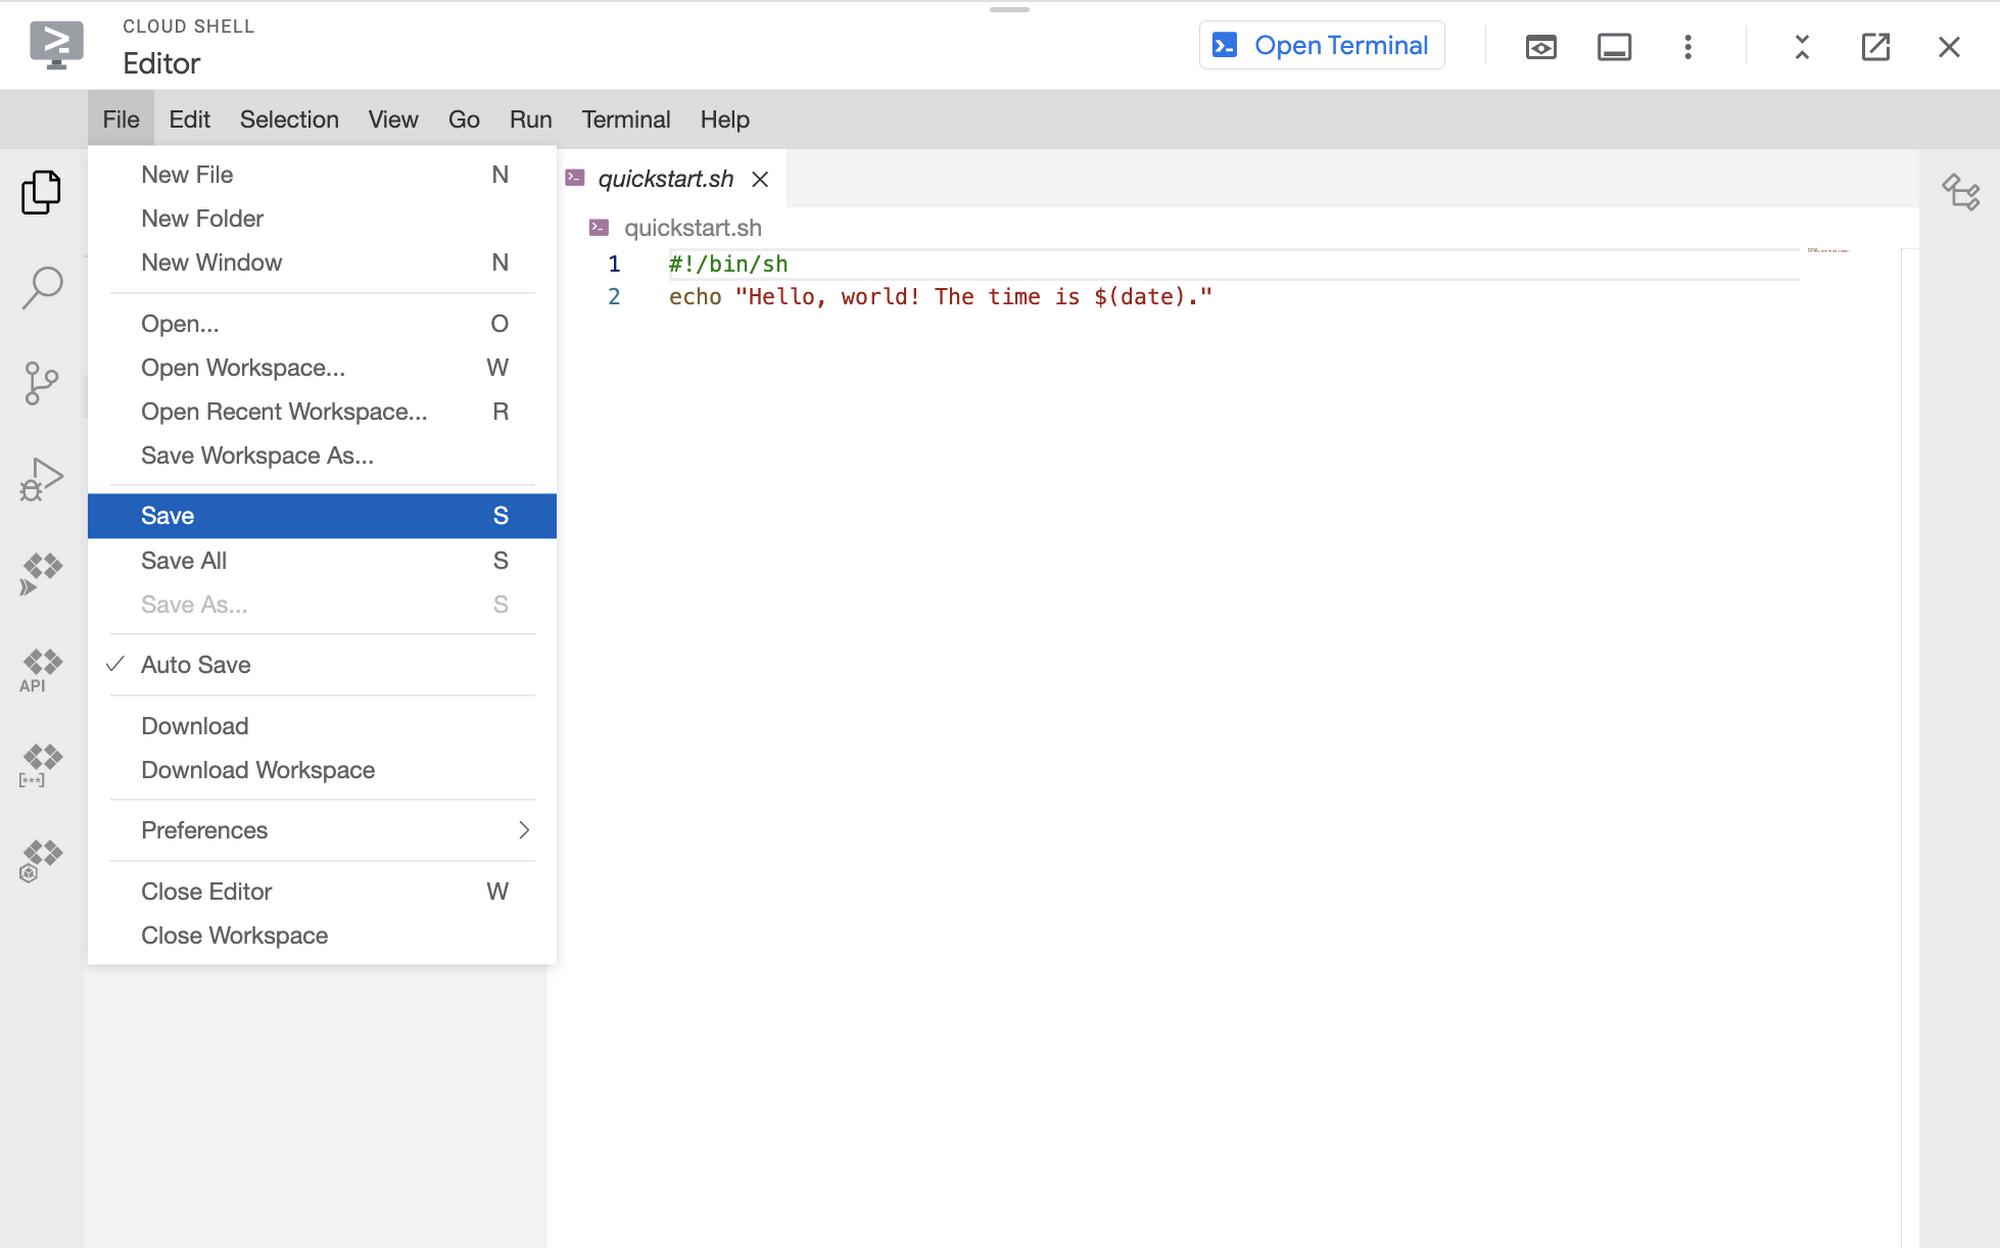
How To Save Quickstart.sh File
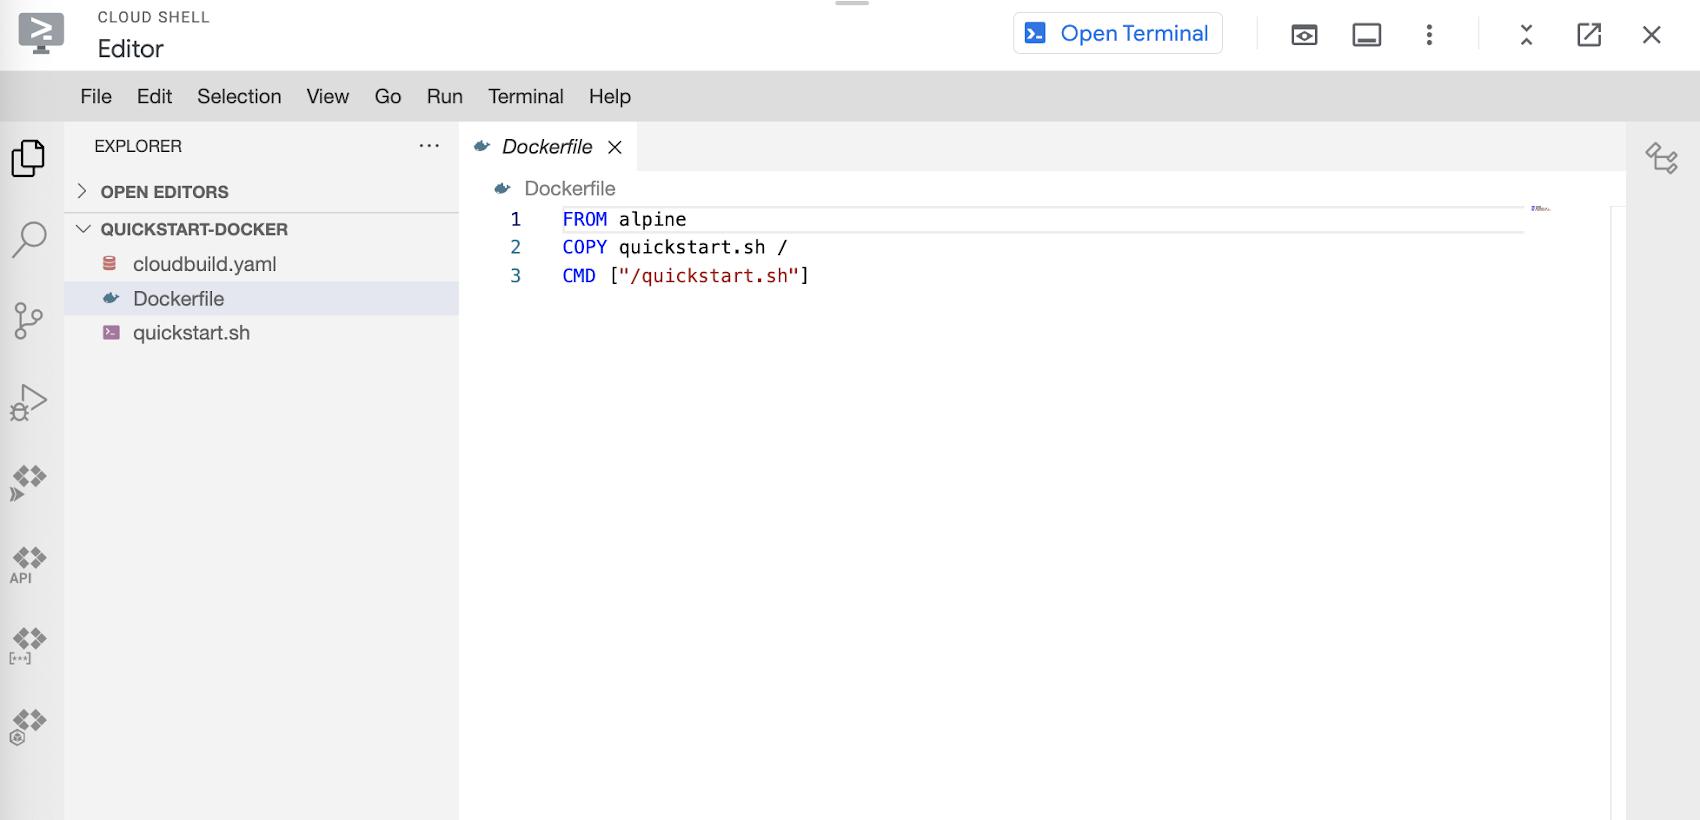
Create Dockerfile
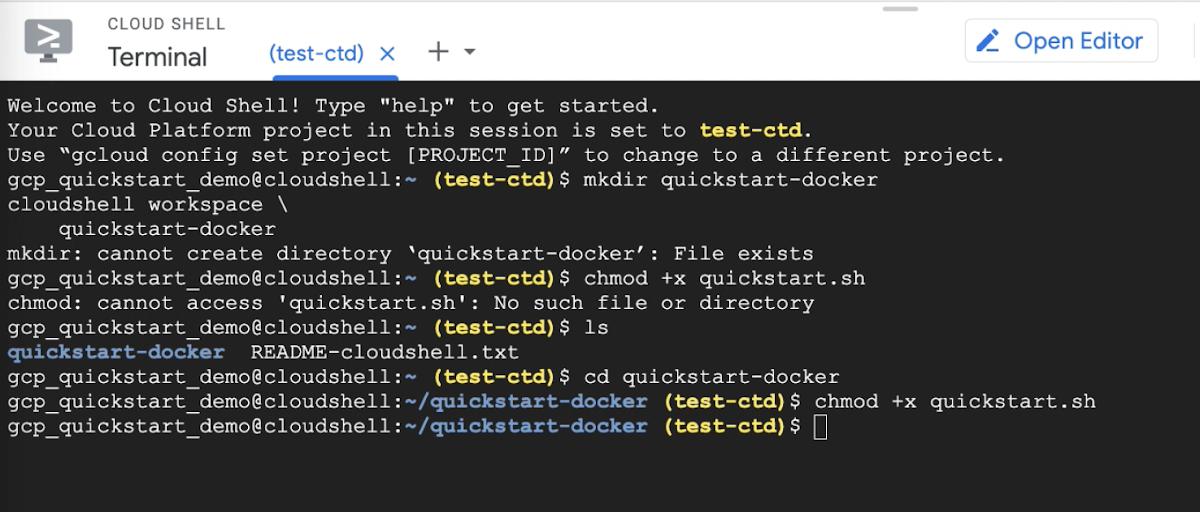
Command To Quickstart.sh Executable
Step 3
We’ll move on to the third step, which is to create a new Docker repository in the repository in Artifact Registry.
We’ll start by creating a new Docker repo named quickstart-docker-repo in the location us-west2 with the description “Docker repository”. The command to run this action is depicted below
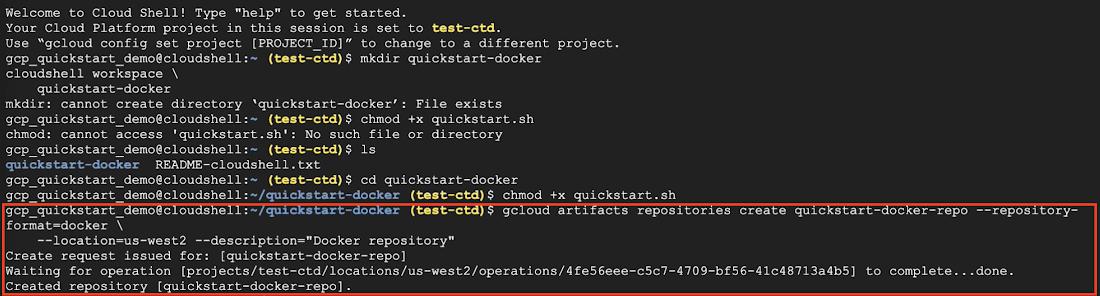
Add File To Artifact Registry
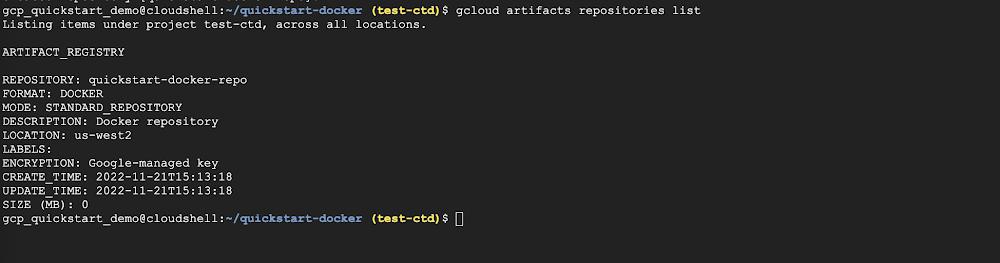
Check Files in Artifact Registry
Step 4
Next we’ll navigate to Cloud Build > History to see the build we executed. If you click on the particular build you’ll be able to see the details of the build summary like the build log, execution details, and build artifacts.
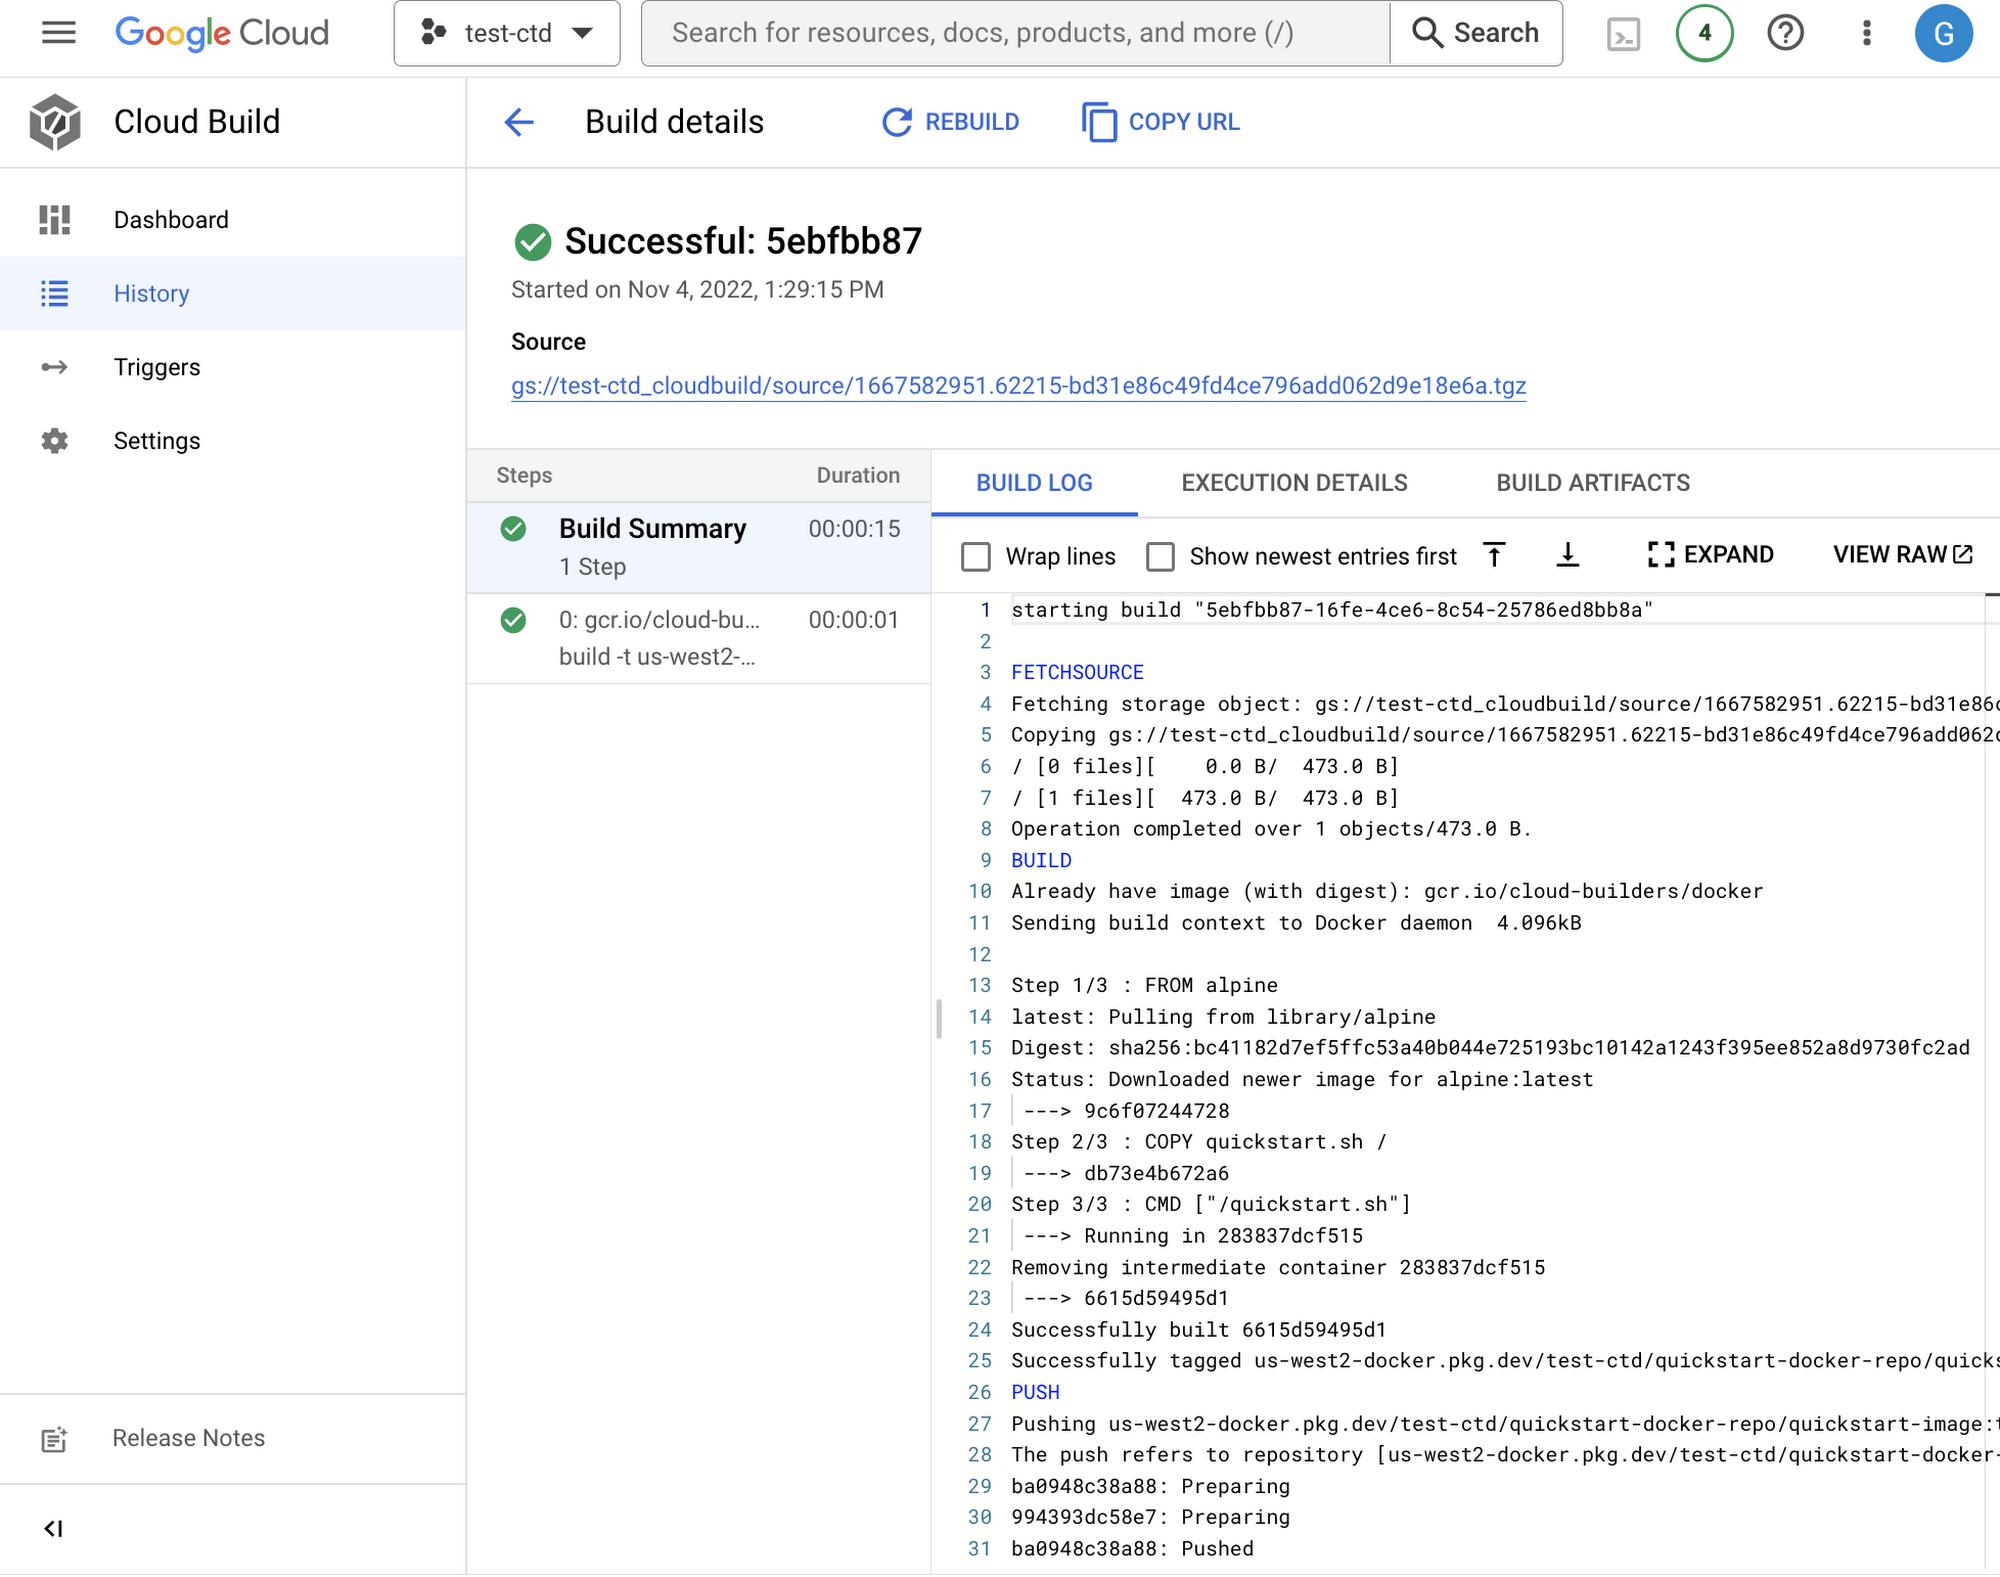
Build History
Step 5
For the final step, we will delete the resources created to prevent incurring charges. Go back to the navigation bar and visit Artifact Registry Next we’ll select our recently created quickstart-docker-repo and click DELETE.
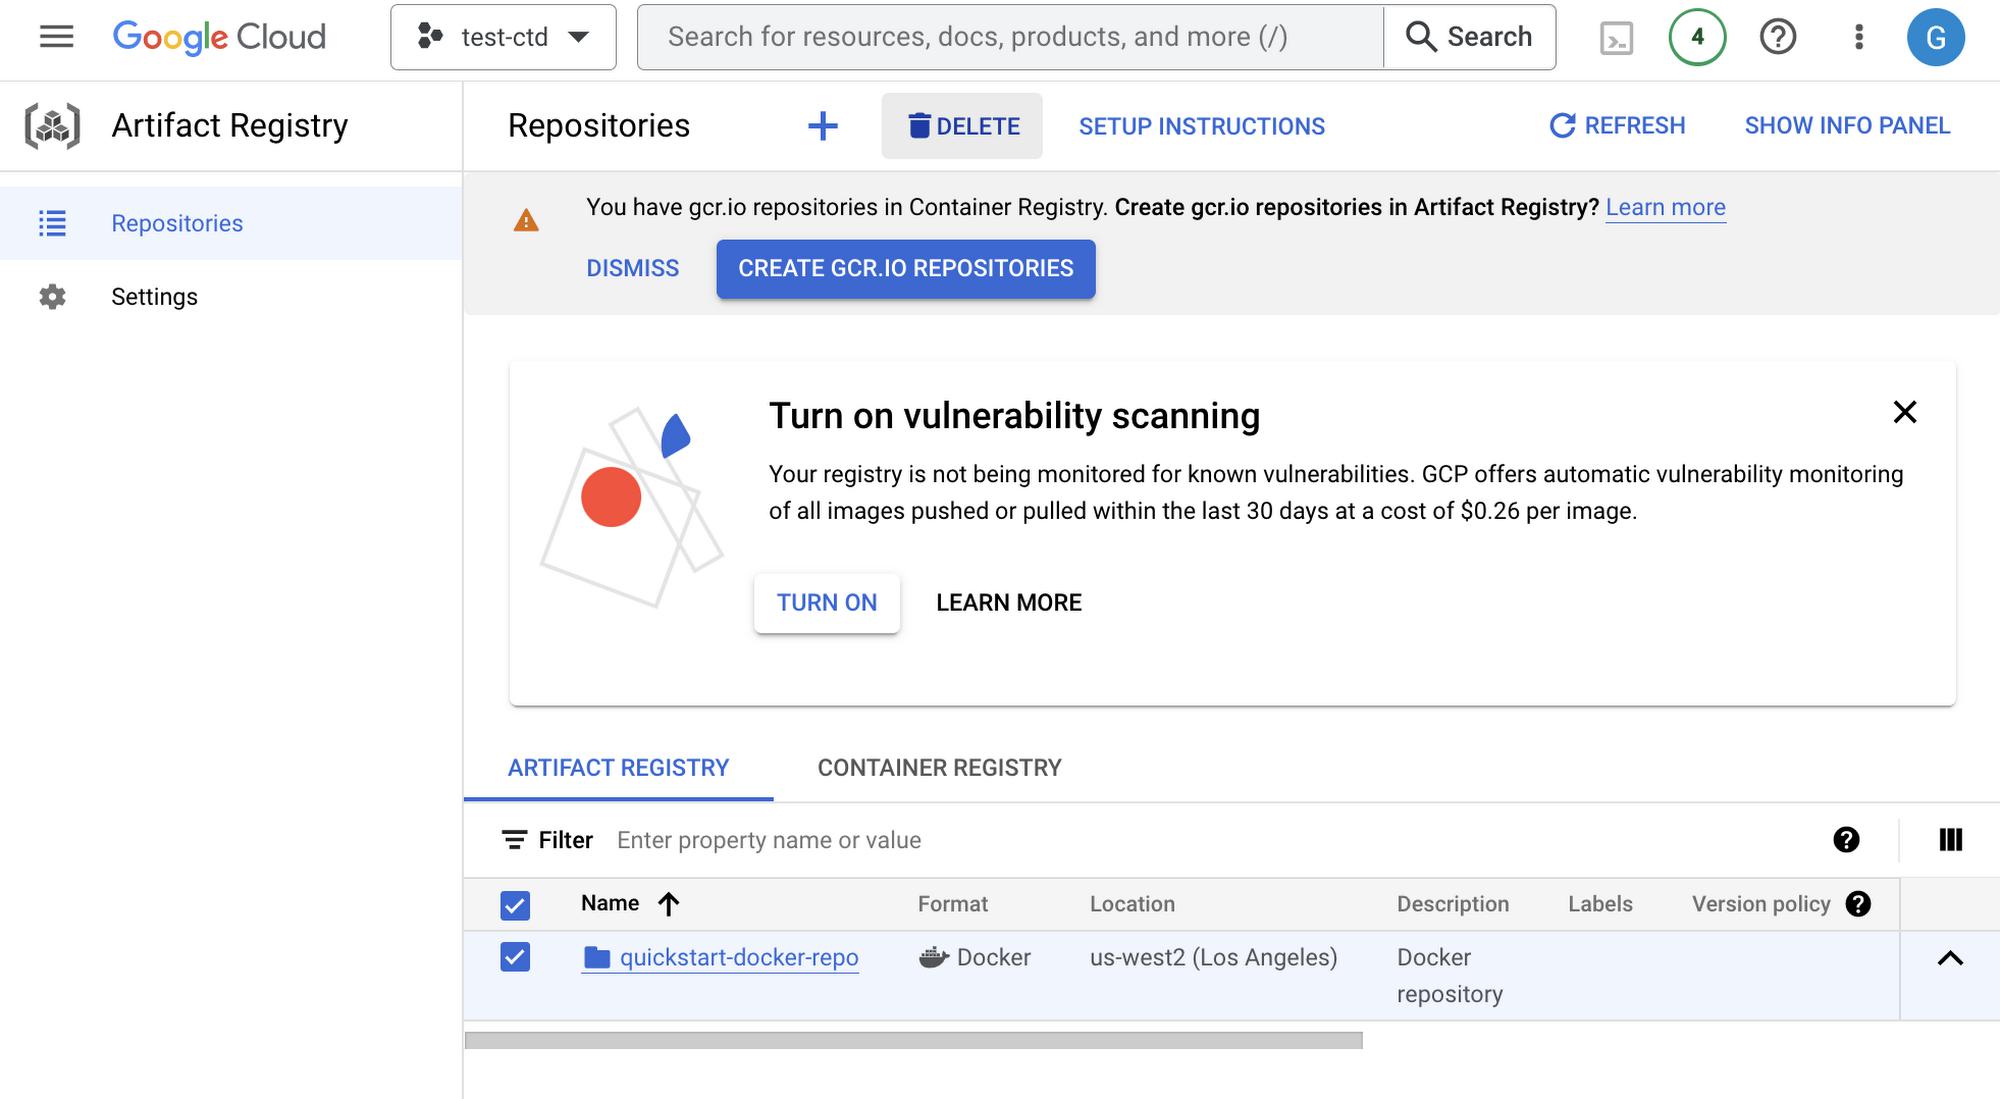
Delete Resource
In Conclusion
There you have it! Now you’ve learned how easy it is to build and push a Docker image with Cloud Build. If you’d like to follow another Google Cloud tutorial visit this blog post.
By: Bukola Ayodele (Developer Advocate)
Source: Google Cloud Blog
For enquiries, product placements, sponsorships, and collaborations, connect with us at [email protected]. We'd love to hear from you!
Our humans need coffee too! Your support is highly appreciated, thank you!