aster.cloud aster.cloud
  • /
  • Platforms
    • Public Cloud
    • On-Premise
    • Hybrid Cloud
    • Data
  • Architecture
    • Design
    • Solutions
    • Enterprise
  • Engineering
    • Automation
    • Software Engineering
    • Project Management
    • DevOps
  • Programming
    • Learning
  • Tools
  • About
  • /
  • Platforms
    • Public Cloud
    • On-Premise
    • Hybrid Cloud
    • Data
  • Architecture
    • Design
    • Solutions
    • Enterprise
  • Engineering
    • Automation
    • Software Engineering
    • Project Management
    • DevOps
  • Programming
    • Learning
  • Tools
  • About
aster.cloud aster.cloud
  • /
  • Platforms
    • Public Cloud
    • On-Premise
    • Hybrid Cloud
    • Data
  • Architecture
    • Design
    • Solutions
    • Enterprise
  • Engineering
    • Automation
    • Software Engineering
    • Project Management
    • DevOps
  • Programming
    • Learning
  • Tools
  • About
  • Software

How To Install Ubuntu Studio 19.10

  • root
  • November 12, 2019
  • 2 minute read

Overview

This guide shows how to install Ubuntu Studio 19.10 on a new machine.


Partner with aster.cloud
for your next big idea.
Let us know here.


From our partners:

CITI.IO :: Business. Institutions. Society. Global Political Economy.
CYBERPOGO.COM :: For the Arts, Sciences, and Technology.
DADAHACKS.COM :: Parenting For The Rest Of Us.
ZEDISTA.COM :: Entertainment. Sports. Culture. Escape.
TAKUMAKU.COM :: For The Hearth And Home.
ASTER.CLOUD :: From The Cloud And Beyond.
LIWAIWAI.COM :: Intelligence, Inside and Outside.
GLOBALCLOUDPLATFORMS.COM :: For The World's Computing Needs.
FIREGULAMAN.COM :: For The Fire In The Belly Of The Coder.
ASTERCASTER.COM :: Supra Astra. Beyond The Stars.
BARTDAY.COM :: Prosperity For Everyone.

Prerequisites

  • A disk or USB drive with a bootable Ubuntu Studio 19.10
    • Link to Ubuntu Studio 19.10 Desktop
  • Recommended Machine Requirements
    • 1 GiB RAM minimum, 4 GiB RAM recommended
    • 10 GB of hard-drive space (or USB stick, memory card or external drive but see LiveCD for an alternative approach) for the OS installation only


Installation

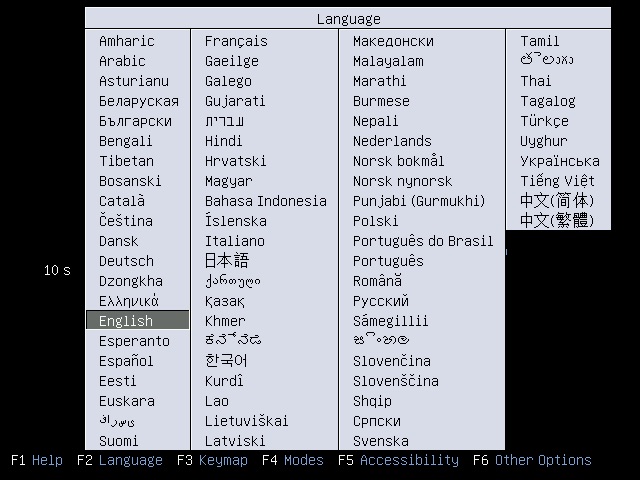
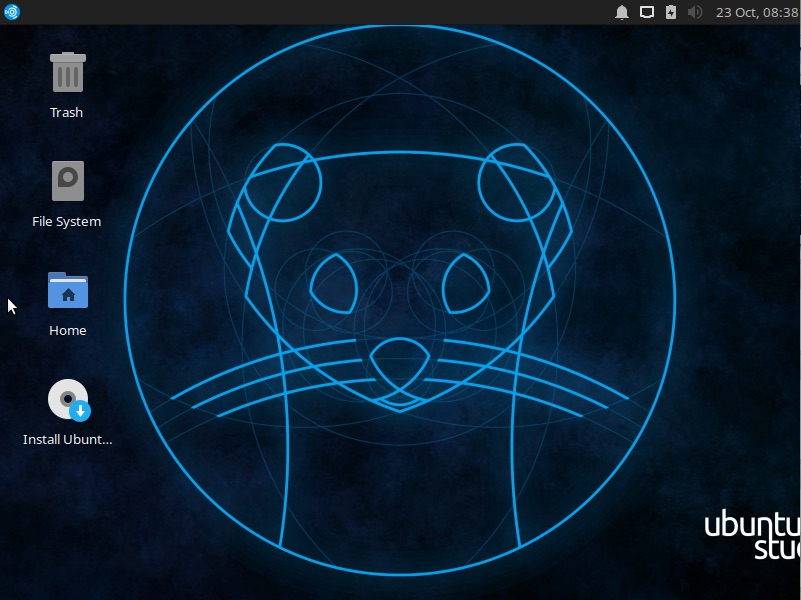
01. Plug the media (disk or USB). You will be shown the language selection. Then the desktop will be shown. Select the “Install Ubuntu” icon on the desktop.


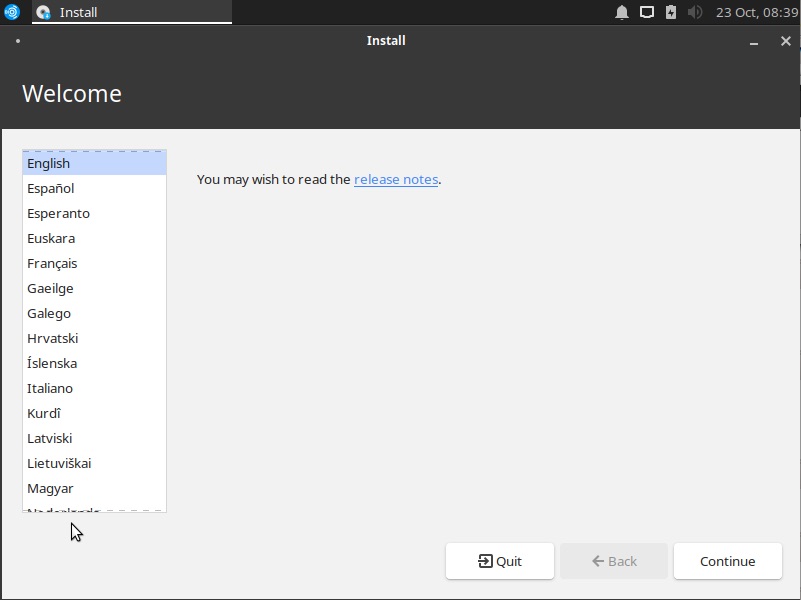
02. The installation will start and the language selection will be shown. Select your preferred language, then click on the “Continue” button.


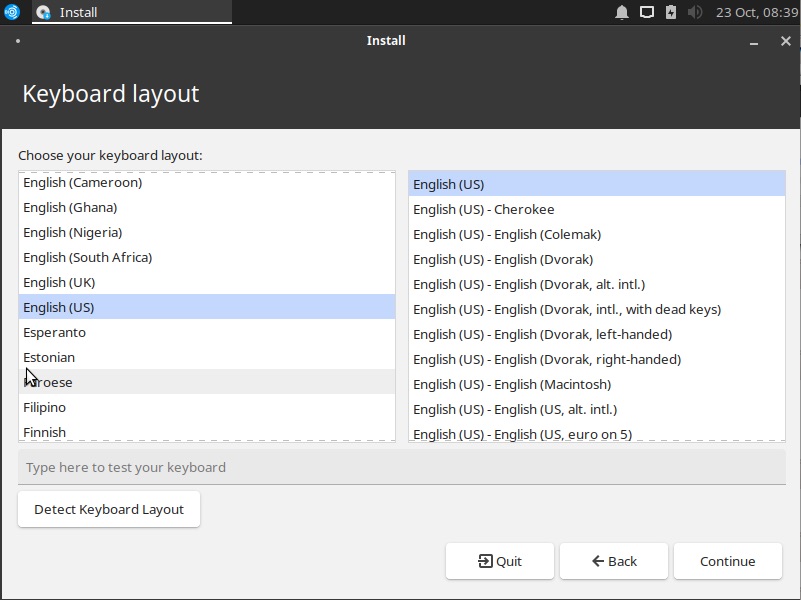
03. The next step allows you to select the keyboard layout. It tries to detect this and but you choose your preferred option. Then click on the “Continue” button.


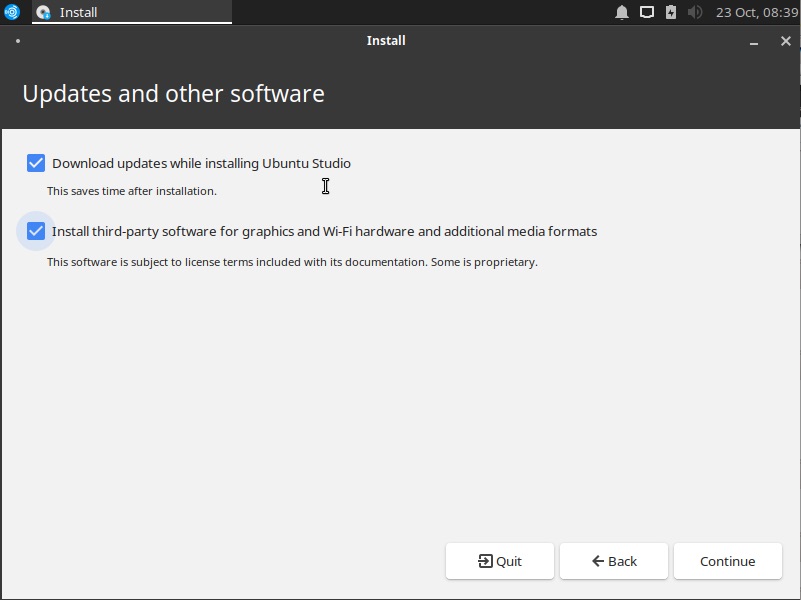
04. Tick the checkbox if you want to download updates from the internet and 3rd party software. Then click on the “Continue” button.


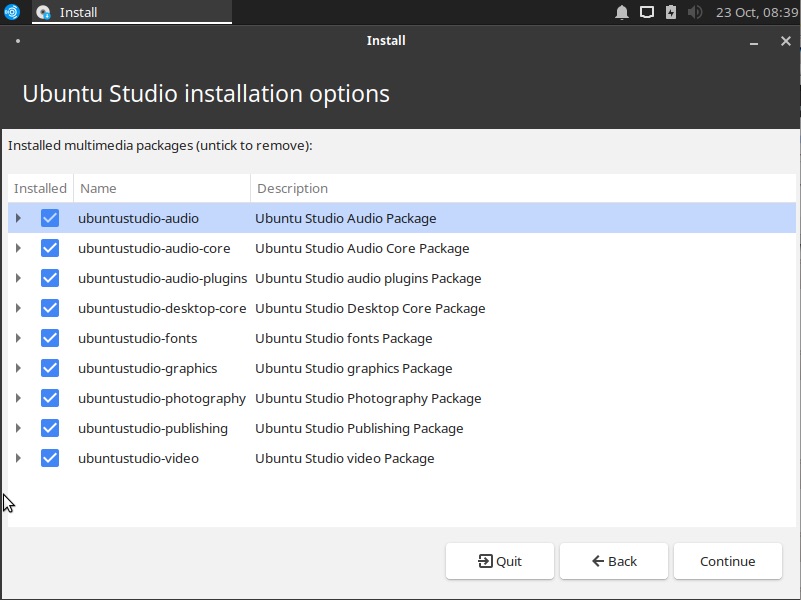
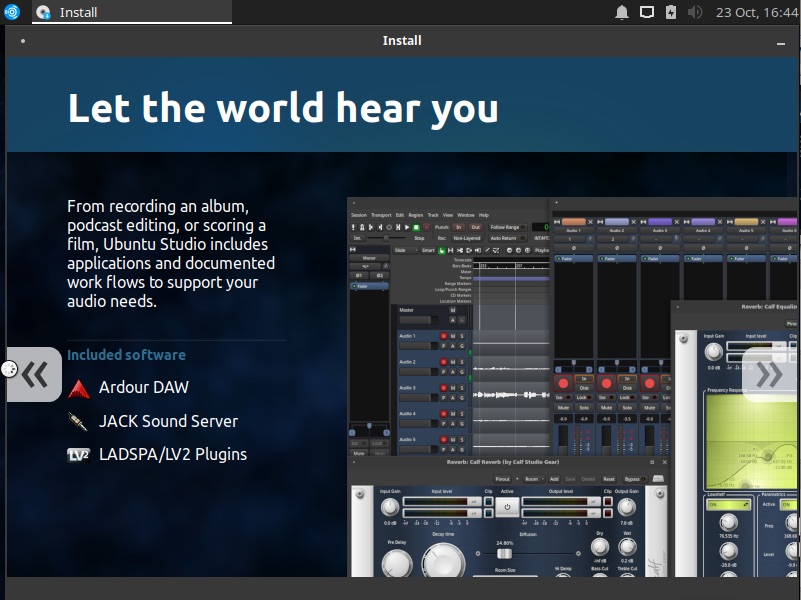
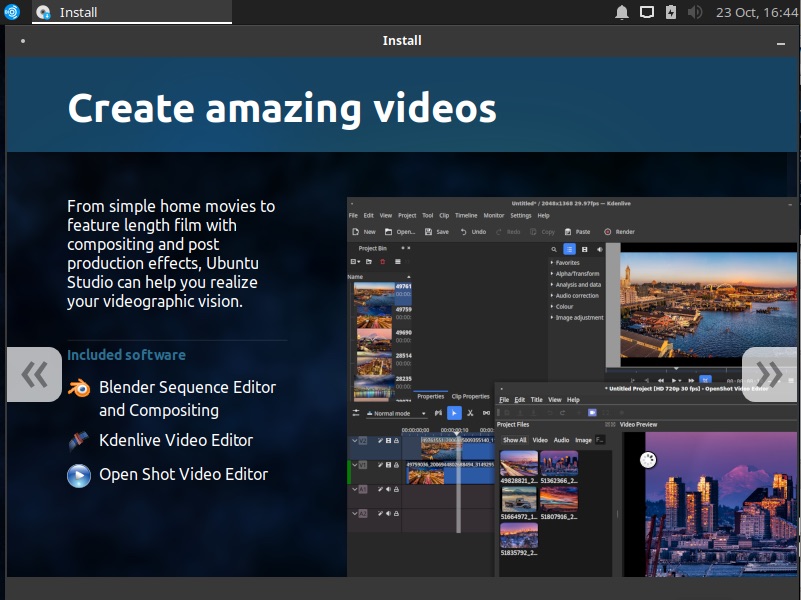
05. In this step you can select which additional multimedia packages you can install. Select the checkbox depending on your preference.


06. In the Installation type screen, you are given the option “Erase disk and install Ubuntu Studio” which will provide a clean install, removing any files you have on disk. Another option is in the “Something else” option which will let you manage the disk and create multiple partitions for Ubuntu.


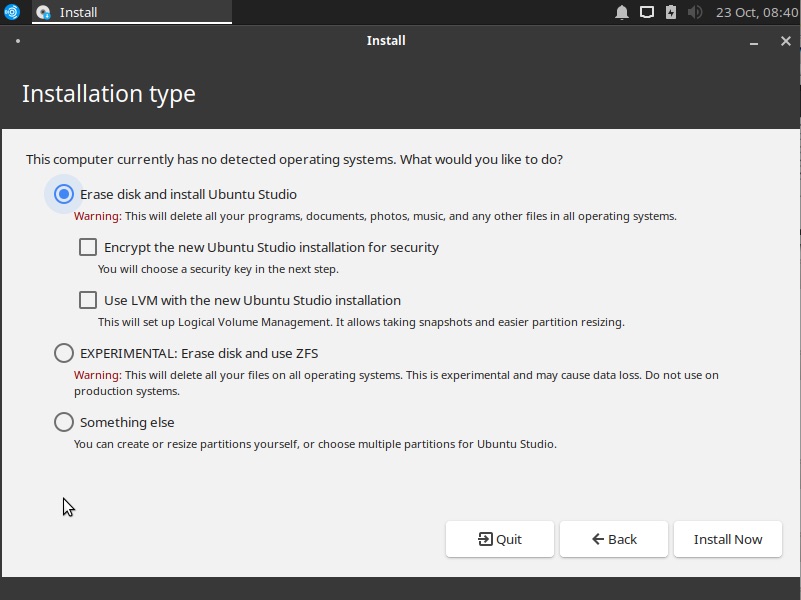
07. Optional. There is also the option for Encryption and LVM (Logical Volume Management). Opting to Encrypt will require you later to provide a security key (or password). This will later require you to enter the security key before even logging to your Ubuntu user account.

Read More  How To: Install Python 3.7 In Windows


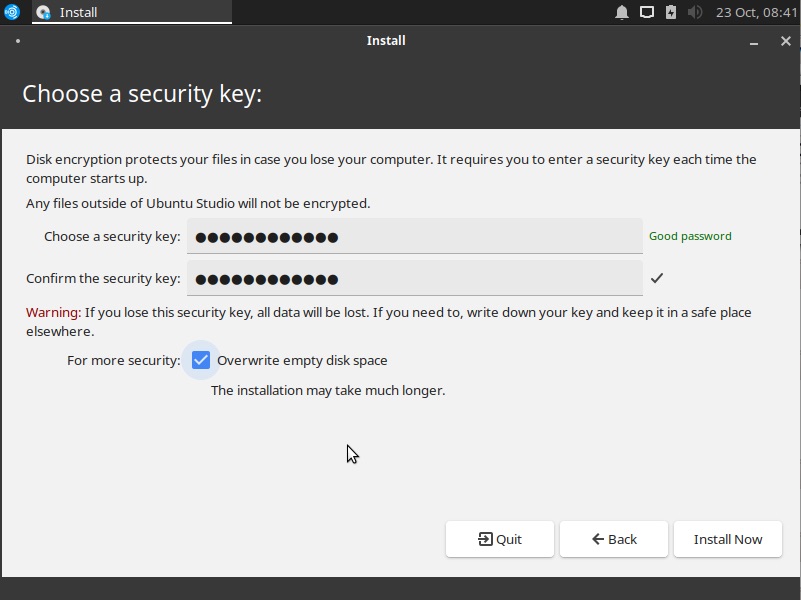
08. Optional if you selected to encrypt the Ubuntu installation, skip to the next step if not selected. Enter the security key and confirm it. Choose a good password (lengthy enough but one that you can remember).


09. Confirm the changes to the disk, then select “Continue”.


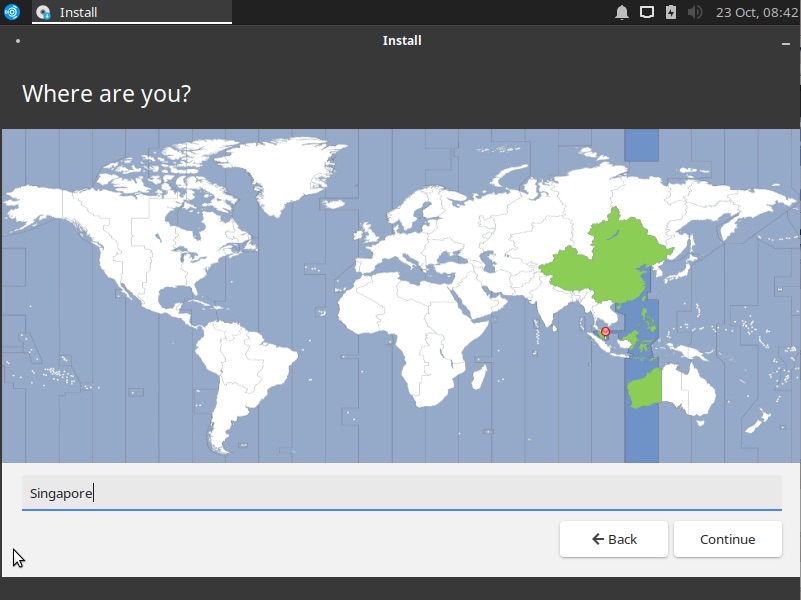
10. Choose from the map or use the textbox to search for your preferred Timezone.


11. Choose your name, computer name, username and password. Note: the “Name” and “Username” does not necessarily have to be the same, this is just an example.


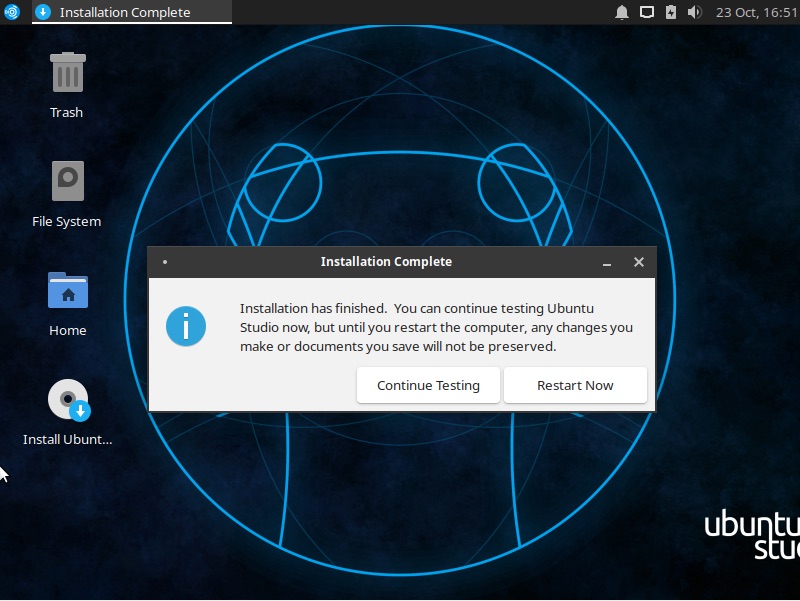
12. Wait until the installation is completed. This might take longer if you opted to encrypt the Ubuntu installation.


13. Click on the “Restart Now” button once finished.


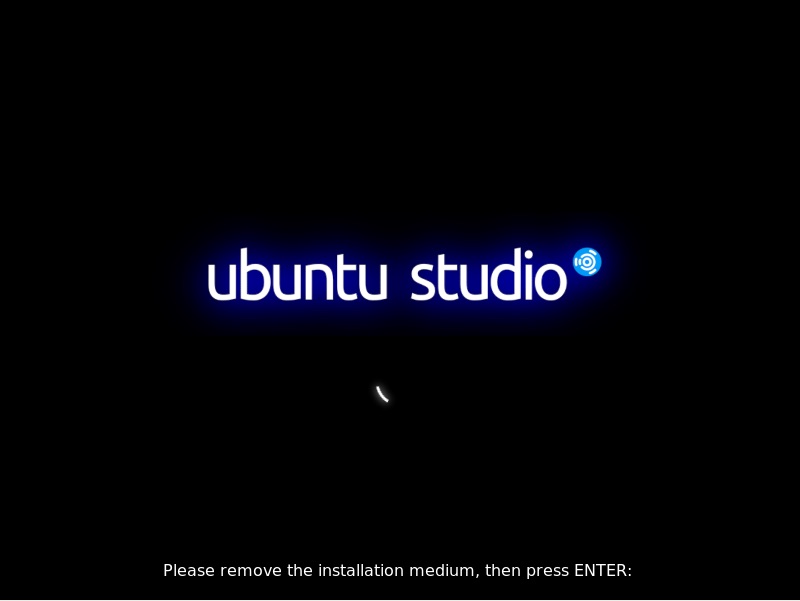
14. A prompt to remove the installation medium will be shown. Remove the disk or USB drive, then press “Enter”.


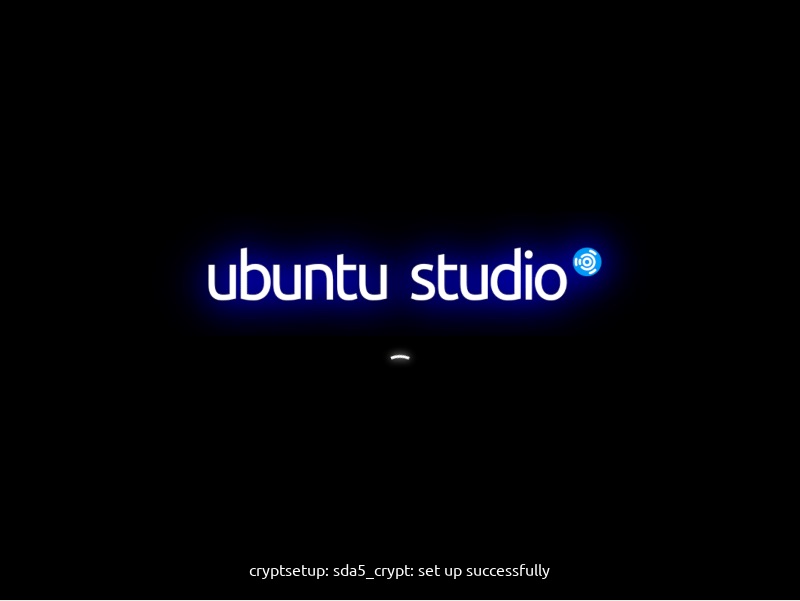
15. Optional if you opted to encrypt the Ubuntu Studio installation. On every boot, you will be asked to enter the encryption key. Supply the key/password then press “Enter” key on the keyboard.


16. The list of users will be shown, select the user with your mouse or keyboard. Enter the user password then click on the “Log In” button (or press the “Enter” key).


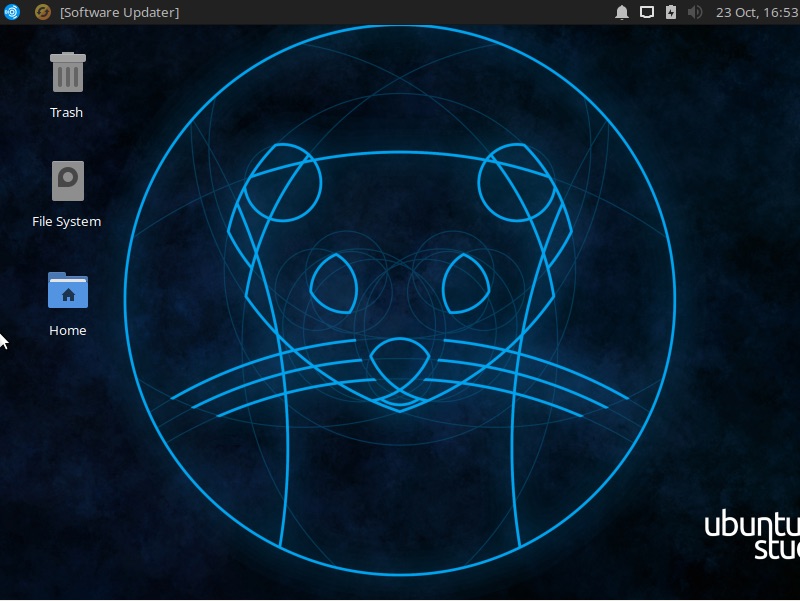
17. Congratulations you’ve successfully installed Ubuntu Studio 19.10!


For enquiries, product placements, sponsorships, and collaborations, connect with us at [email protected]. We'd love to hear from you!

Our humans need coffee too! Your support is highly appreciated, thank you!

root

Related Topics
  • Installation
  • Ubuntu Studio
You May Also Like
View Post
  • Software
  • Technology

Canonical Releases Ubuntu 25.04 Plucky Puffin

  • April 17, 2025
View Post
  • Software
  • Technology

IBM Accelerates Momentum in the as a Service Space with Growing Portfolio of Tools Simplifying Infrastructure Management

  • March 27, 2025
Vehicle manufacturing
View Post
  • Software

IBM Study: Vehicles Believed to be Software Defined and AI Powered by 2035

  • December 12, 2024
aster-cloud-tux-gaming
View Post
  • Computing
  • Gears
  • Software

5 best Linux distributions for gamers in 2024

  • September 11, 2024
Crab
View Post
  • Gears
  • Learning
  • Software

The Best Friends for a Rustacean. Top Books in Learning Rust.

  • August 25, 2024
Coffee | Laptop | Notebook | Work
View Post
  • Software

The Hidden Economy Of Open Source Software

  • April 28, 2024
Redis logo
View Post
  • Platforms
  • Software

Redis Moves To Source-Available Licenses

  • April 2, 2024
View Post
  • Software
  • Technology

Charmed MongoDB Enters General Availability

  • March 26, 2024

Stay Connected!
LATEST
  • 1
    Just make it scale: An Aurora DSQL story
    • May 29, 2025
  • 2
    Reliance on US tech providers is making IT leaders skittish
    • May 28, 2025
  • Examine the 4 types of edge computing, with examples
    • May 28, 2025
  • AI and private cloud: 2 lessons from Dell Tech World 2025
    • May 28, 2025
  • 5
    TD Synnex named as UK distributor for Cohesity
    • May 28, 2025
  • Weigh these 6 enterprise advantages of storage as a service
    • May 28, 2025
  • 7
    Broadcom’s ‘harsh’ VMware contracts are costing customers up to 1,500% more
    • May 28, 2025
  • 8
    Pulsant targets partner diversity with new IaaS solution
    • May 23, 2025
  • 9
    Growing AI workloads are causing hybrid cloud headaches
    • May 23, 2025
  • Gemma 3n 10
    Announcing Gemma 3n preview: powerful, efficient, mobile-first AI
    • May 22, 2025
about
Hello World!

We are aster.cloud. We’re created by programmers for programmers.

Our site aims to provide guides, programming tips, reviews, and interesting materials for tech people and those who want to learn in general.

We would like to hear from you.

If you have any feedback, enquiries, or sponsorship request, kindly reach out to us at:

[email protected]
Most Popular
  • 1
    Cloud adoption isn’t all it’s cut out to be as enterprises report growing dissatisfaction
    • May 15, 2025
  • 2
    Hybrid cloud is complicated – Red Hat’s new AI assistant wants to solve that
    • May 20, 2025
  • 3
    Google is getting serious on cloud sovereignty
    • May 22, 2025
  • oracle-ibm 4
    Google Cloud and Philips Collaborate to Drive Consumer Marketing Innovation and Transform Digital Asset Management with AI
    • May 20, 2025
  • notta-ai-header 5
    Notta vs Fireflies: Which AI Transcription Tool Deserves Your Attention in 2025?
    • May 16, 2025
  • /
  • Technology
  • Tools
  • About
  • Contact Us

Input your search keywords and press Enter.