Overview
- An In-Memory data structure store
- Can be used for caching
- Supports strings, hashes, lists, sets, sorted sets and other data structures.
Prerequisites
- Operating System: Ubuntu 18
- Command Line Interface or Terminal
Installation via Tarball
Installing via tarball is recommended as it is compiled from source.
01. Open a terminal window
From our partners:

02. Install build-essential, which will be used for building redis from source
$ sudo apt update
$ sudo apt install -y build-essential

Install also tcl.
$ sudo apt-get install -y tcl

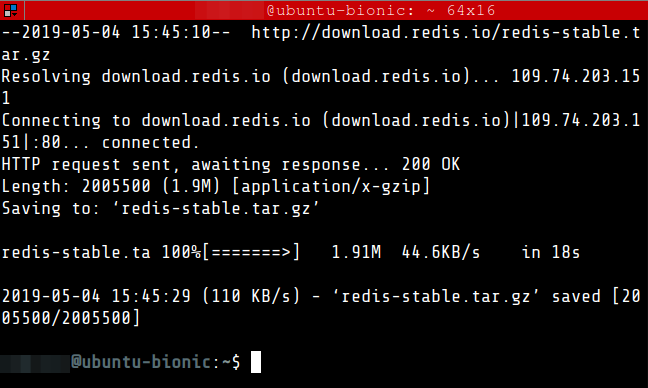
03. Download the stable version of redis
$ wget http://download.redis.io/redis-stable.tar.gz
04. Unpack and build redis
$ tar xvzf redis-stable.tar.gz
$ cd redis-stable
$ sudo make
Wait until the make command finish, this might take some time.
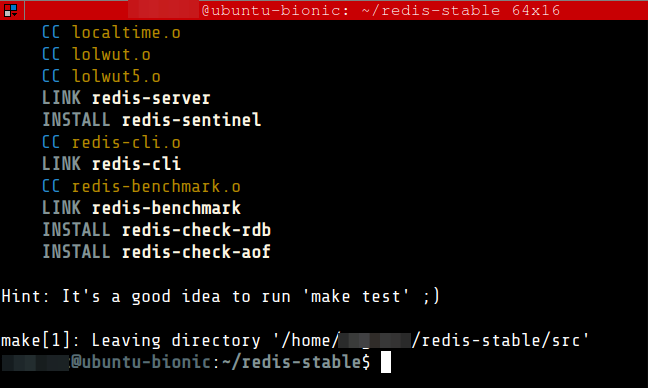
Then run <strong>make install</strong>
$ sudo make install

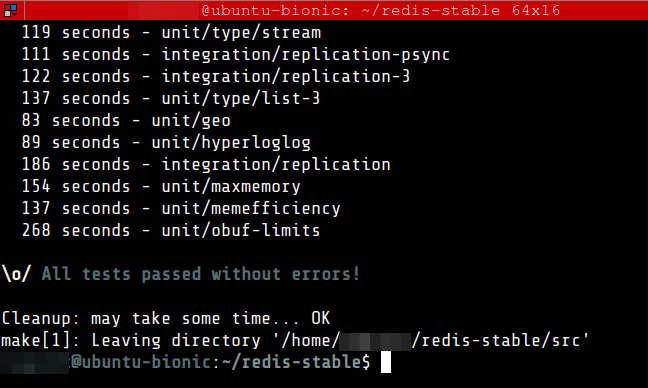
05. As hinted by redis, it is a good idea to run the make test command.
$ sudo make test
This will also take some time.
06. Create the directories.
$ sudo mkdir /etc/redis

$ sudo mkdir /var/lib/redis

$ sudo mkdir /var/log/redis
07. Copy the template configuration file you’ll find in the root directory of the Redis distribution into /etc/redis/
$ sudo cp redis.conf /etc/redis/redis.conf
08. Edit the redis configuration file and apply the following.
| daemonize | yes |
| pidfile | /var/run/redis-server.pid |
| logfile | /var/log/redis/redis-server.log |
| dir | /var/lib/redis |
$ sudo nano /etc/redis/redis.conf
Update the following
...

# By default Redis does not run as a daemon. Use 'yes' if you need it.
# Note that Redis will write a pid file in /var/run/redis.pid when daemonized.
daemonize yes

...

# If a pid file is specified, Redis writes it where specified at startup
# and removes it at exit.
#
# When the server runs non daemonized, no pid file is created if none is
# specified in the configuration. When the server is daemonized, the pid file
# is used even if not specified, defaulting to "/var/run/redis.pid".
#
# Creating a pid file is best effort: if Redis is not able to create it
# nothing bad happens, the server will start and run normally.
pidfile /var/run/redis-server.pid

...

# Specify the log file name. Also the empty string can be used to force
# Redis to log on the standard output. Note that if you use standard
# output for logging but daemonize, logs will be sent to /dev/null
logfile /var/log/redis/redis-server.log

...

# The working directory.
#
# The DB will be written inside this directory, with the filename specified
# above using the 'dbfilename' configuration directive.
#
# The Append Only File will also be created inside this directory.
#
# Note that you must specify a directory here, not a file name.
dir /var/lib/redis
09. Copy the init script that you’ll find in the Redis distribution under the utils directory into /etc/init.d
$ sudo cp utils/redis_init_script /etc/init.d/redis-server
10. Edit the init script and apply the following.
If you changed the port in /etc/redis/redis.conf to a port other than 6379. Update the init script by setting the REDISPORT value to the same port you have set in redis configuration.
$ sudo nano /etc/init.d/redis-server
Update the config as follows. This setup is for running a single instance of redis, and adding a custom restart command, which just calls the stop and start as a convenience method.
#!/bin/sh
#
# Simple Redis init.d script conceived to work on Linux systems
# as it does use of the /proc filesystem.

### BEGIN INIT INFO
# Provides:     redis-server
# Default-Start:        2 3 4 5
# Default-Stop:         0 1 6
# Short-Description:    Redis data structure server
# Description:          Redis data structure server. See https://redis.io
### END INIT INFO

REDISPORT=6379
EXEC=/usr/local/bin/redis-server
CLIEXEC=/usr/local/bin/redis-cli

PIDFILE=/var/run/redis-server.pid
CONF="/etc/redis/redis.conf"

case "$1" in
    start)
        if [ -f $PIDFILE ]
        then
                echo "$PIDFILE exists, process is already running or crashed"
        else
                echo "Starting Redis server..."
                $EXEC $CONF
        fi
        ;;
    stop)
        if [ ! -f $PIDFILE ]
        then
                echo "$PIDFILE does not exist, process is not running"
        else
                PID=$(cat $PIDFILE)
                echo "Stopping ..."
                $CLIEXEC -p $REDISPORT shutdown
                while [ -x /proc/${PID} ]
                do
                    echo "Waiting for Redis to shutdown ..."
                    sleep 1
                done
                echo "Redis stopped"
        fi
        ;;
    status)
        PID=$(cat $PIDFILE)
        if [ ! -x /proc/${PID} ]
        then
            echo 'Redis is not running'
        else
            echo "Redis is running ($PID)"
        fi
        ;;
    restart)
        $0 stop
        $0 start
        ;;
    *)
        echo "Please use start or stop as first argument"
        ;;
esac
11. Add the new Redis init script to all the default runlevels.
$ sudo update-rc.d redis-server defaults

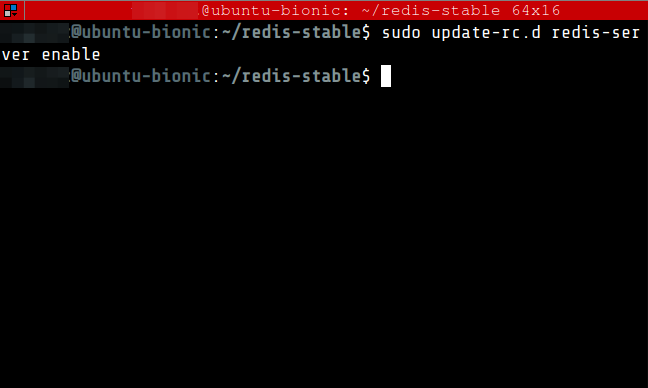
12. Configure redis server to start on system boot
$ sudo update-rc.d redis-server enable
13. Restart the server redis-server
$ sudo service redis-server restart
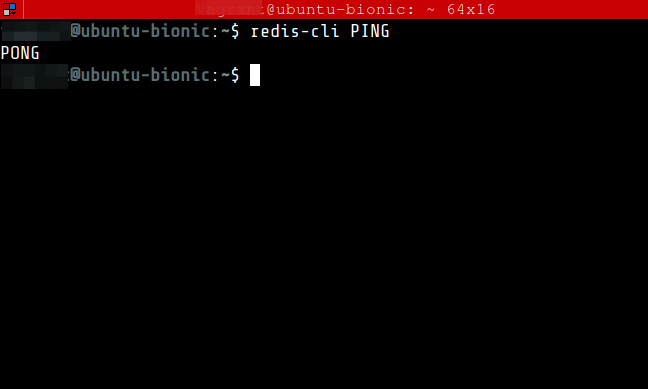
14. Test Redis by running the following command. It should return a PONG.
$ redis-cli PING
15. Exit from the redis-cli
$ exit
16. Test Redis functionality by performing simple operations. Access the redis CLI
$ redis-cli

17. Add new key-value pairs. An OK message should be returned.
127.0.0.1:6379> set pi 3.14159

18. Retrieve the value.
127.0.0.1:6379> get pi

Installation by Package Manager
If via Package Manager, the version of Redis may be outdated.
01. In the command line
$ sudo apt update
$ sudo apt install -y redis-server
02. Test Redis by running the following command. It should return a PONG.
$ redis-cli PING
For enquiries, product placements, sponsorships, and collaborations, connect with us at [email protected]. We'd love to hear from you!
Our humans need coffee too! Your support is highly appreciated, thank you!