aster.cloud aster.cloud
  • /
  • Platforms
    • Public Cloud
    • On-Premise
    • Hybrid Cloud
    • Data
  • Architecture
    • Design
    • Solutions
    • Enterprise
  • Engineering
    • Automation
    • Software Engineering
    • Project Management
    • DevOps
  • Programming
  • Tools
  • About
  • DevOps
  • Programming

How To Install And Configure Vagrant In Ubuntu

  • root
  • June 24, 2019
  • 2 minute read

Overview

This guide contains instructions on how to install and do basic configuration of Vagrant.


Prerequisites

  • Operating System: Ubuntu 18.04
  • Access to a Terminal or Shell Console
  • VirtualBox is installed for this guide. But not required if using Cloud Providers.


Installation

01: Open a terminal window


02: Make sure that VirtualBox is installed

$ vboxmanage --version

If not yet installed, you can download VirtualBox here first: https://www.virtualbox.org/wiki/Downloads


03: Update the package repository

$ sudo apt update


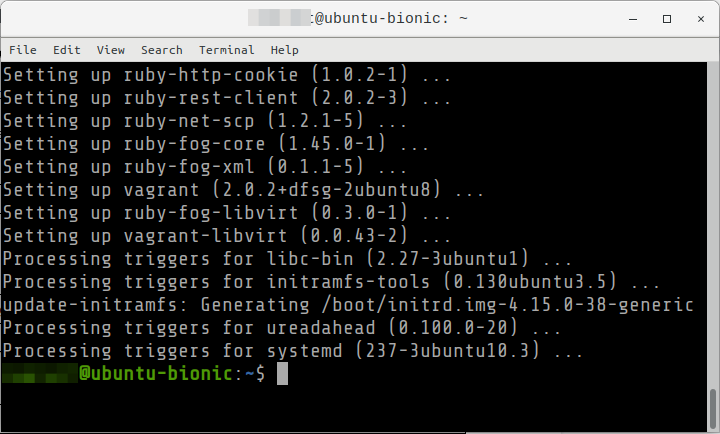
04: Install Vagrant from the package manager. Enter y when asked to confirm.

$ sudo apt install vagrant


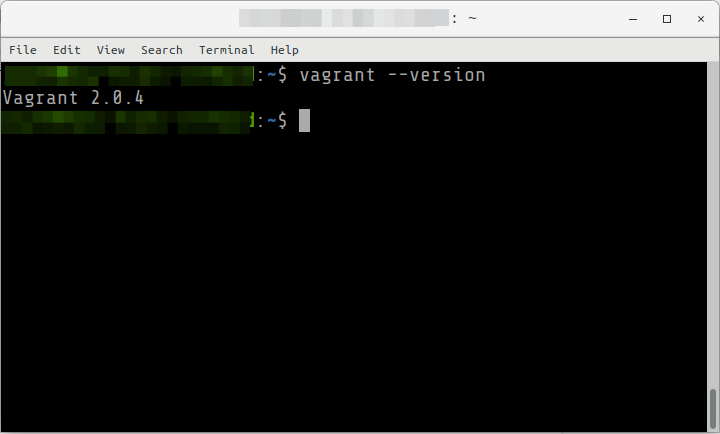
05: Verify that Vagrant has been installed correctly

$ vagrant --version


Configuration

Some are basic configuration when using Vagrant with VirtualBox

01: Create a new Vagrant box with an Ubuntu 18.04 OS. The setup will be:

  • Host: Ubuntu 18.04
  • Guest: Ubuntu 18.04 ← This is the Vagrant box we will be creating


02: Navigate or create the directory you want to create the box

$ cd ~

$ mkdir geek-ubuntu-1804

$ cd geek-ubuntu-1804


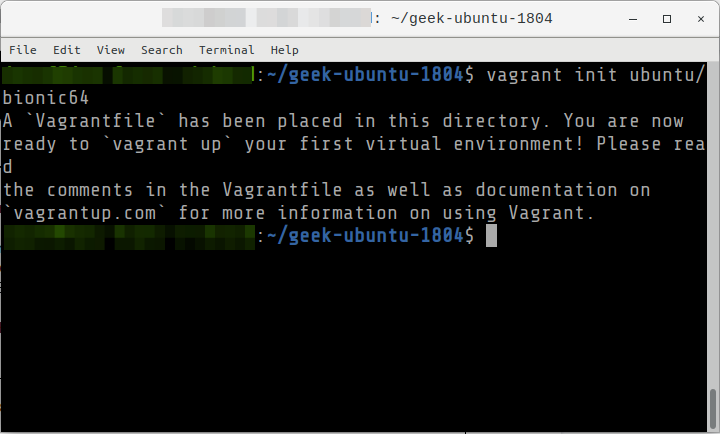
03: Initialize the configuration. This will create a Vagrantfile in the current directory.

$ vagrant init ubuntu/bionic64


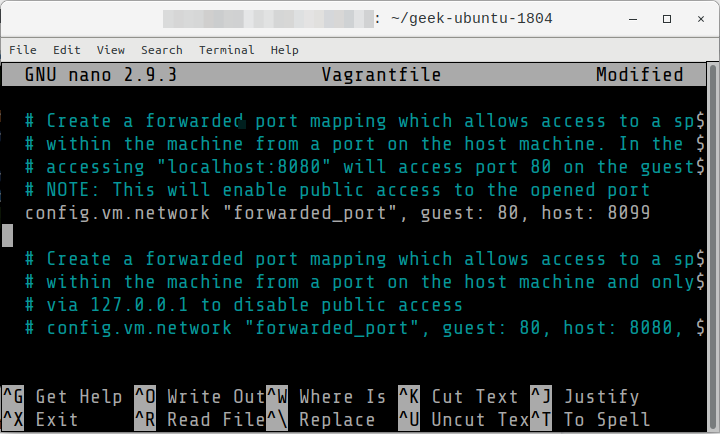
04: Update the Vagrantfile to make the following changes

  • Expose the Guest port 80 to the Host as port 8099
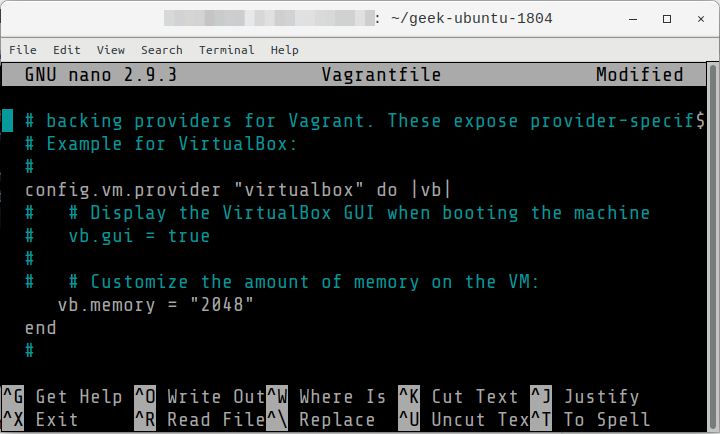
  • Change the RAM to 2 GB
$ nano Vagrantfile


Set the content as follows and save the changes.

...
Vagrant.configure("2") do |config|
  …
  config.vm.network "forwarded_port", guest: 80, host: 8099

  …
  config.vm.provider "virtualbox" do |vb|
    …
    vb.memory = "2048"

  end


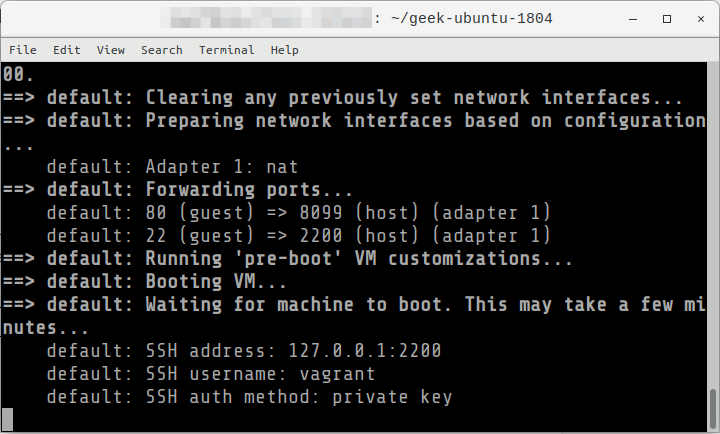
05: Provision the Vagrant box. This might take some time if you are creating a specific OS. But once it has been created, a cache of the OS image is saved locally.

$ vagrant up


Read More  Canonical Ubuntu Core 22 Is Now Available – Optimised For IoT And Embedded Devices

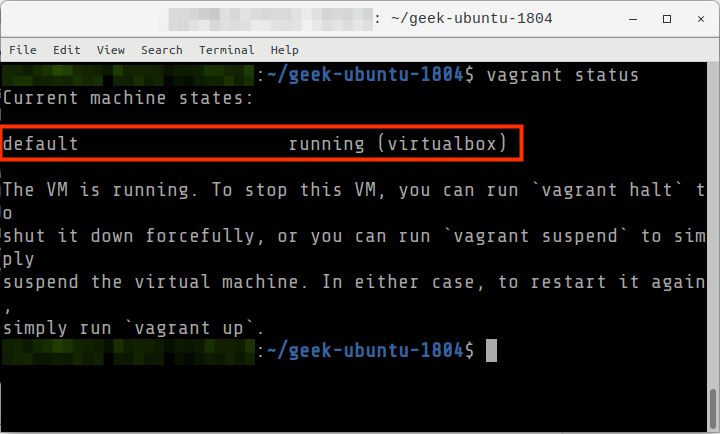
06: Verify the status of the machine

$ vagrant status


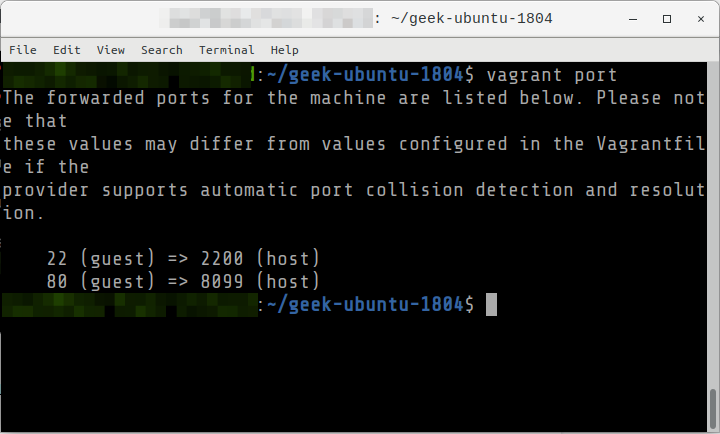
07: Check the accessible/exposed ports to the Host.

$ vagrant port


08: Access the server using Vagrant SSH.

$ vagrant ssh


09: Exit from the SSH session

$ exit


Commands

Vagrant commands must be executed in the directory where the box has been initialized (vagrant init)

Destroying the box
vagrant destroy
Viewing the exposed ports
vagrant port
Halt or stop the machine. Equal to shutdown.
vagrant halt
Suspends or pause the machine
vagrant suspend
Resumes the machine (when paused via suspend)
vagrant resume
View the status
vagrant status


root

Related Topics
  • How To
  • Ubuntu
  • Vagrant
  • Virtual Machine
  • VirtualBox
You May Also Like
View Post
  • DevOps
  • Engineering
  • People

2022 State Of DevOps Report Data Deep Dive: Good Team Culture

  • March 29, 2023
View Post
  • DevOps
  • Engineering

Verify POST Endpoint Availability With Uptime Checks

  • March 24, 2023
View Post
  • Automation
  • Programming

Learn Expect By Writing And Automating A Simple Game

  • March 14, 2023
View Post
  • Automation
  • Computing
  • DevOps

The Good And Bad Of ‘Zero-Touch’ Cloud Operations

  • February 23, 2023
View Post
  • DevOps
  • Software Engineering
  • Tools

Are Your CICD And DevOps Tools Really Helping Developers?

  • February 22, 2023
SQL
View Post
  • Data
  • Programming

Infrastructure from Code: the New Wave of Cloud Infrastructure Management

  • February 16, 2023
View Post
  • DevOps

How Multicloud Changes DevOps

  • February 15, 2023
View Post
  • Programming

Go 1.20 Is Released!

  • February 13, 2023

Stay Connected!
LATEST
  • 1
    Kubernetes K8s.gcr.io Redirect: What You Need To Know As An Anthos Or GKE User
    • March 30, 2023
  • 2
    Oracle Helidon Taps Virtual Threads For ‘Pure Performance’
    • March 29, 2023
  • 3
    2022 State Of DevOps Report Data Deep Dive: Good Team Culture
    • March 29, 2023
  • 4
    Google Data Cloud & AI Summit : In Less Than 12 Hours From Now
    • March 29, 2023
  • 5
    A 5-Minute Tour Of The Fediverse
    • March 28, 2023
  • 6
    Bringing Observability To Cloud Security
    • March 28, 2023
  • 7
    How AI Can Improve Digital Security
    • March 27, 2023
  • 8
    Docker’s Bad Week
    • March 27, 2023
  • 9
    My First Pull Request At Age 14
    • March 24, 2023
  • 10
    AWS Chatbot Now Integrated Into Microsoft Teams
    • March 24, 2023
about
Hello World!

We are aster.cloud. We’re created by programmers for programmers.

Our site aims to provide guides, programming tips, reviews, and interesting materials for tech people and those who want to learn in general.

We would like to hear from you.

If you have any feedback, enquiries, or sponsorship request, kindly reach out to us at:

[email protected]
Most Popular
  • 1
    Introducing GPT-4 In Azure OpenAI Service
    • March 21, 2023
  • 2
    IBM And Fundación Ikerbasque Partner To Launch Groundbreaking Quantum Computational Center
    • March 24, 2023
  • 3
    Cleveland Clinic And IBM Unveil First Quantum Computer Dedicated To Healthcare Research
    • March 20, 2023
  • 4
    Verify POST Endpoint Availability With Uptime Checks
    • March 24, 2023
  • 5
    Oracle Cloud Infrastructure to Increase the Reliability, Efficiency, and Simplicity of Large-Scale Kubernetes Environments at Reduced Costs
    • March 20, 2023
  • /
  • Platforms
  • Architecture
  • Engineering
  • Programming
  • Tools
  • About

Input your search keywords and press Enter.