Overview
This guide contains the step-by-step installation of Pop!_OS 18.04 (LTS) on your machine.
Pop!_OS is an Ubuntu-based Linux distribution featuring a custom GNOME desktop. Pop!_OS is designed to have a minimal amount of clutter on the desktop without distractions in order to allow the user to focus on work. The distribution is developed by Linux computer retailer System76.
From our partners:
Machine specs
Minimum
- 2 GB RAM
- 16 GB Storage
- 64-bit processor
Recommended
- 4 GB RAM
- 16 GB Storage
- 64-bit processor
Installation
01: Mount the USB containing the Pop! OS 18.04 ISO.
To download the ISO file, click here: https://system76.com/pop
02: Restart your machine
03: The first step you will encounter will be the language selection. Choose your preferred setting, in this example, English.
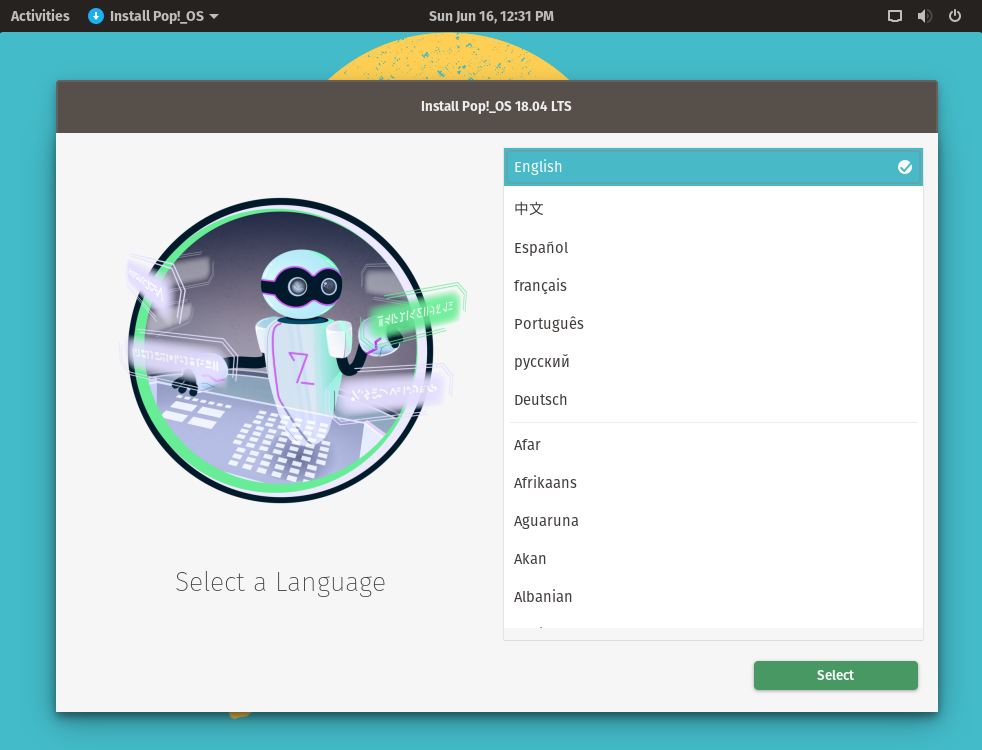
An additional option to choose which version of the language will be shown.

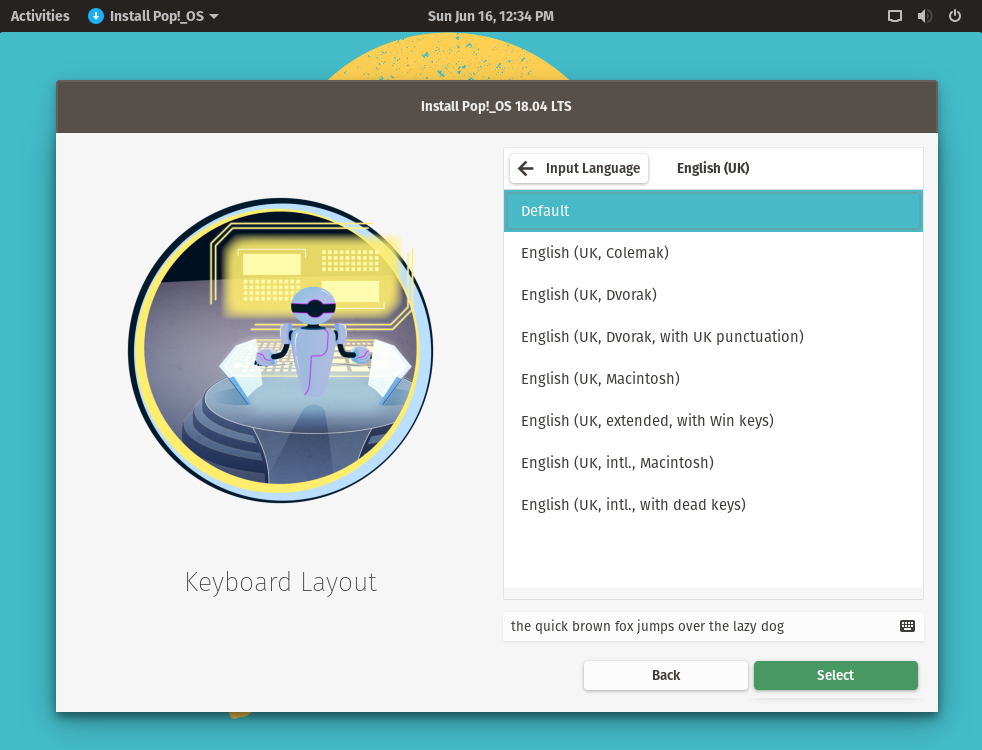
04: Select the Keyboard Layout
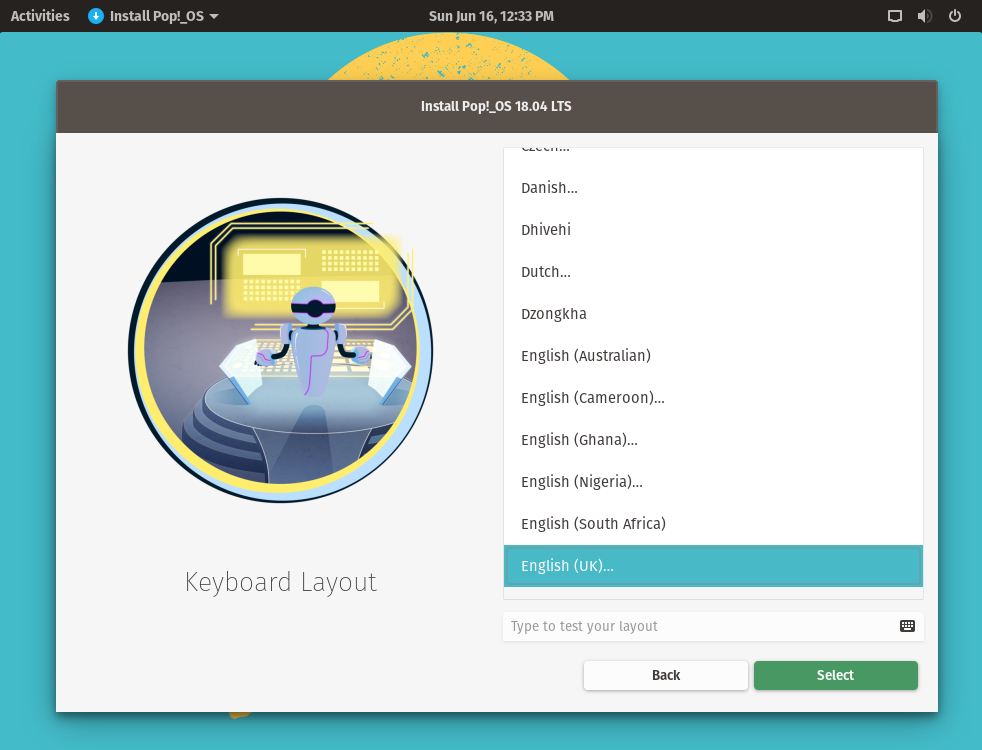
You can type something to test if the keyboard layout fits with your choice, then choose the Select button.

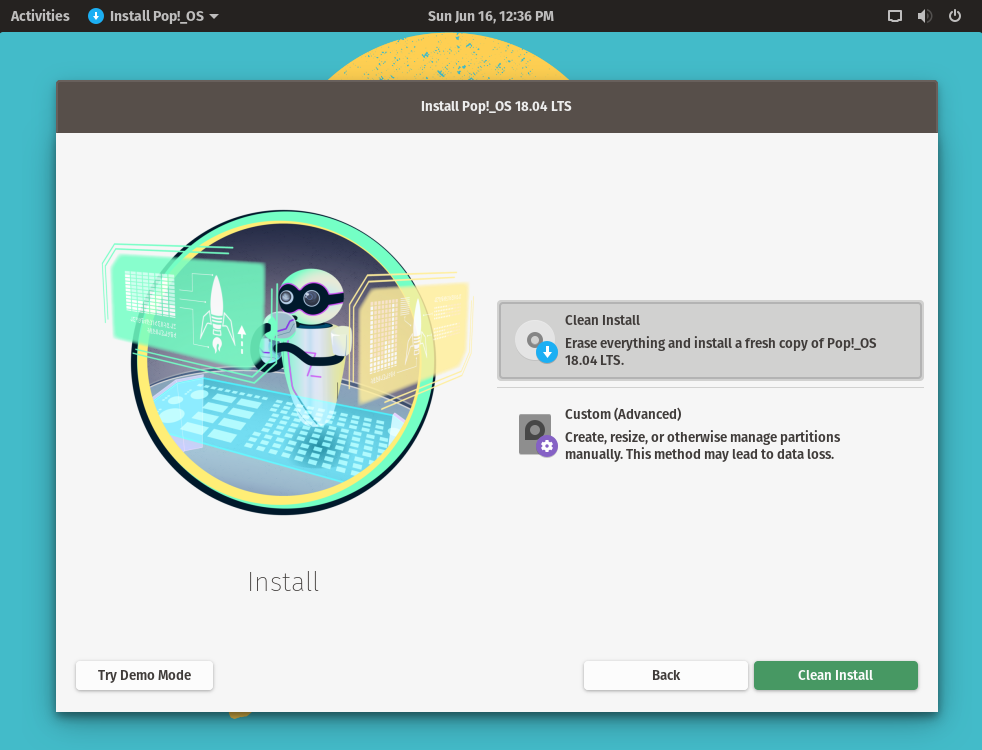
05: For fresh install, select the Clean Install option. An additional option for customized disk size and partition is also available. In this example, Clean Install option is used.
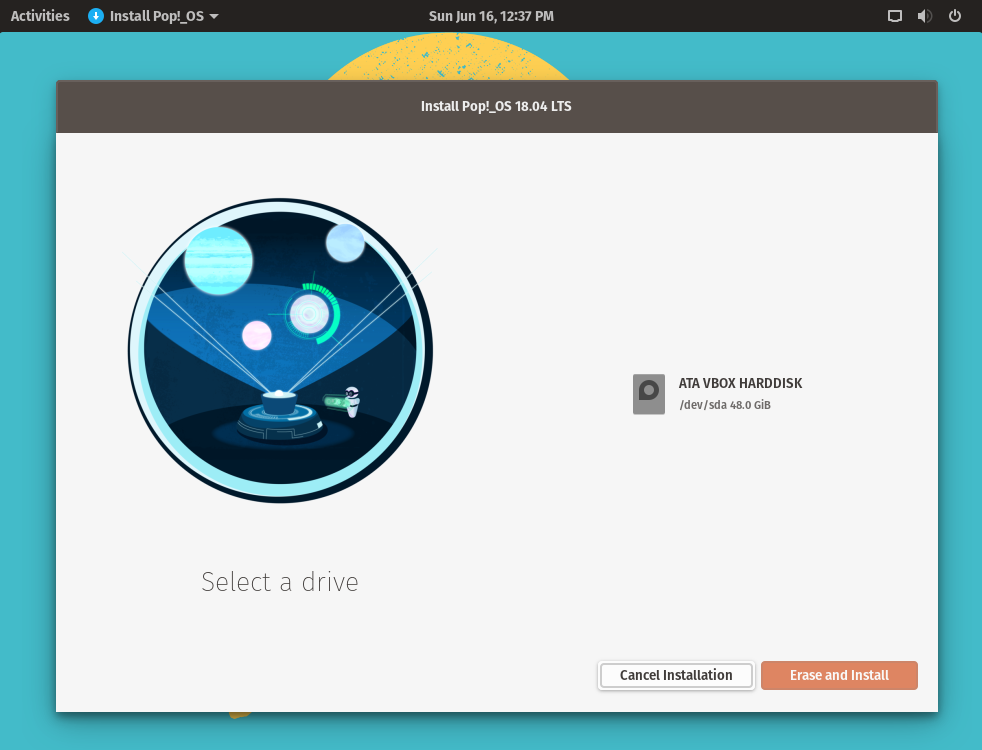
06: You will be asked to select the physical disk drive to install. Select the drive then click the Erase and Install button.
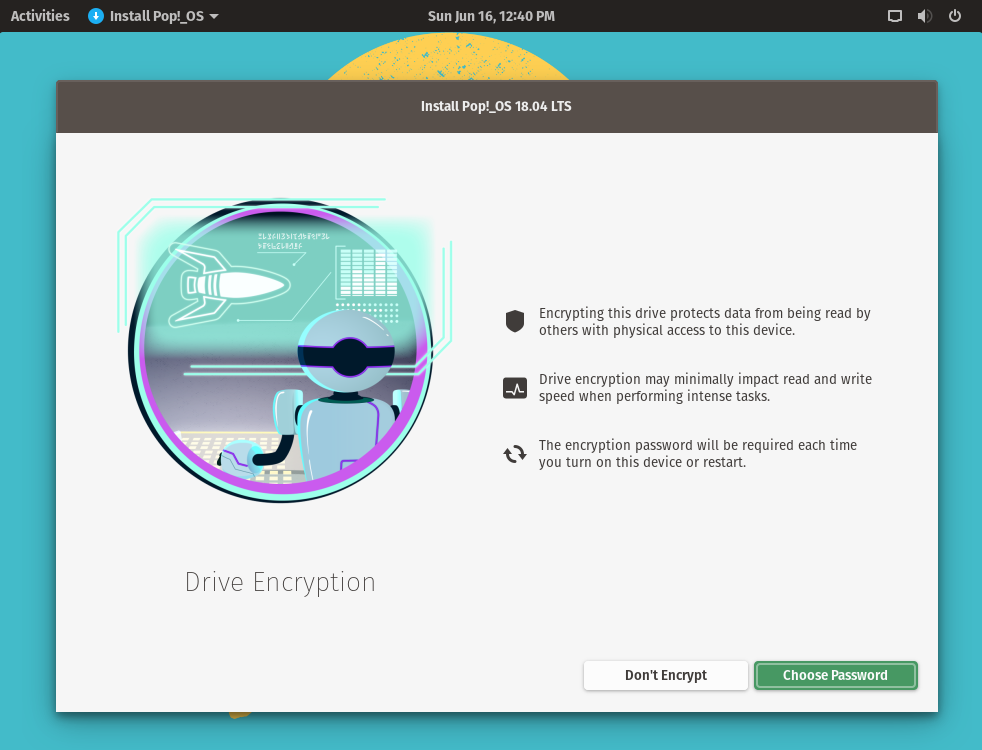
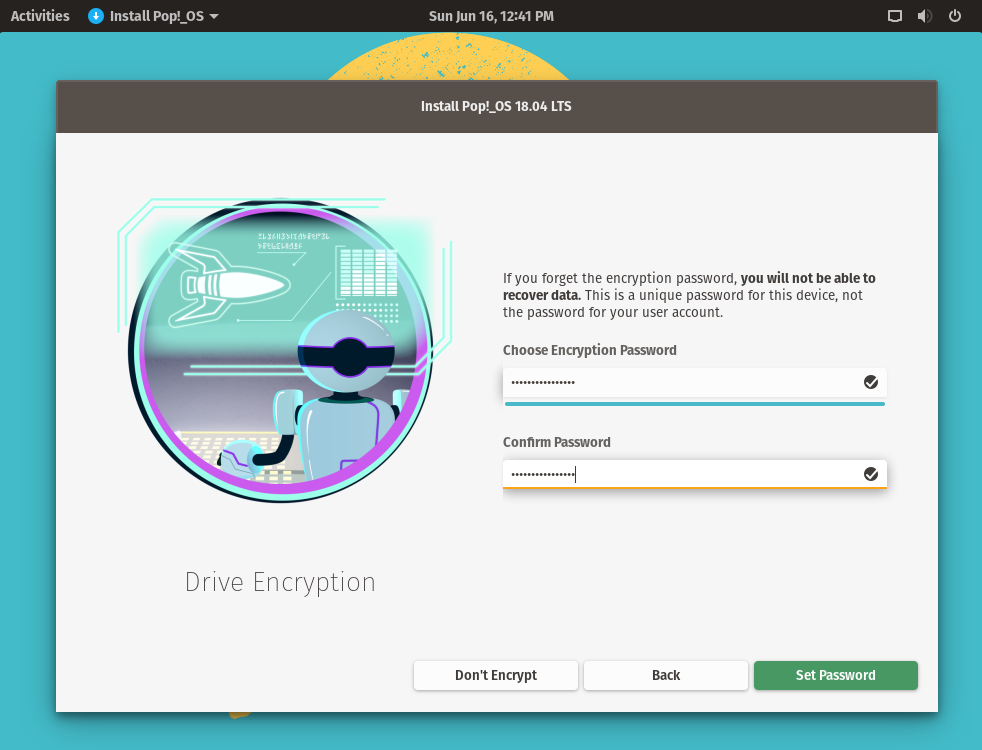
07: Next is the Encryption options. By default Encryption is enabled when you choose the Choose Password button. Select the Don’t Encrypt button if you don’t want the drive to be encrypted.
08: Enter your password and select the Set Password button. Note that this is not the OS User password but the password for the encrypted drive if enabled. The OS User will be configured later after installation and first start of the system.
09: Wait for the installation to finish.

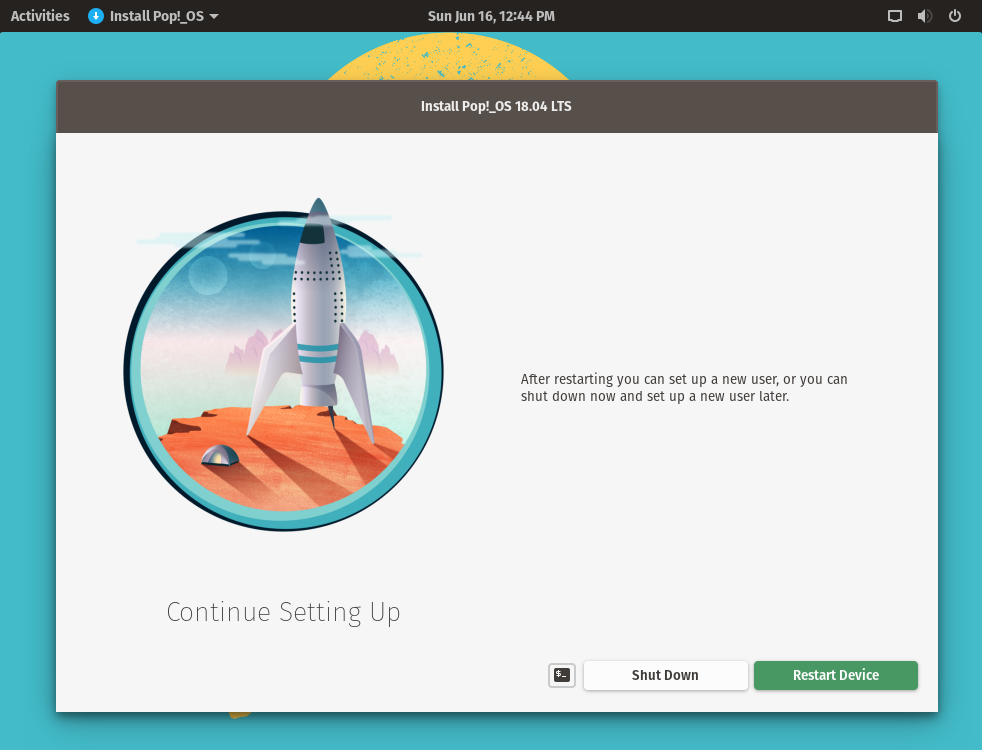
10: Once the installation is complete you will be asked to restart the system. Select the Restart Device button.
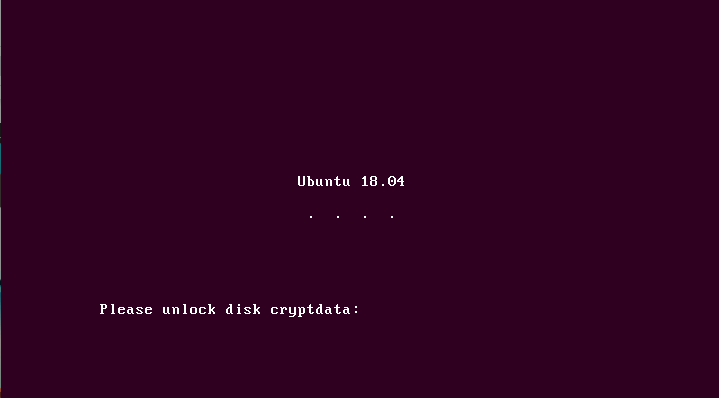
11: (Optional) encryption is enabled. If you’ve chosen to encrypt the data, the encrypted drive password is required to be entered before proceeding further.
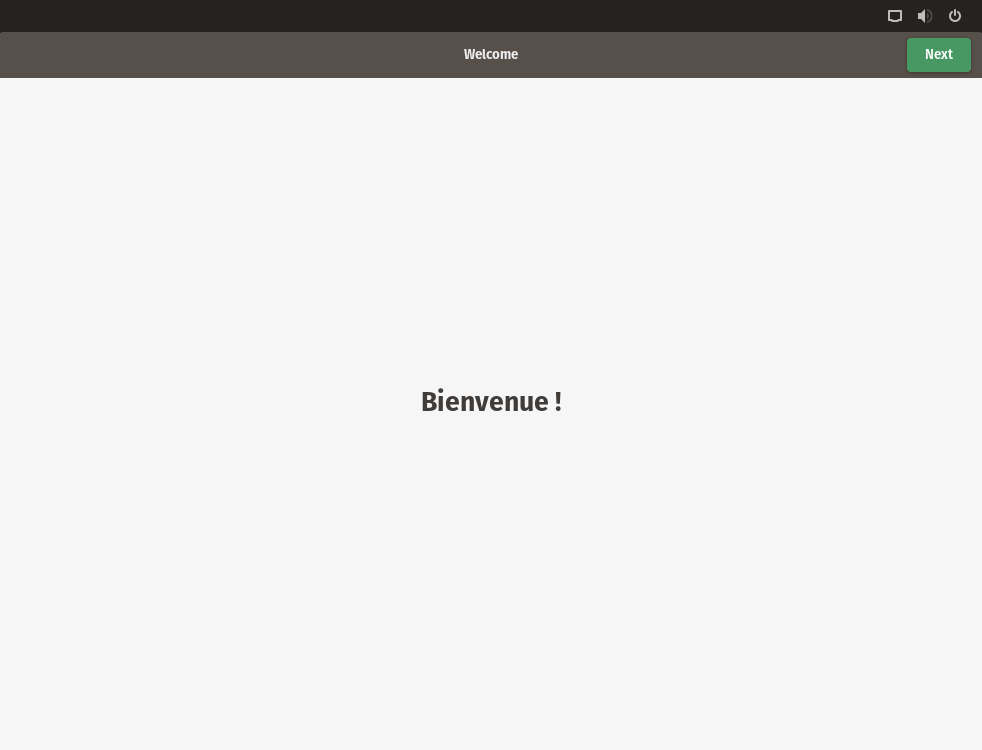
12: The word Welcome will be shown in different language until you select the Next button.
13: Confirm the keyboard layout, then select the Next button.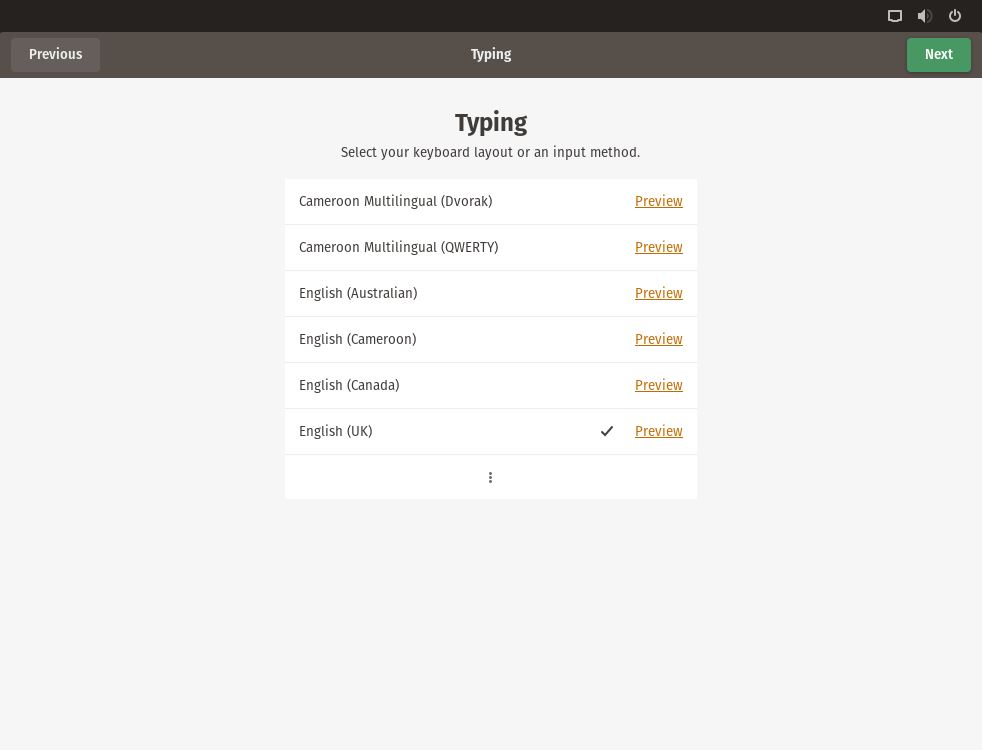
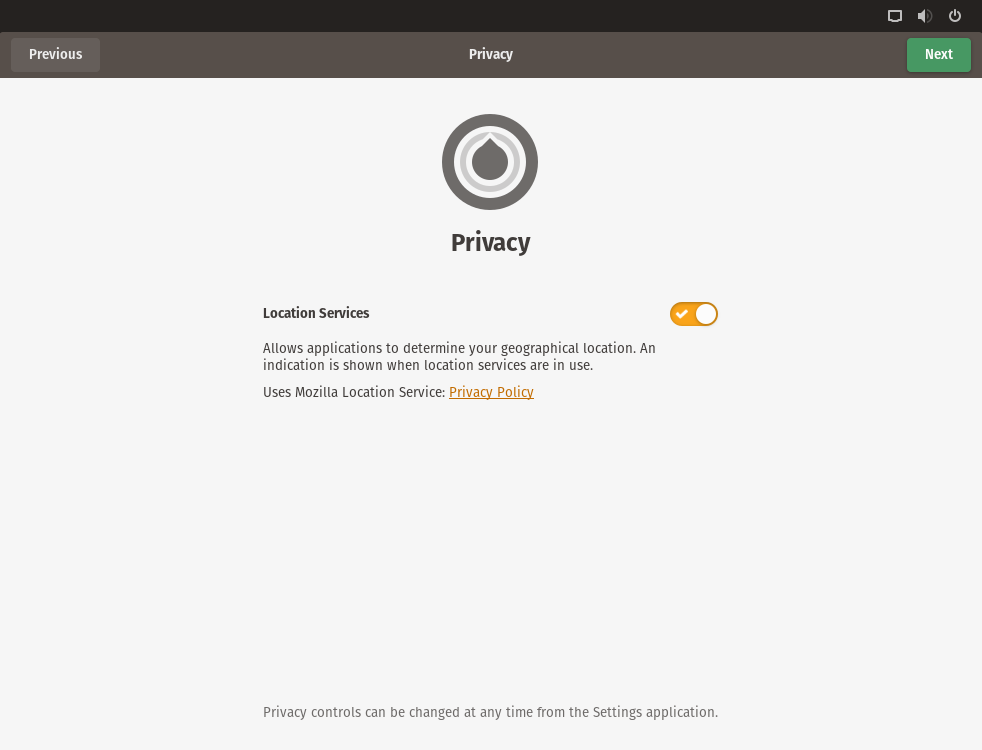
14: You can opt to enable Privacy and Location settings, then select Next button. This can be changed later.
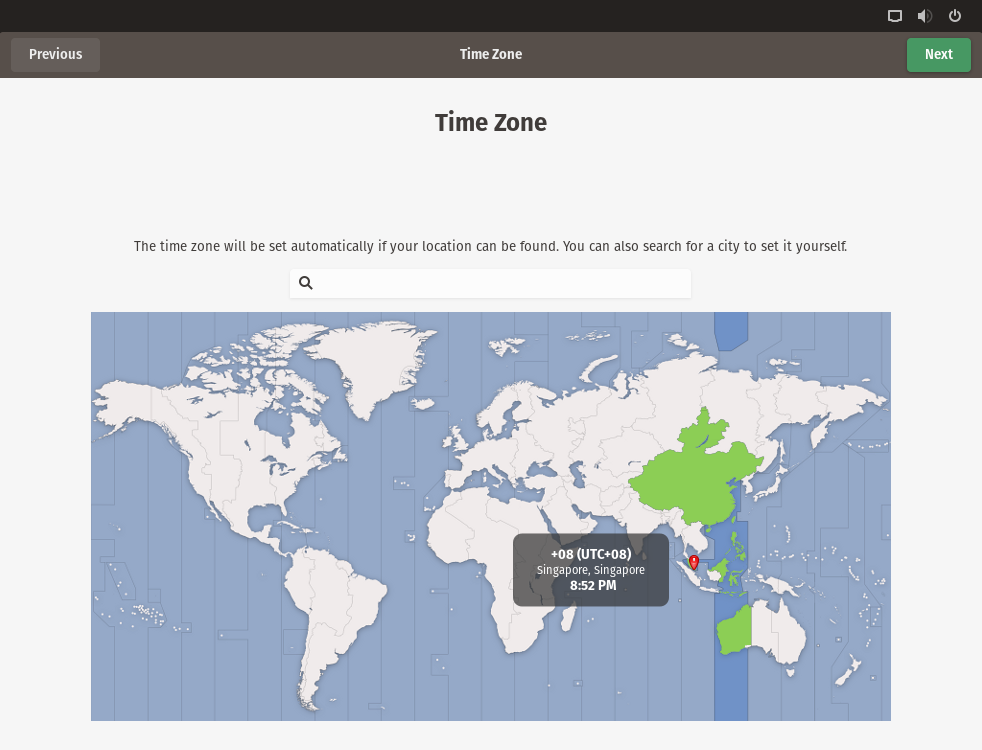
15: Select the preferred Time Zone.
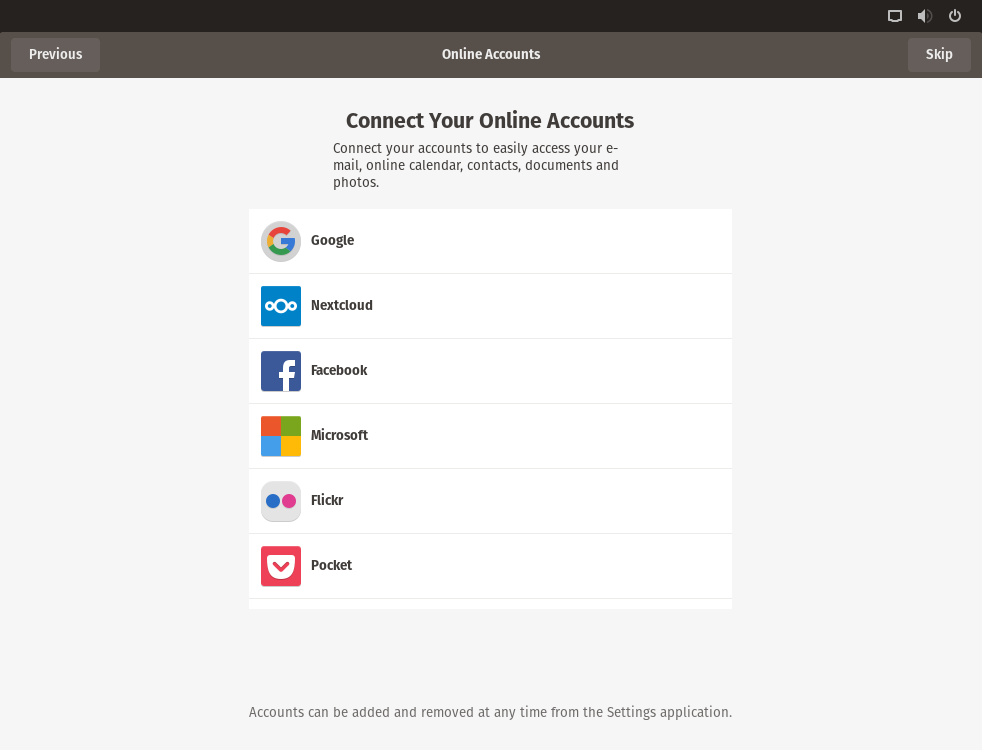
16: Next is the option to add accounts, such as Google, NextCloud, Facebook, Microsoft, Flickr and Pocket. Or add them later by selecting the Skip button.
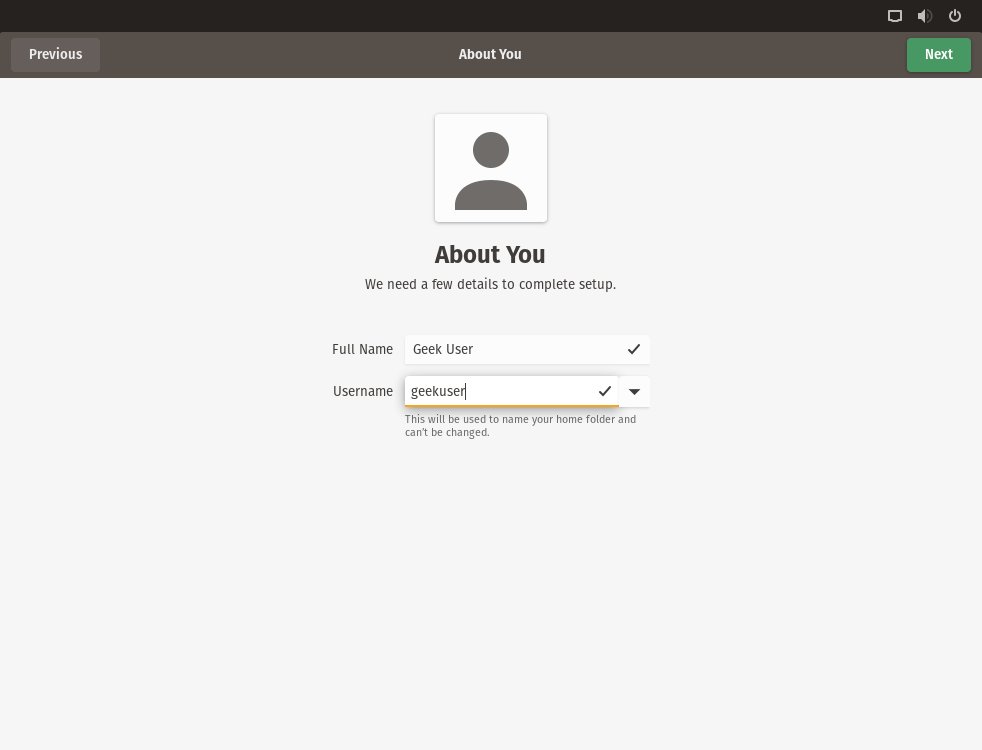
17: This is where the OS user will be created. Select your Full Name and Username. Then select the Next button.
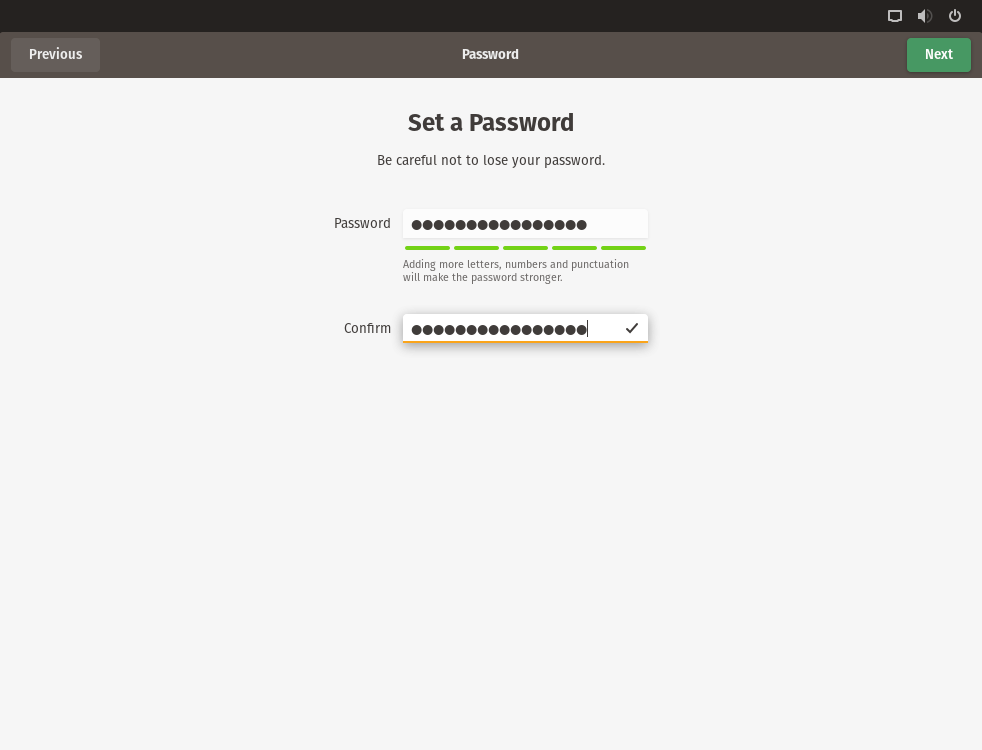
18: Set the password and confirmation password. It is recommended to include an uppercase and lowercase character, and also make your password longer. The longer the better, but choose something you can remember. Then select the Next button.
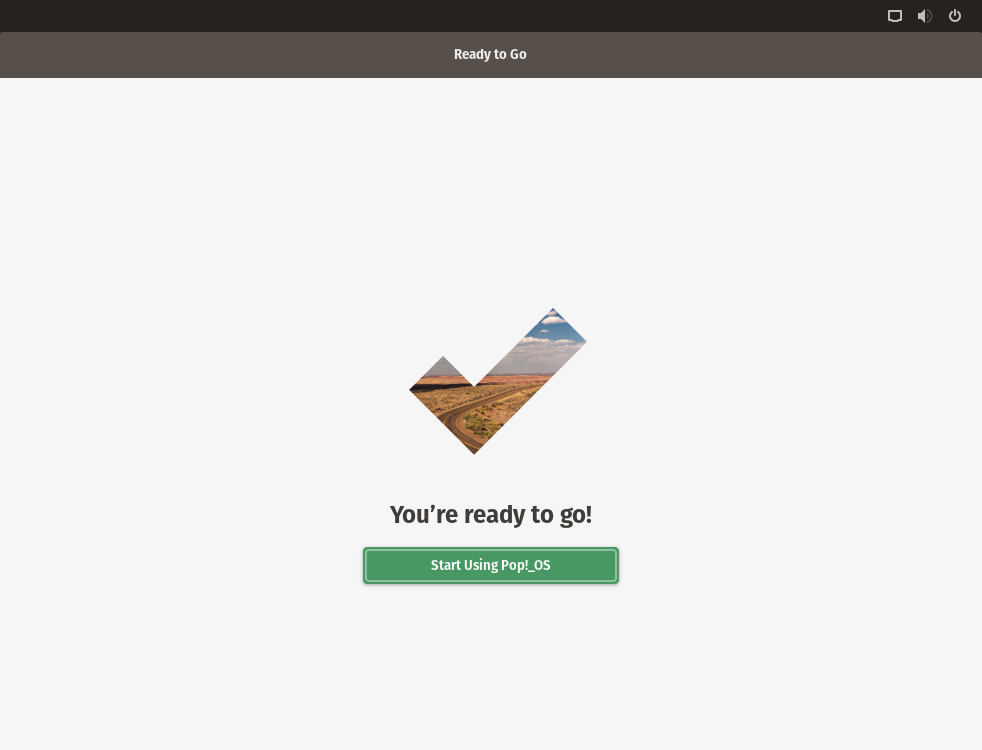
19: You’ve now completed the installation. Hooray! Now enjoy the fruits of your labor and start exploring or using Pop! OS. Select the Start Using Pop!_OS button.
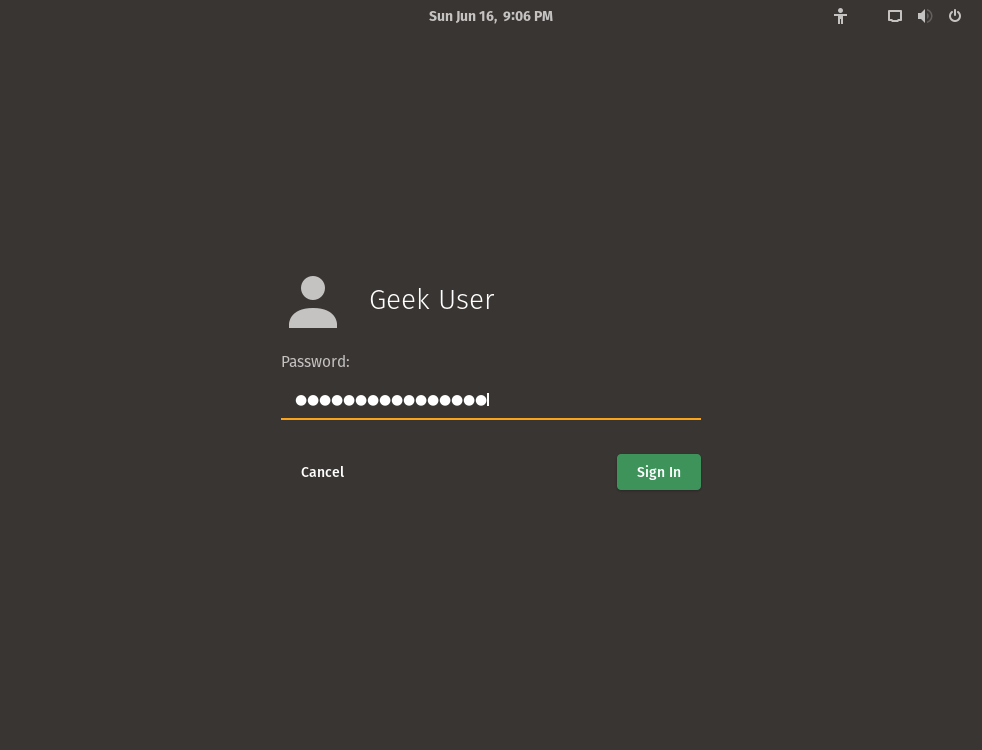
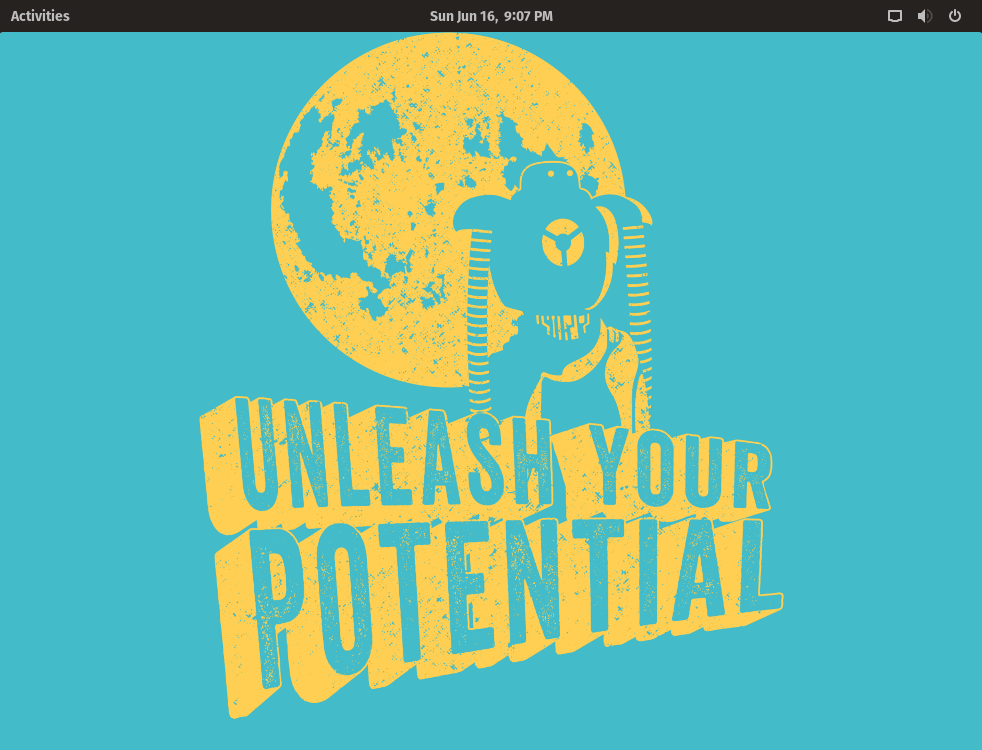
20: Unleash your potential and start using Pop!_OS.
For enquiries, product placements, sponsorships, and collaborations, connect with us at [email protected]. We'd love to hear from you!
Our humans need coffee too! Your support is highly appreciated, thank you!