
Overview
This guide contains instructions on how to install and do basic configuration of a PostgreSQL database.
From our partners:
Prerequisites
- Operating System : Ubuntu 18.04
- Access to a Terminal or Shell Console
Install
01: Open a terminal window
02: Update the package repository list
$ sudo apt update
03: Install PostgreSQL via APT package manager. Enter y when asked to confirm.
$ sudo apt install postgresql postgresql-contrib
04: Change to the postgres user account.
$ sudo -i -u postgres

05: Access the psql shell
$ psql

06: Verify that installed correctly by showing the built-in PostgreSQL system tables.
postgres=# SELECT * FROM pg_catalog.pg_tables;
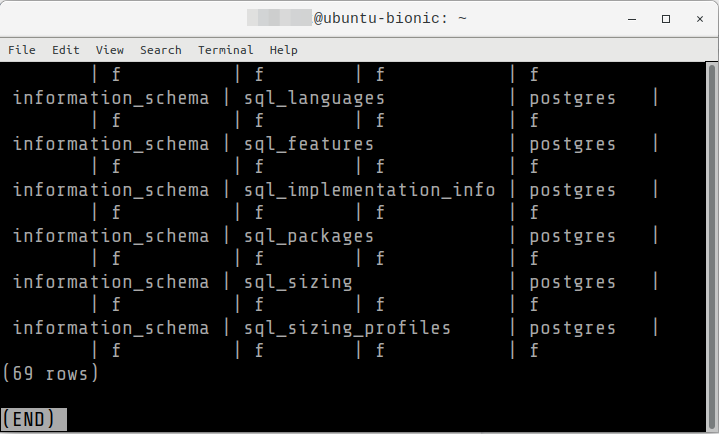
Press q to exit from the listing of sql tables.
07: Exit from the psql session
# Exit from psql

postgres=# \q

# Exit from postgres user

postgres@ubuntu-bionic: ~$ exit

Accept database connection from anywhere
WARNING: Use only in development environment, this poses a security concern when applied in a production environment.
01: Edit the postgre config located at
/etc/postgresql/<sql-version>/main/postgresql.conf
At the time of this writing the stable version of PostgreSQL is 10.
# FORMAT

$ sudo nano /etc/postgresql/<b>{sql-version}</b>/main/postgresql.conf

# SAMPLE

$ sudo nano /etc/postgresql/<b>10</b>/main/postgresql.conf
localhost is the default value, which means it can only be accessed locally from the server. And not remotely.

02: Set to asterisk, *, to make it accessible anywhere, then save the changes.

03: Restart the PostgreSQL service to apply the changes in config.
$ sudo service postgresql restart

For enquiries, product placements, sponsorships, and collaborations, connect with us at [email protected]. We'd love to hear from you!
Our humans need coffee too! Your support is highly appreciated, thank you!