Overview
This guide shows how to install Ubuntu 19.10 on a new machine.
From our partners:
Prerequisites
- A disk or USB drive with a bootable Ubuntu 19.10
- Link to Ubuntu 19.10 Desktop
- Recommended Machine Requirements
- 2 GHz dual core processor
- 4 GiB RAM (system memory)
- 25 GB of hard-drive space (or USB stick, memory card or external drive but see LiveCD for an alternative approach)
- VGA capable of 1024×768 screen resolution
Installation
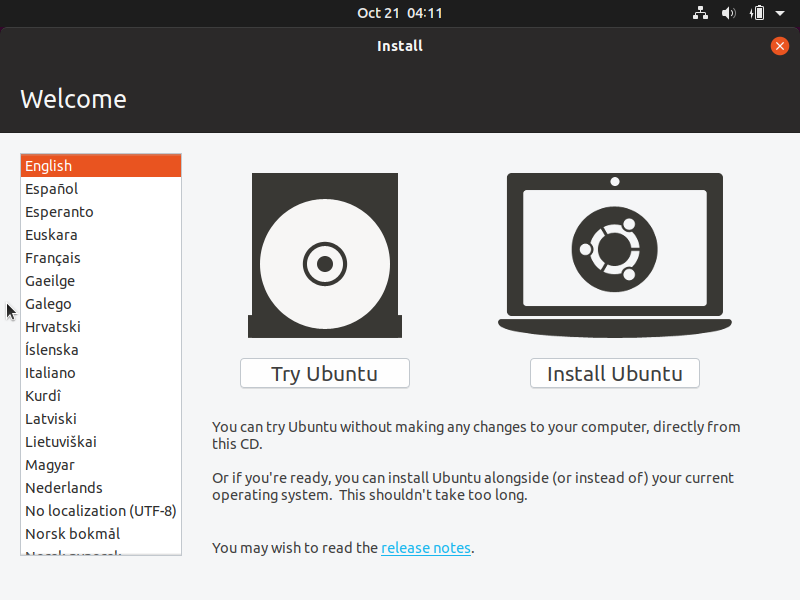
01. Plug the media (disk or USB). You will be shown the language selection and the option to “Try Ubuntu” or “Install Ubuntu”. Trying Ubuntu will let you use the OS without making changes on your current Operating System (e.g. Windows). Select “Install Ubuntu” to proceed with the installation.
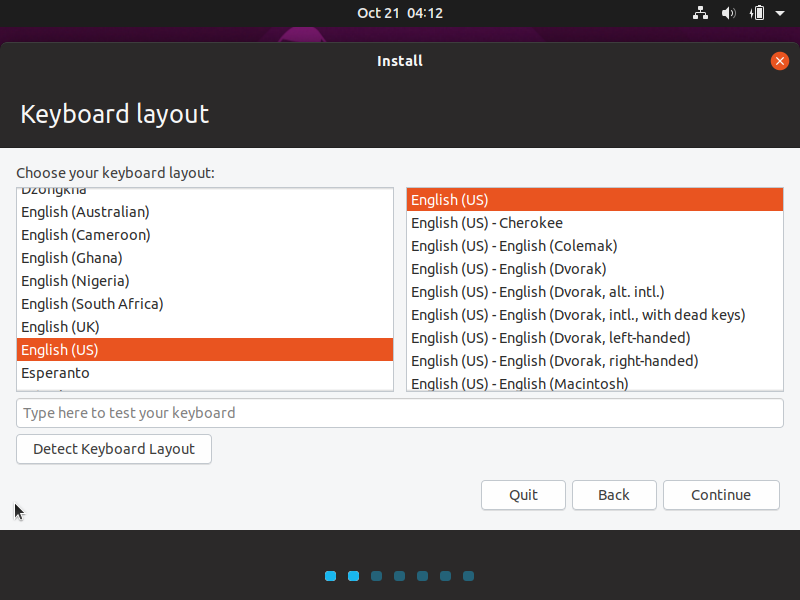
02. The next step allows you to select the keyboard layout. It tries to detect this and but you choose your preferred option. Then click on the “Continue” button.
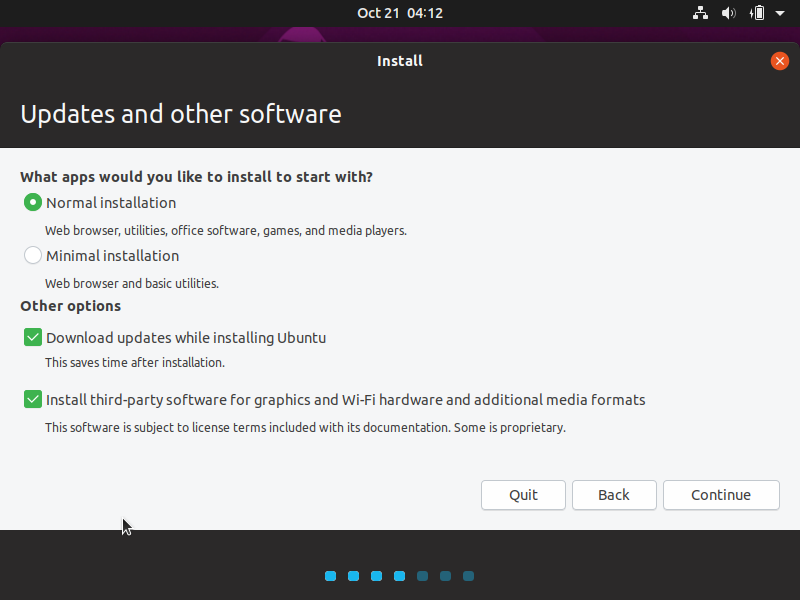
03. Select “Normal Installation” if you want to install media player, games and other software. In the “Other Options” section, if you are currently connected to the Internet you can install updates and other 3rd party software. Then click on the “Continue” button.
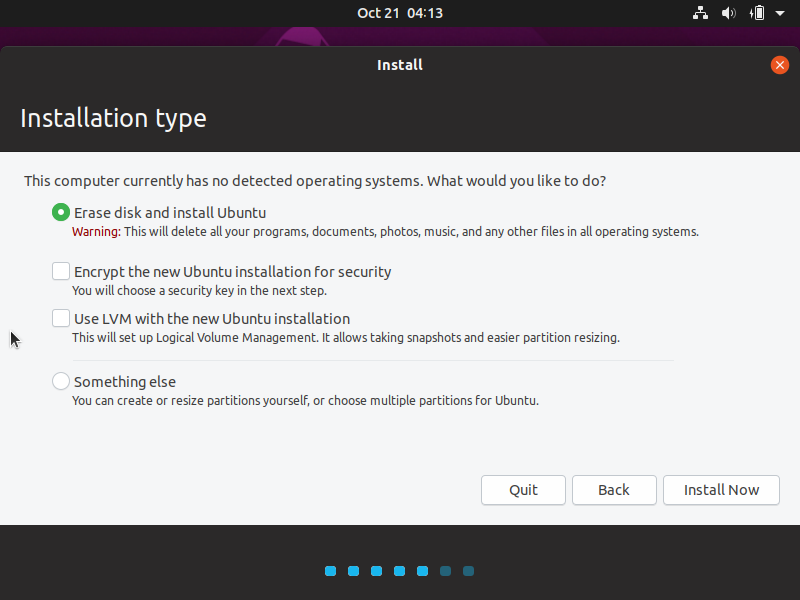
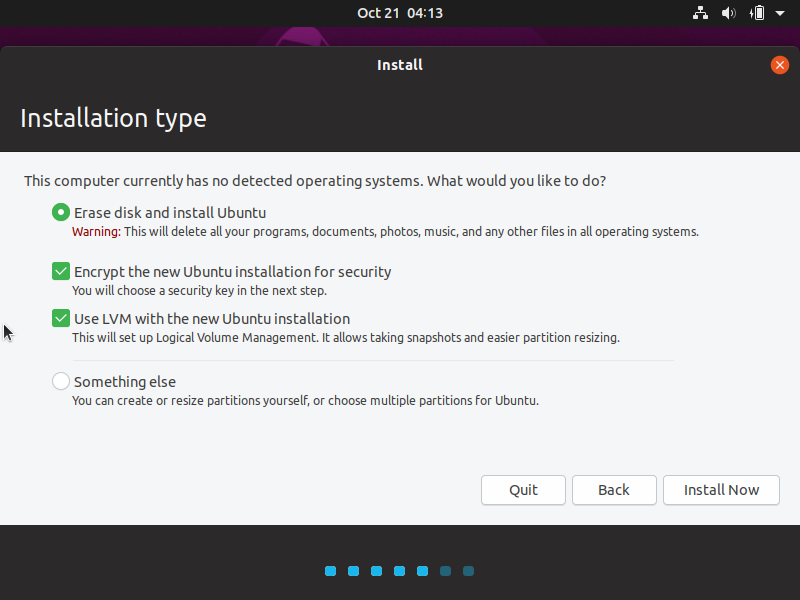
04. In the Installation type screen, you are given the option “Erase disk and install Ubuntu” which will provide a clean install, removing any files you have on disk. Another option is in the “Something else” option which will let you manage the disk and create multiple partitions for Ubuntu.
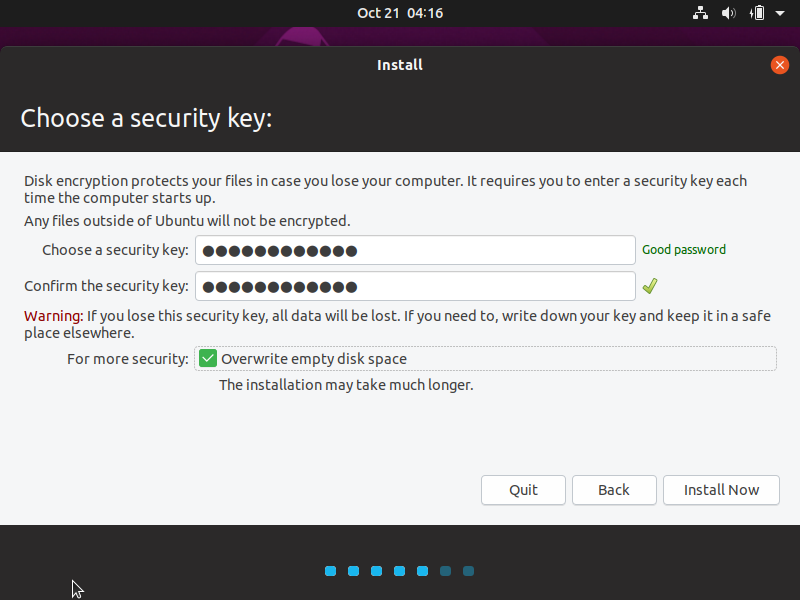
05. Optional. There is also the option for Encryption and LVM (Logical Volume Management). Opting to Encrypt will require you later to provide a security key (or password). This will later require you to enter the security key before even logging to your Ubuntu user account.
06. Optional if you selected to encrypt the Ubuntu installation, skip to the next step if not selected. Enter the security key and confirm it. Choose a good password (lengthy enough but one that you can remember).
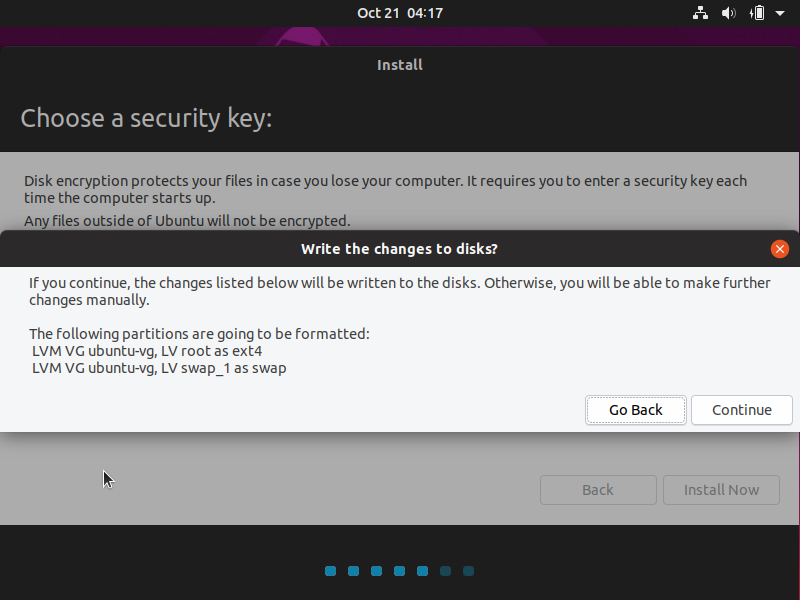
07. Confirm the changes to the disk, then select “Continue”.
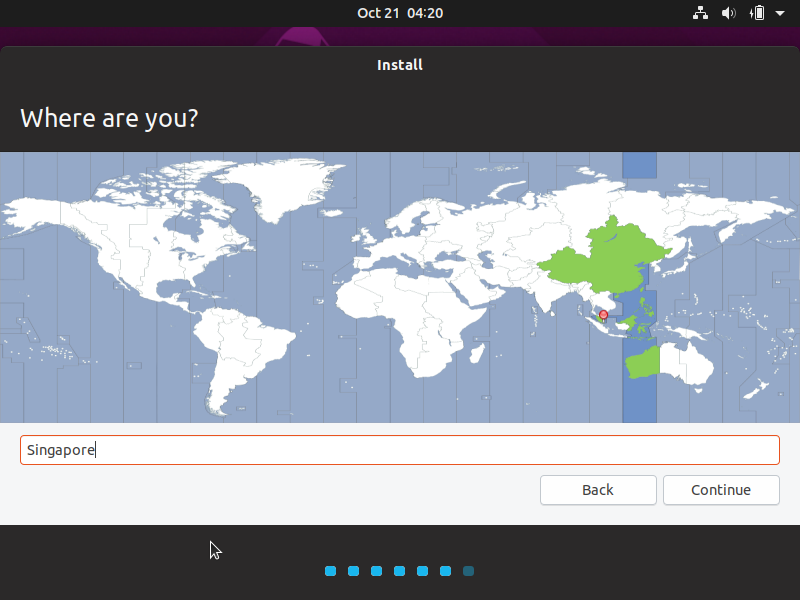
08. Choose from the map or use the textbox to search for your preferred Timezone.
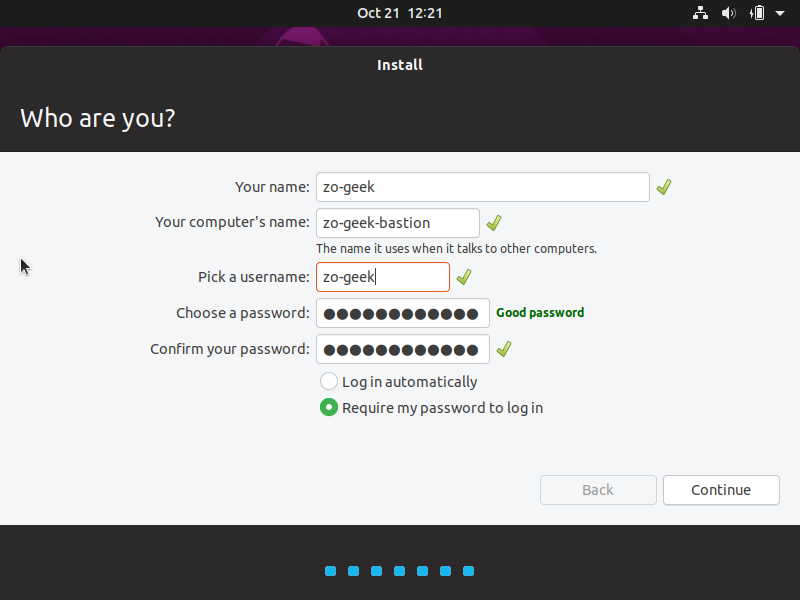
09. Choose your name, computer name, username and password. Note: the “Name” and “Username” does not necessarily have to be the same, this is just an example.
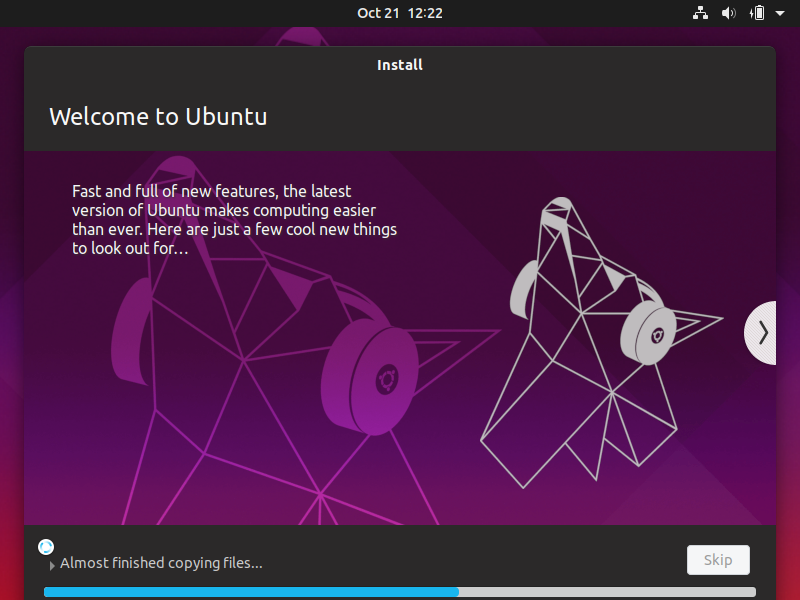
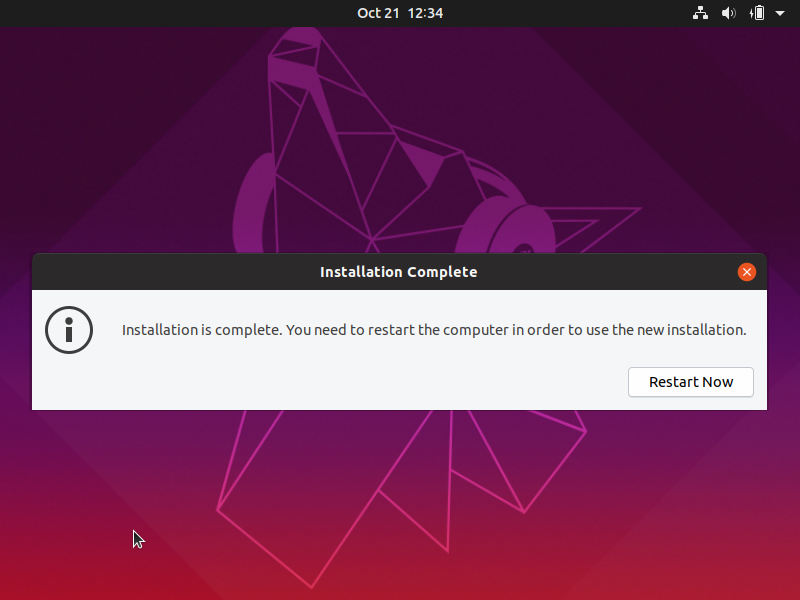
10. Wait until the installation is completed. This might take longer if you opted to encrypt the Ubuntu installation.
11. Click on the “Restart Now” button once finished.
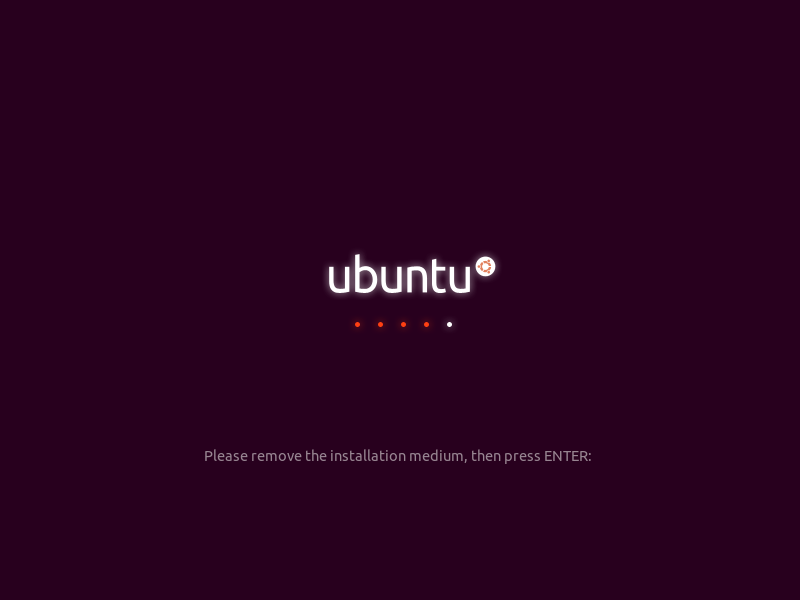
12. A prompt to remove the installation medium will be shown. Remove the disk or USB drive, then press “Enter”.
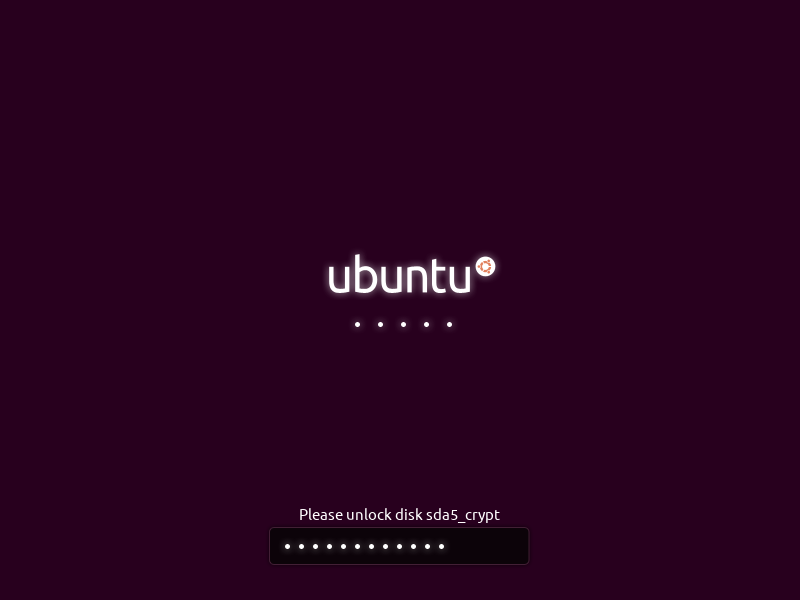
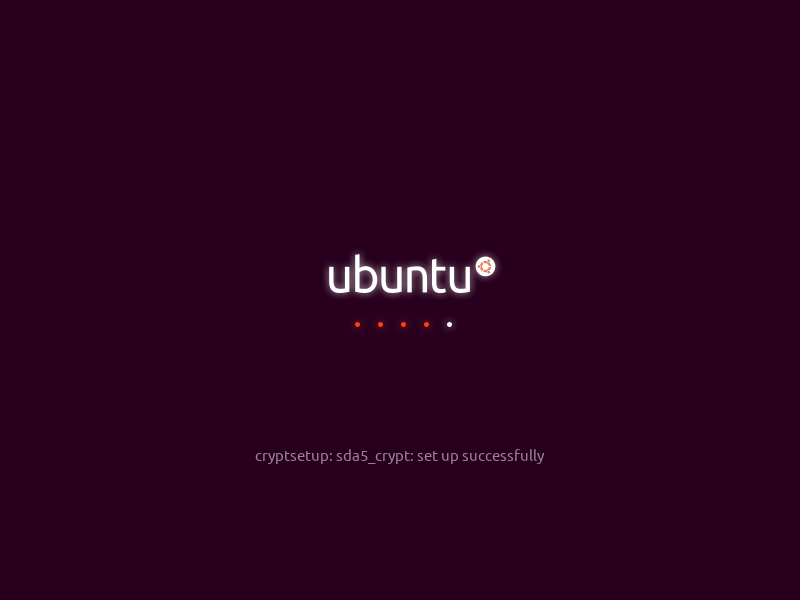
13. Optional if you opted to encrypt the Ubuntu installation. On every boot, you will be asked to enter the encryption key. Supply the key/password then press “Enter” key on the keyboard.
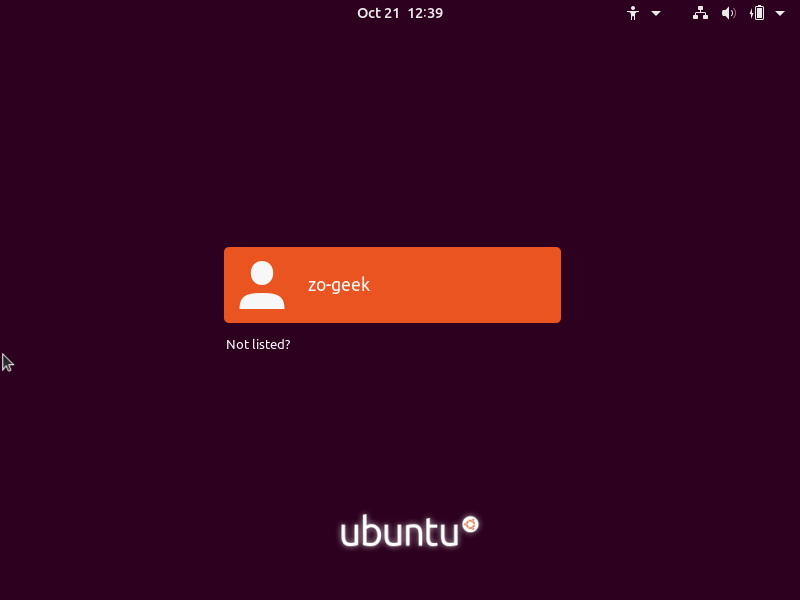
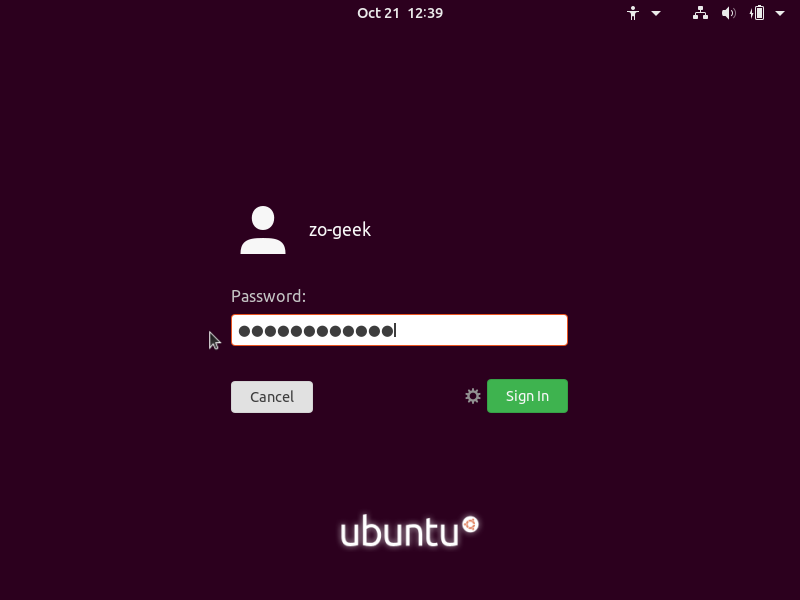
14. The list of users will be shown, select the user with your mouse or keyboard. Enter the user password then click on the “Sign In” button (or press the “Enter” key).
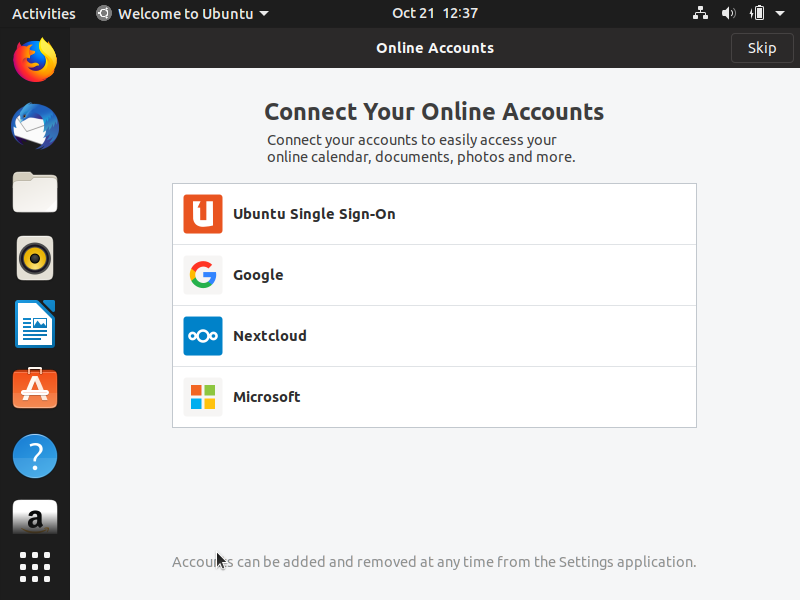
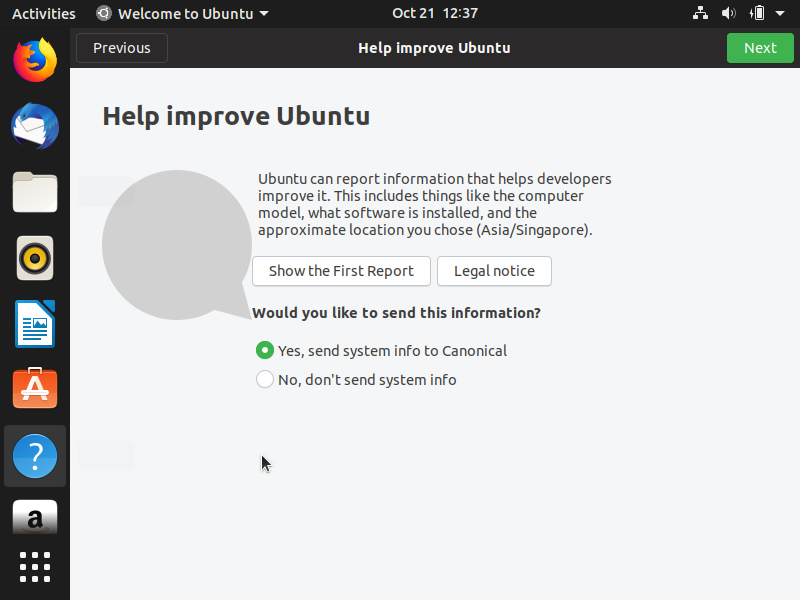
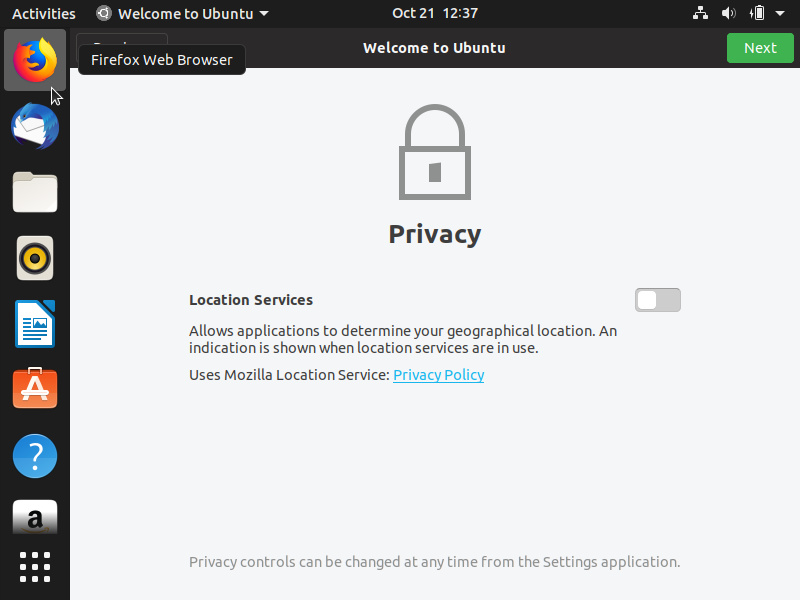
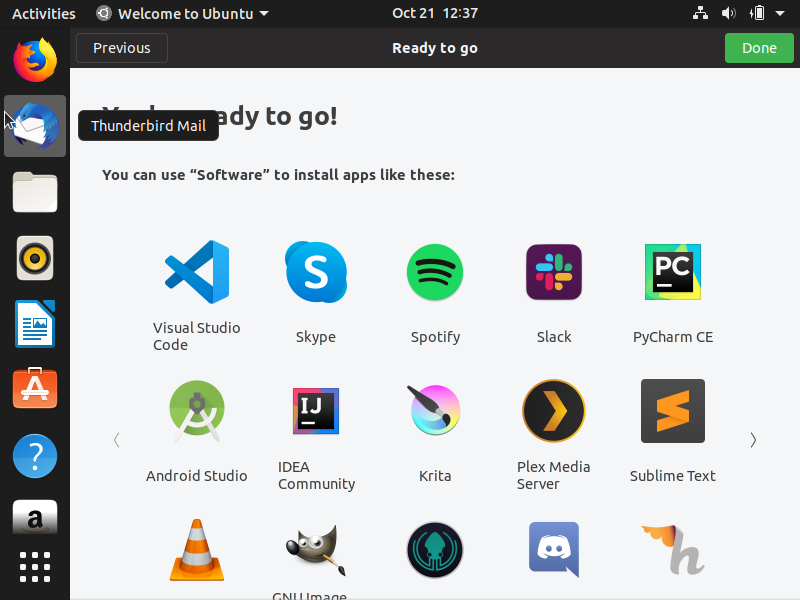
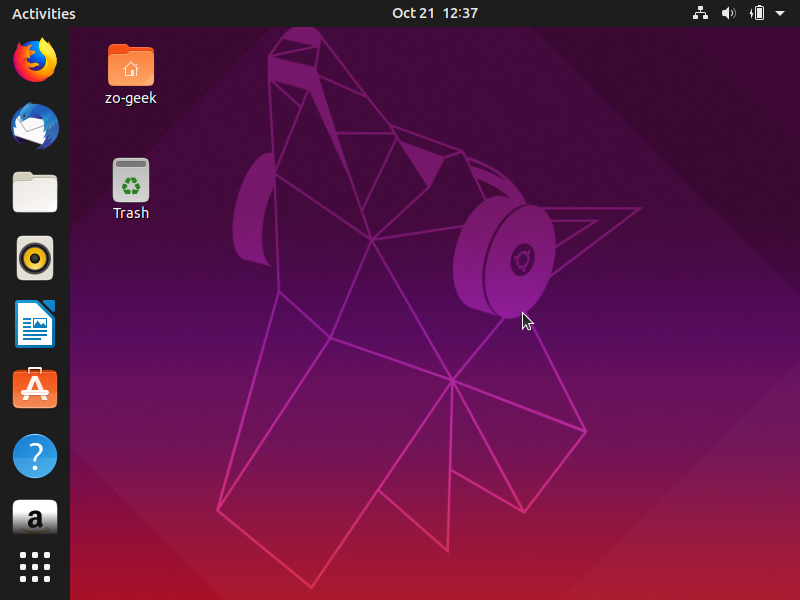
15. On your first time logging in, some optional steps to setup will be shown to you. These are optional. Once done, you have now successfully installed Ubuntu 19.10 and created your own user.
16. Congratulations!
For enquiries, product placements, sponsorships, and collaborations, connect with us at [email protected]. We'd love to hear from you!
Our humans need coffee too! Your support is highly appreciated, thank you!

