Overview
Azure Resource Manager or ARM templates is one of the ways for deploying or creating resources in Azure. It is an Infrastructure as a code solution that uses the JavaScript Object Notation (JSON) to define the target deployment of resources. It is similar to Google Cloud Platform’s Deployment Manager which uses YAML and Amazon Web Service Ansible which is also in YAML format.
This guide shows how to create and run ARM templates through the Azure portal.
From our partners:
Prerequisites
- Credential access to the Azure Portal
- Sufficient access or role for provisioning a Virtual Machine. In this demo, a VM will be provisioned, but your access needs might change depending on the resource you will create.
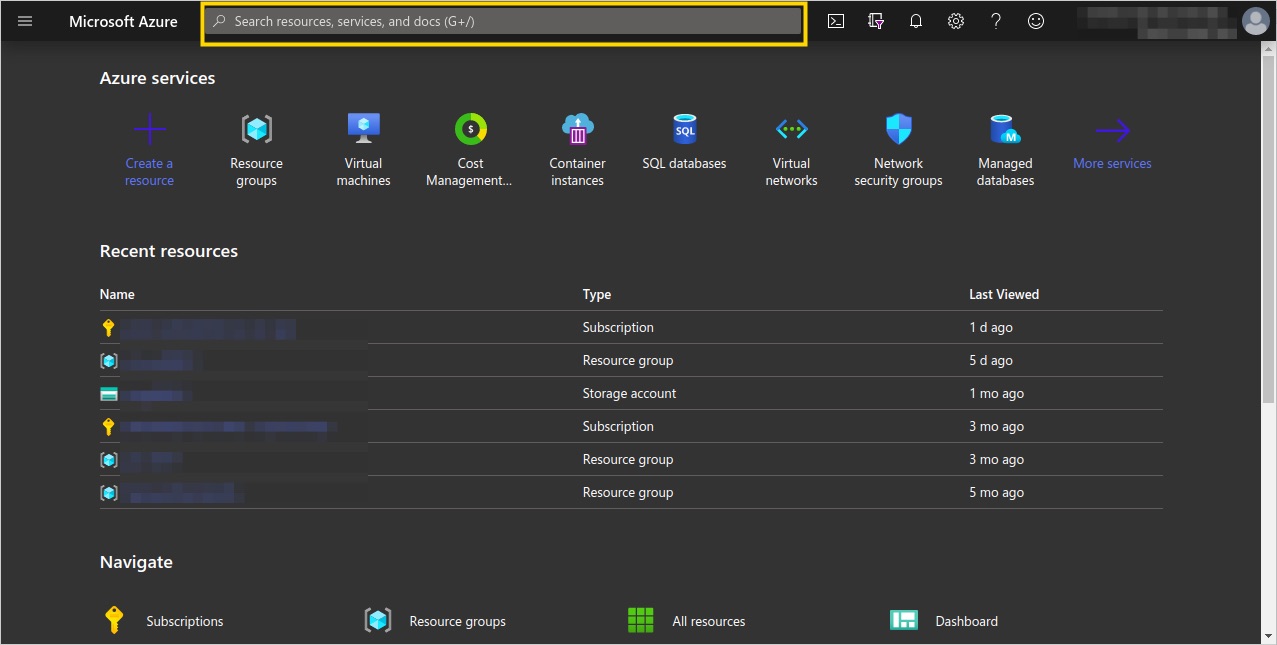
01. Login through the Azure portal at https://portal.azure.com/
02. On the top bar, search for “Deploy a custom template”

03. Select the “Build your own template in the editor” option.

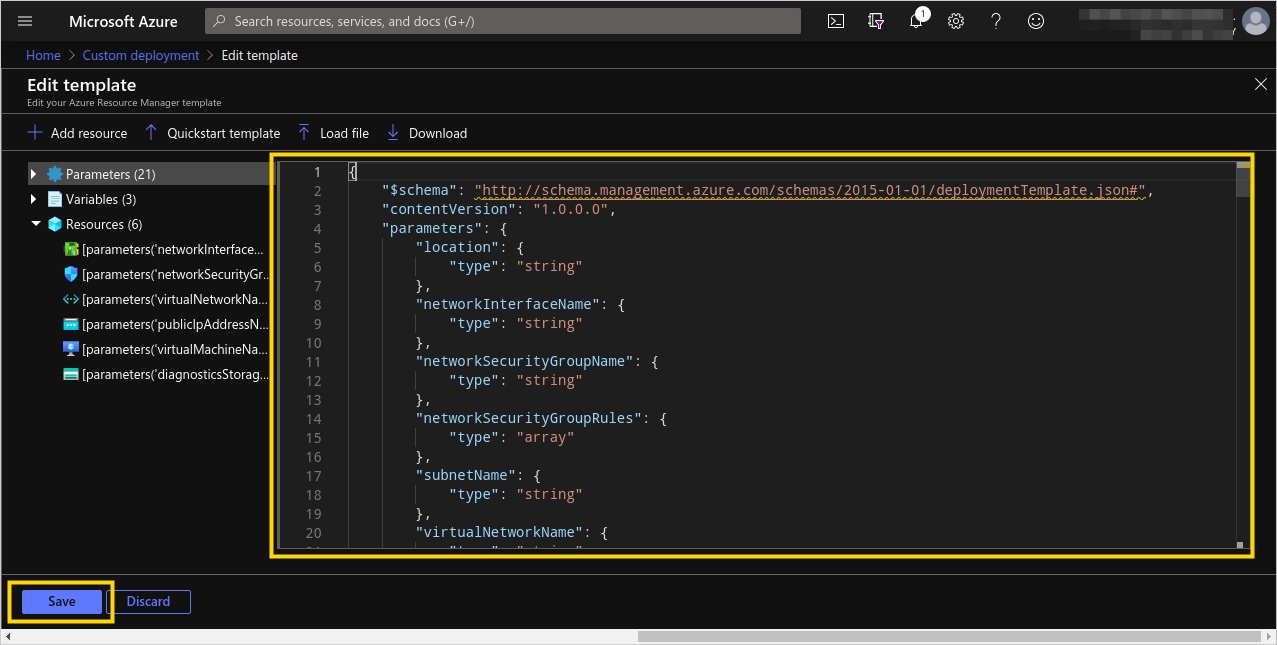
04. The template editor will be shown. You can either paste the following template into the editor or save the following template in a local file and upload it using the “Load file” option.
The following template provision
{

    "$schema": "http://schema.management.azure.com/schemas/2015-01-01/deploymentTemplate.json#",
    "contentVersion": "1.0.0.0",
    "parameters": {
        "location": {
            "type": "string"
        },

        "networkInterfaceName": {
            "type": "string"
        },

        "networkSecurityGroupName": {
            "type": "string"
        },

        "networkSecurityGroupRules": {
            "type": "array"
        },

        "subnetName": {
            "type": "string"
        },

        "virtualNetworkName": {
            "type": "string"
        },

        "addressPrefixes": {
            "type": "array"
        },

        "subnets": {
            "type": "array"
        },

        "publicIpAddressName": {
            "type": "string"
        },

        "publicIpAddressType": {
            "type": "string"
        },

        "publicIpAddressSku": {
            "type": "string"
        },

        "virtualMachineName": {
            "type": "string"
        },

        "virtualMachineRG": {
            "type": "string"
        },

        "osDiskType": {
            "type": "string"
        },

        "virtualMachineSize": {
            "type": "string"
        },

        "adminUsername": {
            "type": "string"
        },

        "adminPublicKey": {
            "type": "secureString"
        },

        "diagnosticsStorageAccountName": {
            "type": "string"
        },

        "diagnosticsStorageAccountId": {
            "type": "string"
        },

        "diagnosticsStorageAccountType": {
            "type": "string"
        },

        "diagnosticsStorageAccountKind": {
            "type": "string"
        }
    },

    "variables": {
        "nsgId": "[resourceId(resourceGroup().name, 'Microsoft.Network/networkSecurityGroups', parameters('networkSecurityGroupName'))]",

        "vnetId": "[resourceId(resourceGroup().name,'Microsoft.Network/virtualNetworks', parameters('virtualNetworkName'))]",

        "subnetRef": "[concat(variables('vnetId'), '/subnets/', parameters('subnetName'))]"
    },

    "resources": [
        {
            "name": "[parameters('networkInterfaceName')]",
            "type": "Microsoft.Network/networkInterfaces",
            "apiVersion": "2019-07-01",
            "location": "[parameters('location')]",
            "dependsOn": [
                "[concat('Microsoft.Network/networkSecurityGroups/', parameters('networkSecurityGroupName'))]",
                "[concat('Microsoft.Network/virtualNetworks/', parameters('virtualNetworkName'))]",
                "[concat('Microsoft.Network/publicIpAddresses/', parameters('publicIpAddressName'))]"
            ],

            "properties": {
                "ipConfigurations": [
                    {
                        "name": "ipconfig1",
                        "properties": {
                            "subnet": {
                                "id": "[variables('subnetRef')]"
                            },
                            "privateIPAllocationMethod": "Dynamic",
                            "publicIpAddress": {
                                "id": "[resourceId(resourceGroup().name, 'Microsoft.Network/publicIpAddresses', parameters('publicIpAddressName'))]"
                            }
                        }
                    }
                ],

                "networkSecurityGroup": {
                    "id": "[variables('nsgId')]"
                }
            }
        },

        {
            "name": "[parameters('networkSecurityGroupName')]",
            "type": "Microsoft.Network/networkSecurityGroups",
            "apiVersion": "2019-02-01",
            "location": "[parameters('location')]",
            "properties": {
                "securityRules": "[parameters('networkSecurityGroupRules')]"
            }
        },

        {
            "name": "[parameters('virtualNetworkName')]",
            "type": "Microsoft.Network/virtualNetworks",
            "apiVersion": "2019-04-01",
            "location": "[parameters('location')]",
            "properties": {
                "addressSpace": {
                    "addressPrefixes": "[parameters('addressPrefixes')]"
                },
                "subnets": "[parameters('subnets')]"
            }
        },

        {
            "name": "[parameters('publicIpAddressName')]",
            "type": "Microsoft.Network/publicIpAddresses",
            "apiVersion": "2019-02-01",
            "location": "[parameters('location')]",
            "properties": {
                "publicIpAllocationMethod": "[parameters('publicIpAddressType')]"
            },

            "sku": {
                "name": "[parameters('publicIpAddressSku')]"
            }
        },

        {
            "name": "[parameters('virtualMachineName')]",
            "type": "Microsoft.Compute/virtualMachines",
            "apiVersion": "2019-07-01",
            "location": "[parameters('location')]",
            "dependsOn": [
                "[concat('Microsoft.Network/networkInterfaces/', parameters('networkInterfaceName'))]",
                "[concat('Microsoft.Storage/storageAccounts/', parameters('diagnosticsStorageAccountName'))]"
            ],
            "properties": {
                "hardwareProfile": {
                    "vmSize": "[parameters('virtualMachineSize')]"
                },

                "storageProfile": {
                    "osDisk": {
                        "createOption": "fromImage",
                        "managedDisk": {
                            "storageAccountType": "[parameters('osDiskType')]"
                        }
                    },

                    "imageReference": {
                        "publisher": "Canonical",
                        "offer": "UbuntuServer",
                        "sku": "18.04-LTS",
                        "version": "latest"
                    }
                },

                "networkProfile": {
                    "networkInterfaces": [
                        {
                            "id": "[resourceId('Microsoft.Network/networkInterfaces', parameters('networkInterfaceName'))]"
                        }
                    ]
                },

                "osProfile": {
                    "computerName": "[parameters('virtualMachineName')]",
                    "adminUsername": "[parameters('adminUsername')]",
                    "linuxConfiguration": {
                        "disablePasswordAuthentication": true,
                        "ssh": {
                            "publicKeys": [
                                {
                                    "path": "[concat('/home/', parameters('adminUsername'), '/.ssh/authorized_keys')]",
                                    "keyData": "[parameters('adminPublicKey')]"
                                }
                            ]
                        }
                    }
                },

                "diagnosticsProfile": {
                    "bootDiagnostics": {
                        "enabled": true,
                        "storageUri": "[concat('https://', parameters('diagnosticsStorageAccountName'), '.blob.core.windows.net/')]"
                    }
                }
            }
        },

        {
            "name": "[parameters('diagnosticsStorageAccountName')]",
            "type": "Microsoft.Storage/storageAccounts",
            "apiVersion": "2019-06-01",
            "location": "[parameters('location')]",
            "properties": {},
            "kind": "[parameters('diagnosticsStorageAccountKind')]",
            "sku": {
                "name": "[parameters('diagnosticsStorageAccountType')]"
            }
        }
    ],

    "outputs": {
        "adminUsername": {
            "type": "string",
            "value": "[parameters('adminUsername')]"
        }
    }
}
Paste the code or upload the template file. Then select the “Save” button.
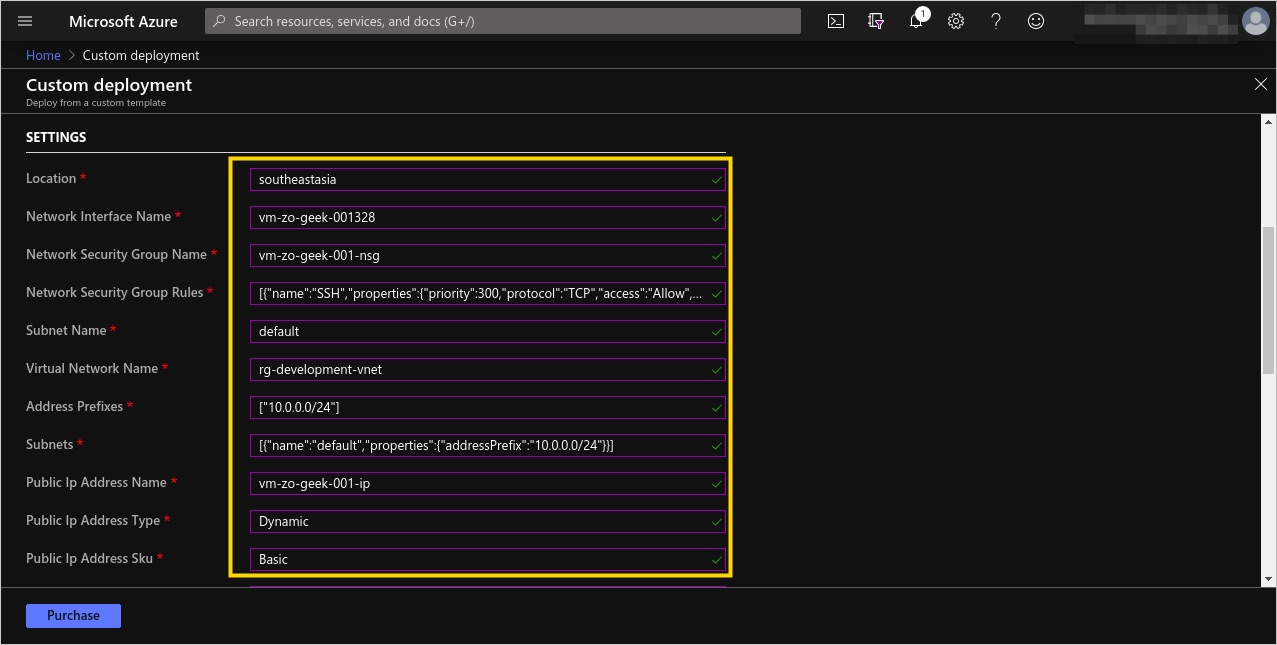
05. A new page will be shown with the JSON template loaded as form field. You must now specify the required parameters.
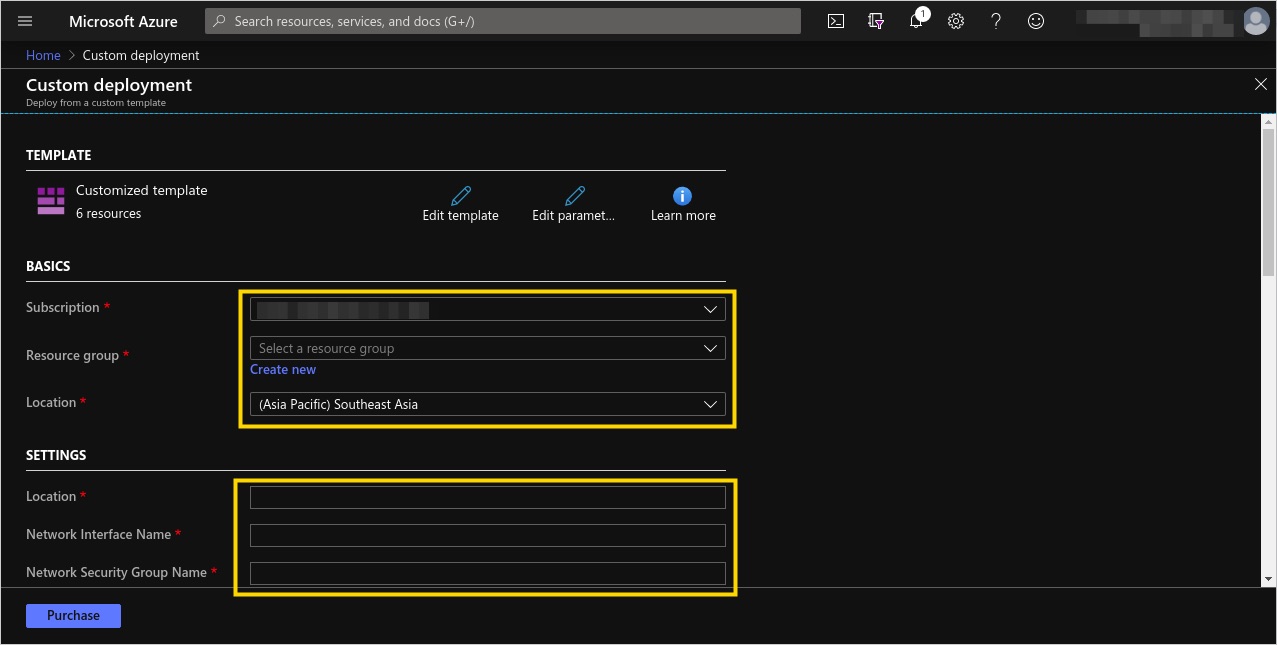
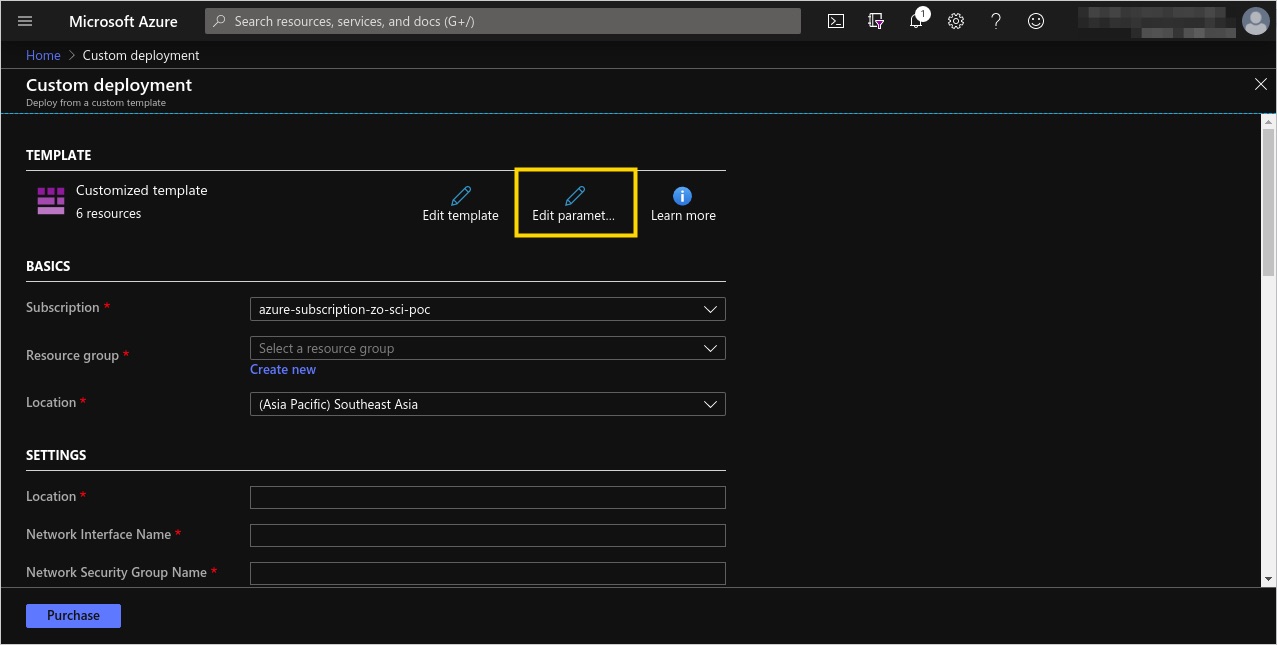
Or you can click on the “Edit parameters” to load a JSON file parameters. Use the following JSON as parameters.
Set the parameters as below. Then click on the “Save” button.
{
    "$schema": "https://schema.management.azure.com/schemas/2015-01-01/deploymentParameters.json#",
    "contentVersion": "1.0.0.0",

    "parameters": {
        "location": {
            "value": "southeastasia"
        },

        "networkInterfaceName": {
            "value": "vm-zo-geek-001328"
        },

        "networkSecurityGroupName": {
            "value": "vm-zo-geek-001-nsg"
        },

        "networkSecurityGroupRules": {
            "value": [
                {
                    "name": "SSH",
                    "properties": {
                        "priority": 300,
                        "protocol": "TCP",
                        "access": "Allow",
                        "direction": "Inbound",
                        "sourceAddressPrefix": "*",
                        "sourcePortRange": "*",
                        "destinationAddressPrefix": "*",
                        "destinationPortRange": "22"
                    }
                }
            ]
        },

        "subnetName": {
            "value": "default"
        },

        "virtualNetworkName": {
            "value": "rg-development-vnet"
        },

        "addressPrefixes": {
            "value": [
                "10.0.0.0/24"
            ]
        },

        "subnets": {
            "value": [
                {
                    "name": "default",
                    "properties": {
                        "addressPrefix": "10.0.0.0/24"
                    }
                }
            ]
        },

        "publicIpAddressName": {
            "value": "vm-zo-geek-001-ip"
        },

        "publicIpAddressType": {
            "value": "Dynamic"
        },

        "publicIpAddressSku": {
            "value": "Basic"
        },

        "virtualMachineName": {
            "value": "vm-zo-geek-001"
        },

        "virtualMachineRG": {
            "value": "rg-development"
        },

        "osDiskType": {
            "value": "Standard_LRS"
        },

        "virtualMachineSize": {
            "value": "Standard_D2s_v3"
        },

        "adminUsername": {
            "value": "devops"
        },

        "adminPublicKey": {
            "value": null
        },

        "diagnosticsStorageAccountName": {
            "value": "rgdevelopmentdiag428"
        },

        "diagnosticsStorageAccountId": {
            "value": "Microsoft.Storage/storageAccounts/rgdevelopmentdiag428"
        },

        "diagnosticsStorageAccountType": {
            "value": "Standard_LRS"
        },

        "diagnosticsStorageAccountKind": {
            "value": "Storage"
        }
    }
}

06. The parameters will now be loaded in the template, with the form field text boxes filled.
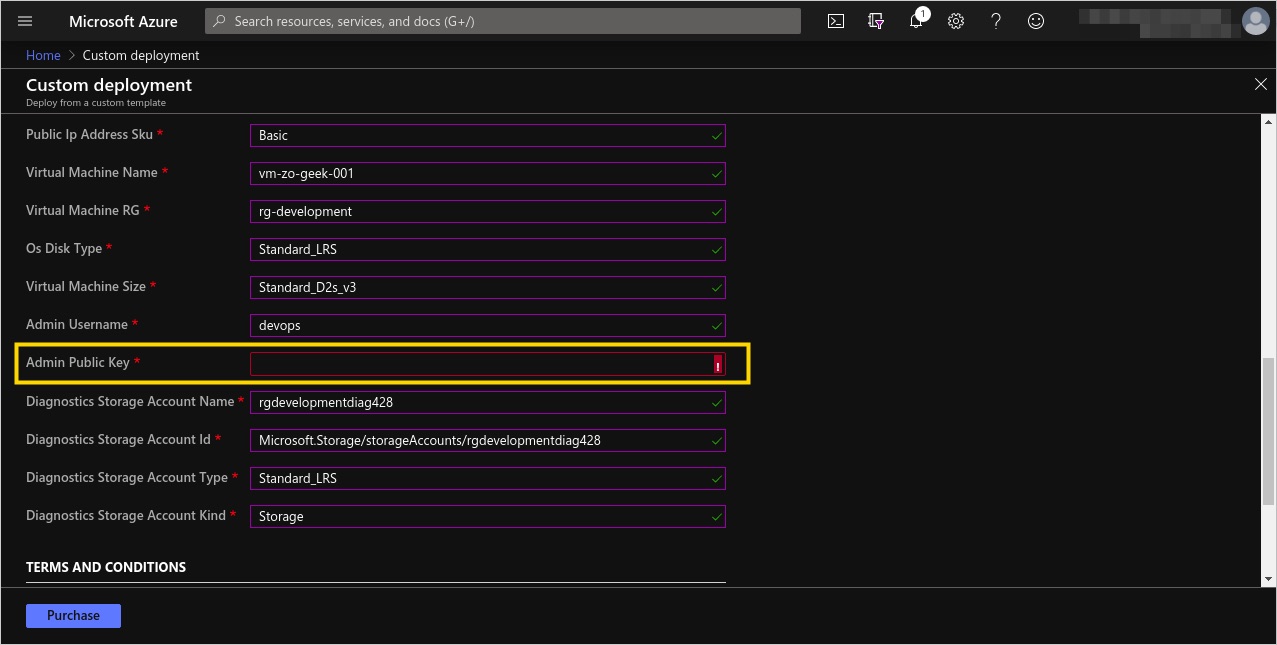
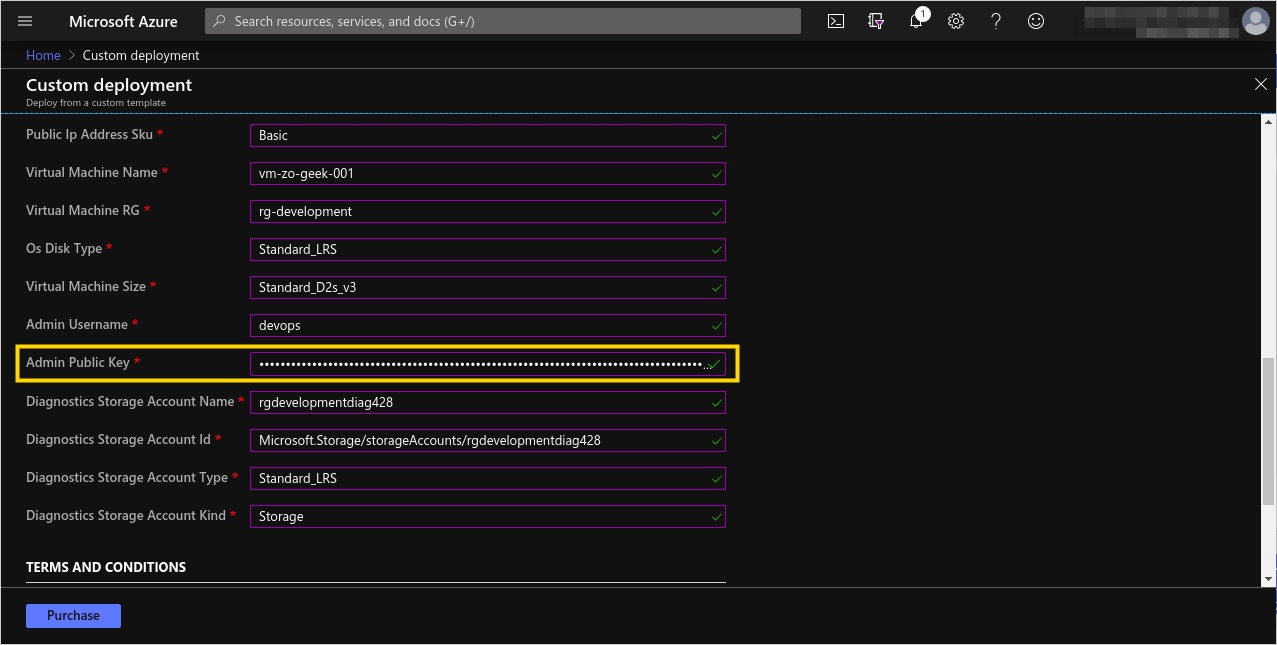
07. In this example, being an Ubuntu OS, a Public Key is needed for accessing the server. You can create an RSA key from the following link or any tool that creates the SSH key.
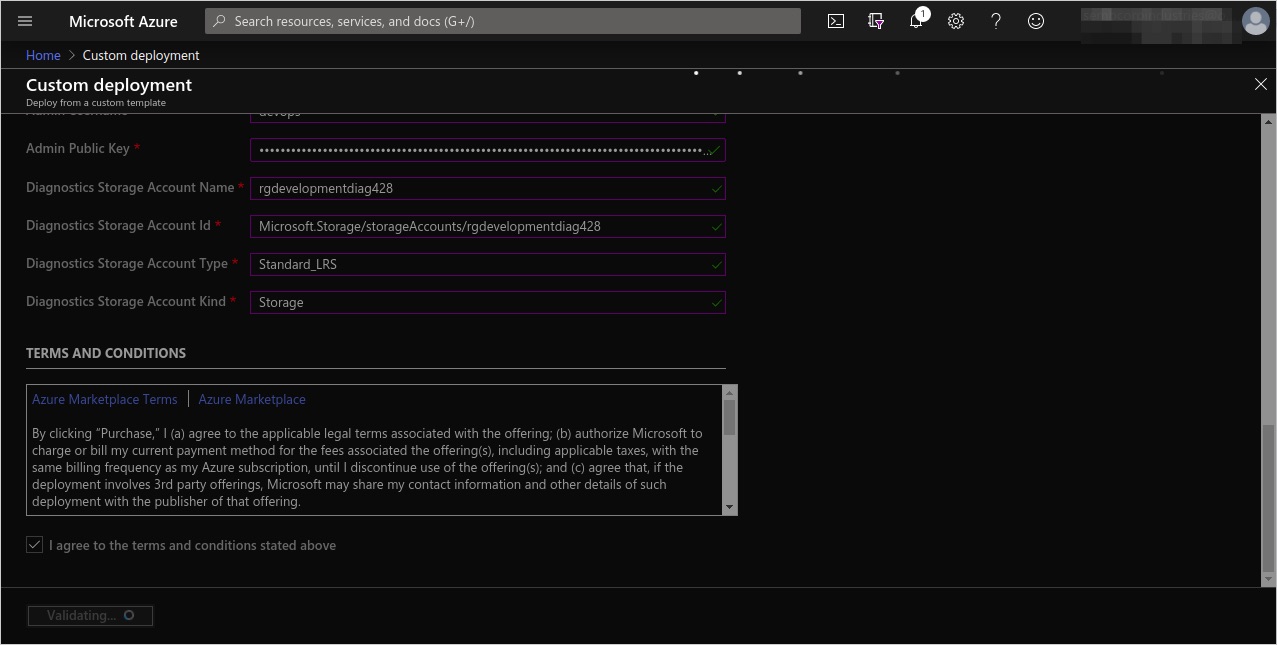
08. Accept the Terms and Conditions by selecting the checkbox. Then click on the “Purchase” button.

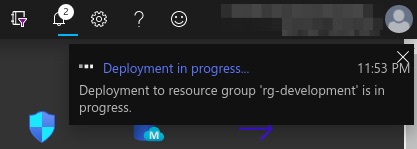
09. Wait until the resources, in this case, a Virtual Machine and its required resources (Virtual Network, IP Address, Storage Account and others) are created.
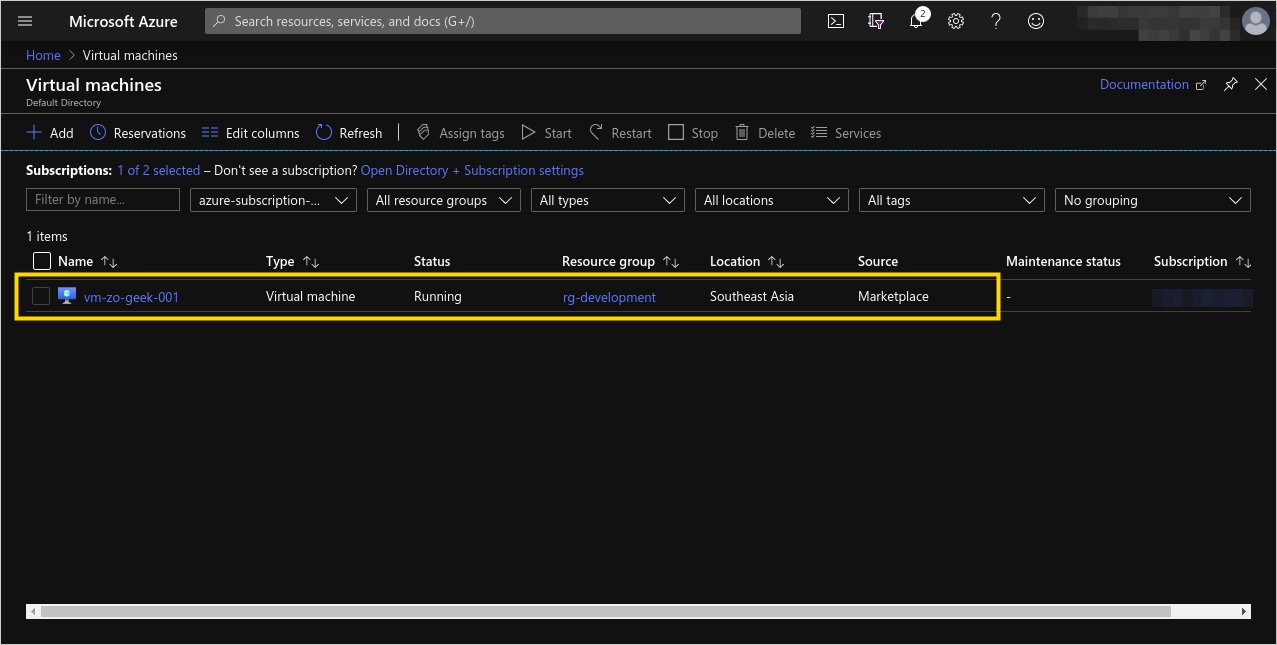
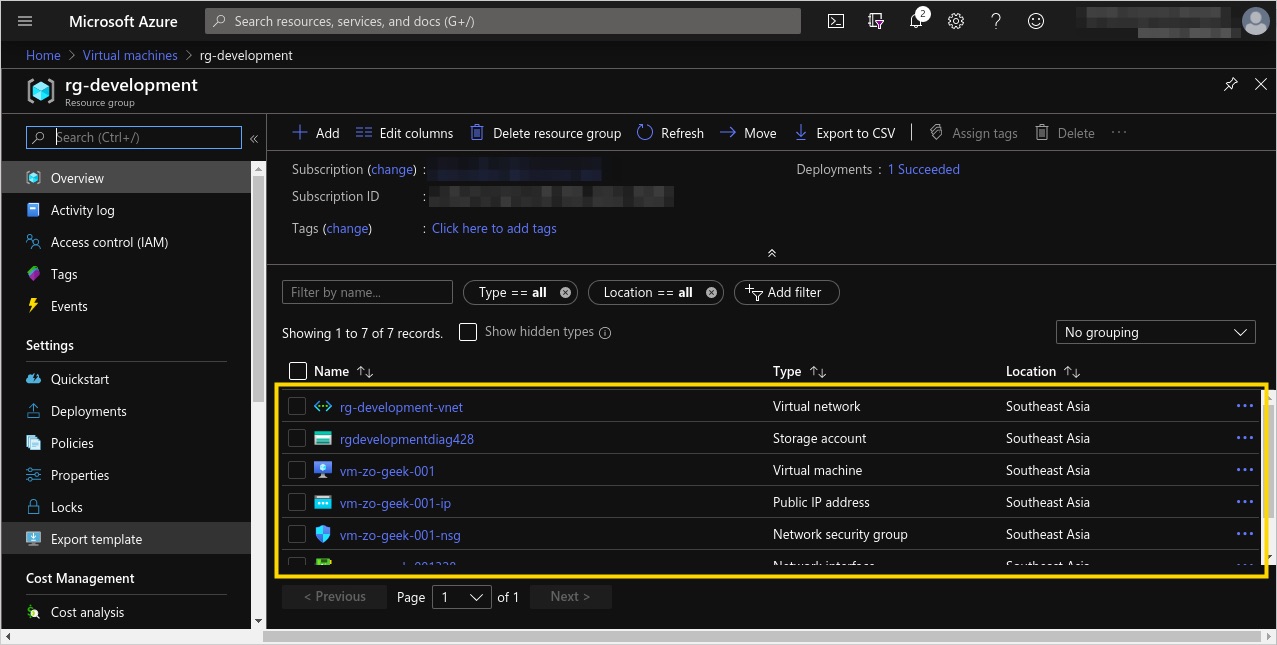
10. View the Virtual Machine resource. You can also view the other resources created by viewing the Resource Group.
For enquiries, product placements, sponsorships, and collaborations, connect with us at [email protected]. We'd love to hear from you!
Our humans need coffee too! Your support is highly appreciated, thank you!