This guide contains instructions on how to install and perform basic configuration of Elasticsearch on a Ubuntu 22.04 machine. The following setup is for development and testing purposes.
Prerequisites
- Ubuntu 22.04
- Access to a Terminal or Shell Console
- Java 8 or 11 or later is installed
Installation
01. Open a terminal 
From our partners:
02. Download the installer via WGet. It is around 500Mb in size.
$ wget https://artifacts.elastic.co/downloads/elasticsearch/elasticsearch-8.4.2-linux-x86_64.tar.gz
$ wget https://artifacts.elastic.co/downloads/elasticsearch/elasticsearch-8.4.2-linux-x86_64.tar.gz.sha512
03. Validate the downloaded file to assure there are no corrupted files.
$ shasum -a 512 -c elasticsearch-8.4.2-linux-x86_64.tar.gz.sha512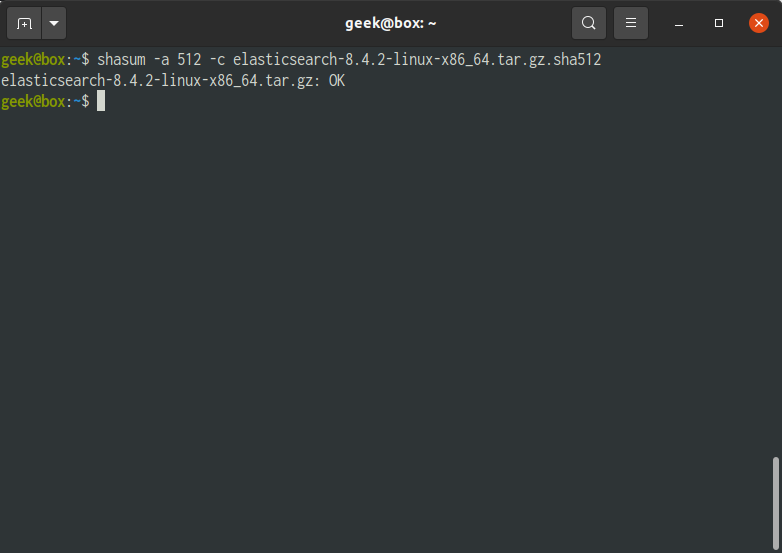
04. Extract the installer
$ tar -xvf elasticsearch-8.4.2-linux-x86_64.tar.gz05. Navigate to the Elasticsearch directory
$ cd elasticsearch-8.4.2/06. Run the Elasticsearch. It will continue to run until stopped manually using Ctrl-Z.
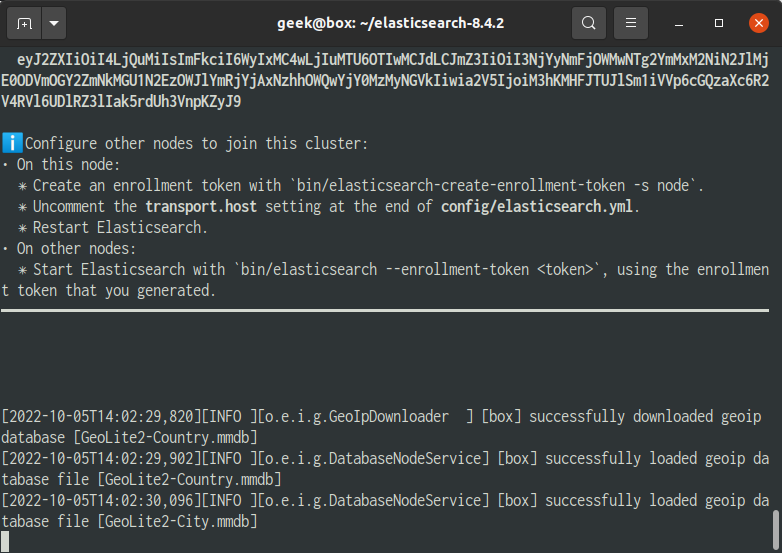
$ ./bin/elasticsearch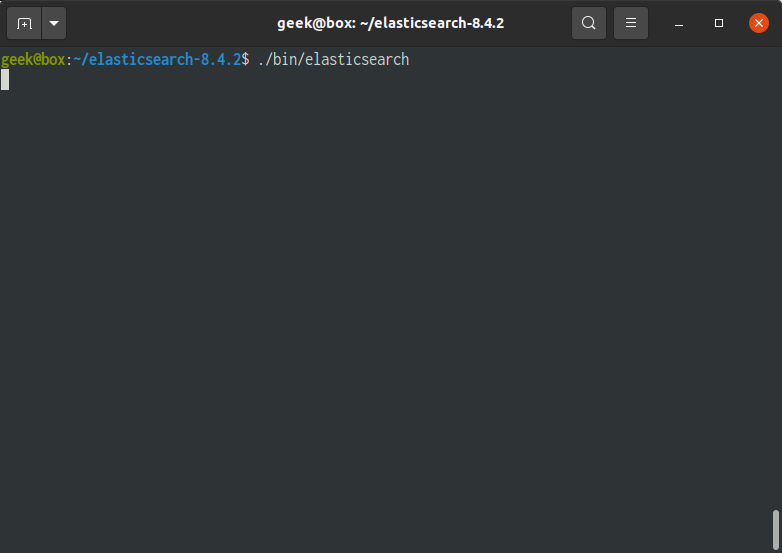
To run as a daemon use the following.
$ ./bin/elasticsearch -d -p pid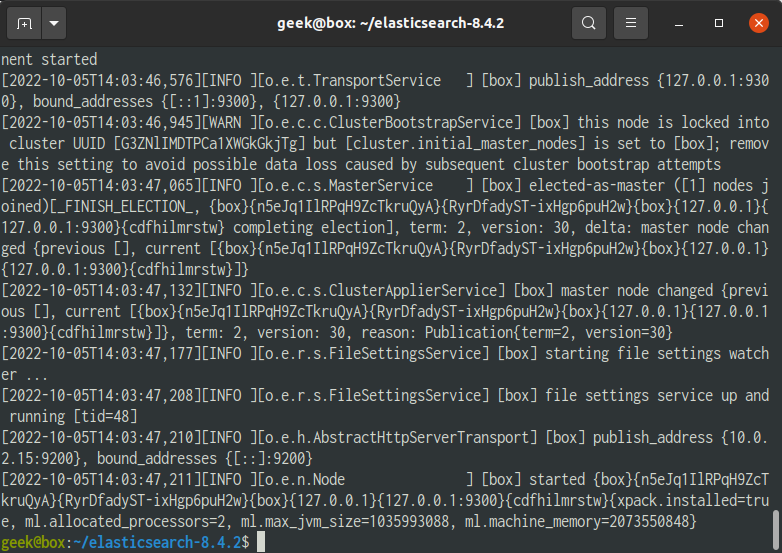
This creates a PID file in the elasticsearch directory. This is the PID that needs to be killed to stop the process. 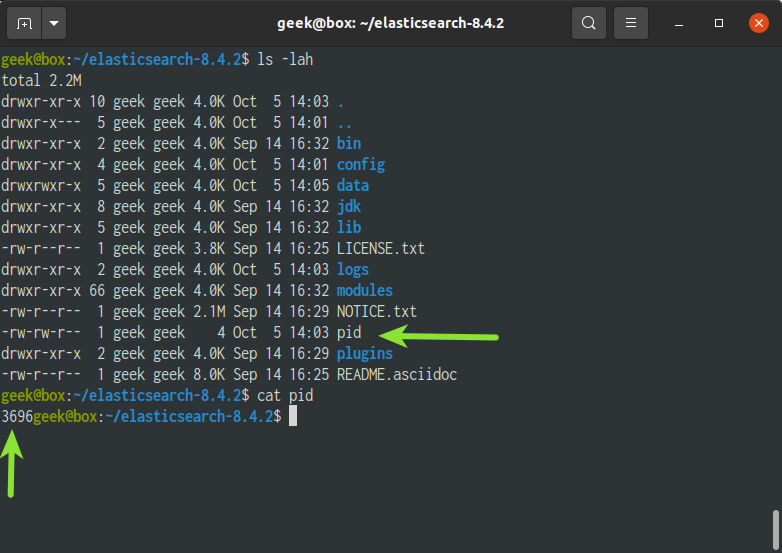
Configuration
01. Navigate to the Elasticsearch directory, and edit the configuration file
$ cd {{elasticsearch-directory}}
$ nano config/elasticsearch.yml
02. Update the following section depending on the use case. We turn off the xpack.security.enabled setting to false only on a development environment.
# Temporary set this as false for development environment
xpack.security.enabled: false
# Elasticsearch Port
# Default port is 9200
# Http.port: 9200
# Data Path
# path.data: /path/to/data
# Log Path
# path.logs: /path/to/logs
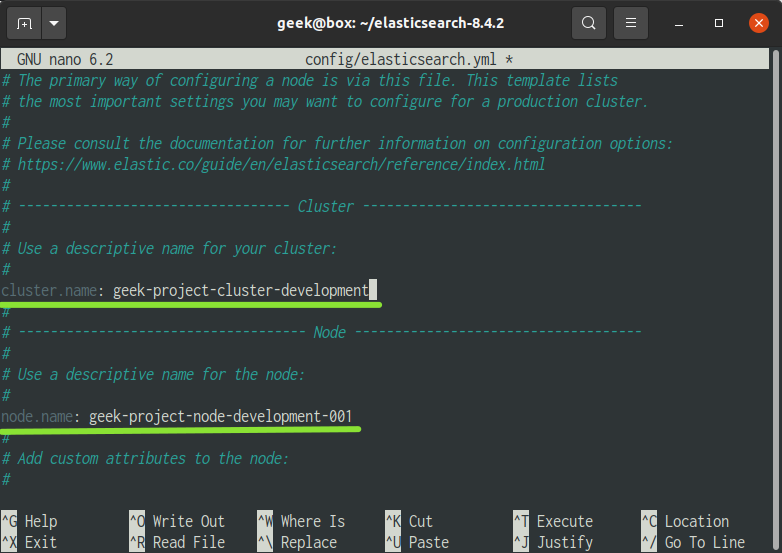
# Node Name
node.name: geek-project-node-development-001
# Cluster Name
cluster.name: geek-project-cluster-development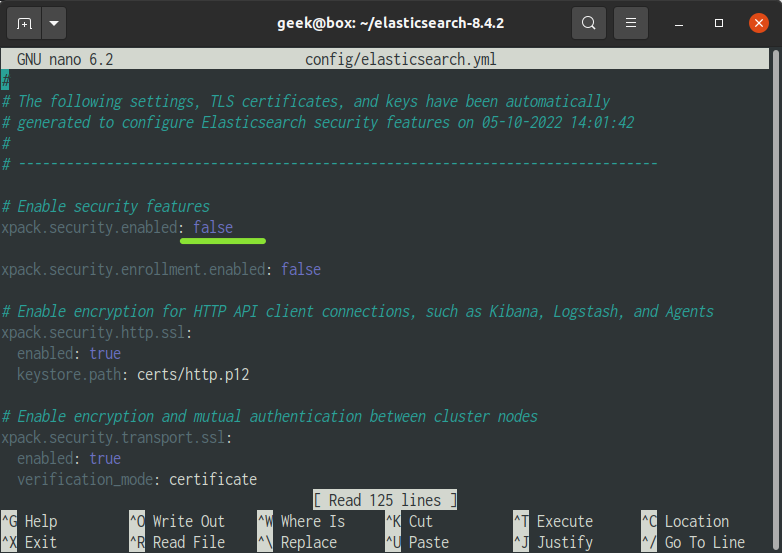
03. After making changes, stop Elasticsearch and restart the Elasticsearch program.
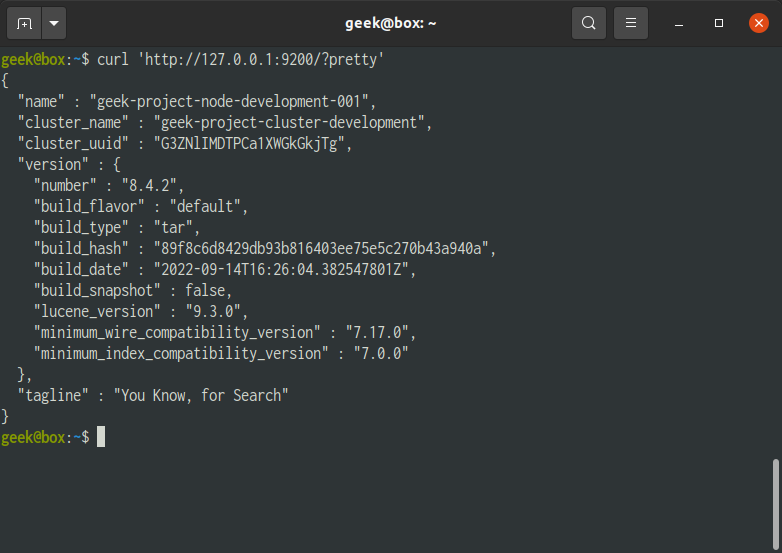
04. On a separate terminal, run the following to check the status. If JSON response is returned, the basic installation is completed.
$ curl 'http://127.0.0.1:9200/?pretty'It will output something like
{
  "name" : "ubuntu-bionic",
  "cluster_name" : "elasticsearch",
  "cluster_uuid" : "aRxfA2XCRPGcWNKIzfBCEg",
  "version" : {
    "number" : "7.1.1",
    "build_flavor" : "default",
    "build_type" : "tar",
    "build_hash" : "7a013de",
    "build_date" : "2019-05-23T14:04:00.380842Z",
    "build_snapshot" : false,
    "lucene_version" : "8.0.0",
    "minimum_wire_compatibility_version" : "6.8.0",
    "minimum_index_compatibility_version" : "6.0.0-beta1"
  },
  "tagline" : "You Know, for Search"
}
For enquiries, product placements, sponsorships, and collaborations, connect with us at [email protected]. We'd love to hear from you!
Our humans need coffee too! Your support is highly appreciated, thank you!